Difference between revisions of "Mysterious Man"
m (→Main Drops: Adding {{Navbar Monsters}}) |
LilMissMDK (talk | contribs) (switched some images to {{img}}) |
||
| (2 intermediate revisions by one other user not shown) | |||
| Line 1: | Line 1: | ||
| − | {{Infobox Monster | + | {{Event}} {{Infobox Monster |
| − | |image = https://idlescape.com/images/combat/monsters/mysterious_man.png | + | |title = Mysterious Man |
| + | |image = https://play.idlescape.com/images/combat/monsters/mysterious_man.png | ||
|release = April Fool's 2020 [[Event]] | |release = April Fool's 2020 [[Event]] | ||
|zones = All [[Combat]] zones | |zones = All [[Combat]] zones | ||
| Line 23: | Line 24: | ||
|magicStr = ? | |magicStr = ? | ||
}} | }} | ||
| − | The '''Mysterious Man''', not to be mistaken with the [[Mysterious Man (helmet)|helmet]] with the same name, was an April 2020 [[Event]] exclusive [[monster]] appearing in all [[combat]] zones at random. | + | |
| + | The '''Mysterious Man''', not to be mistaken with the [[Mysterious Man (helmet)| Mysterious Man (helmet)]] with the same name, was an April 2020 [[Event]] exclusive [[monster]] appearing in all [[combat]] zones at random. | ||
There were also a blue illusion variant which does no damage and drops no loot. <br> | There were also a blue illusion variant which does no damage and drops no loot. <br> | ||
| − | <img src="https://idlescape.com/images/combat/monsters/mysterious_man_illusion.png" width=100> | + | <img src="https://play.idlescape.com/images/combat/monsters/mysterious_man_illusion.png" width=100> |
All damage dealt to the Mysterious Man are reduced down to one so a fast weapon is recommended to defeat them. | All damage dealt to the Mysterious Man are reduced down to one so a fast weapon is recommended to defeat them. | ||
| Line 39: | Line 41: | ||
!Price | !Price | ||
|- | |- | ||
| − | |<img src="https://idlescape.com/images/combat/equipment/hatcontest_mysterious_man_icon.png" height="auto" width="45"> | + | |<img src="https://play.idlescape.com/images/combat/equipment/hatcontest_mysterious_man_icon.png" height="auto" width="45"> |
|[[Mysterious Man (helmet)]] | |[[Mysterious Man (helmet)]] | ||
| style="text-align: center;" |1 | | style="text-align: center;" |1 | ||
| Line 45: | Line 47: | ||
| style="text-align: right;" | | | style="text-align: right;" | | ||
|- | |- | ||
| − | |<img src="https://idlescape.com/images/combat/equipment/hatcontest_cornyjoke_icon.png" height="auto" width="45"> | + | |<img src="https://play.idlescape.com/images/combat/equipment/hatcontest_cornyjoke_icon.png" height="auto" width="45"> |
|[[Corny Joke]] | |[[Corny Joke]] | ||
| style="text-align: center;" |1 | | style="text-align: center;" |1 | ||
| Line 51: | Line 53: | ||
| style="text-align: right;" | | | style="text-align: right;" | | ||
|- | |- | ||
| − | |<img src="https://idlescape.com/images/combat/equipment/hatcontest_death_metal_wig_icon.png" height="auto" width="45"> | + | |<img src="https://play.idlescape.com/images/combat/equipment/hatcontest_death_metal_wig_icon.png" height="auto" width="45"> |
|[[Death Metal Wig]] | |[[Death Metal Wig]] | ||
| style="text-align: center;" |1 | | style="text-align: center;" |1 | ||
| Line 57: | Line 59: | ||
| style="text-align: right;" | | | style="text-align: right;" | | ||
|- | |- | ||
| − | | | + | |{{img|Sapphire|45}} |
|[[Sapphire]] | |[[Sapphire]] | ||
| style="text-align: center;" |1 | | style="text-align: center;" |1 | ||
| Line 63: | Line 65: | ||
| style="text-align: right;" |1,000 | | style="text-align: right;" |1,000 | ||
|- | |- | ||
| − | | | + | |{{img|Emerald|45}} |
|[[Emerald]] | |[[Emerald]] | ||
| style="text-align: center;" |1 | | style="text-align: center;" |1 | ||
| Line 69: | Line 71: | ||
| style="text-align: right;" |2,000 | | style="text-align: right;" |2,000 | ||
|- | |- | ||
| − | | | + | |{{img|Ruby|45}} |
|[[Ruby]] | |[[Ruby]] | ||
| style="text-align: center;" |1 | | style="text-align: center;" |1 | ||
| Line 75: | Line 77: | ||
| style="text-align: right;" |5,000 | | style="text-align: right;" |5,000 | ||
|- | |- | ||
| − | | | + | |{{img|Diamond|45}} |
|[[Diamond]] | |[[Diamond]] | ||
| style="text-align: center;" |1 | | style="text-align: center;" |1 | ||
| Line 81: | Line 83: | ||
| style="text-align: right;" |10,000 | | style="text-align: right;" |10,000 | ||
|- | |- | ||
| − | | | + | |{{img|Black Opal|45}} |
|[[Black Opal]] | |[[Black Opal]] | ||
| style="text-align: center;" |1 | | style="text-align: center;" |1 | ||
| Line 87: | Line 89: | ||
| style="text-align: right;" |50,000 | | style="text-align: right;" |50,000 | ||
|- | |- | ||
| − | | | + | |{{img|Gold Ring|45}} |
|[[Gold Ring]] | |[[Gold Ring]] | ||
| style="text-align: center;" |1 | | style="text-align: center;" |1 | ||
| Line 93: | Line 95: | ||
| style="text-align: right;" |100,000 | | style="text-align: right;" |100,000 | ||
|- | |- | ||
| − | | | + | |{{img|Sapphire Ring|45}} |
|[[Sapphire Ring]] | |[[Sapphire Ring]] | ||
| style="text-align: center;" |1 | | style="text-align: center;" |1 | ||
| Line 99: | Line 101: | ||
| style="text-align: right;" |120,000 | | style="text-align: right;" |120,000 | ||
|- | |- | ||
| − | | | + | |{{img|Emerald Ring|45}} |
|[[Emerald Ring]] | |[[Emerald Ring]] | ||
| style="text-align: center;" |1 | | style="text-align: center;" |1 | ||
| Line 105: | Line 107: | ||
| style="text-align: right;" |140,000 | | style="text-align: right;" |140,000 | ||
|- | |- | ||
| − | | | + | |{{img|Ruby Ring|45}} |
|[[Ruby Ring]] | |[[Ruby Ring]] | ||
| style="text-align: center;" |1 | | style="text-align: center;" |1 | ||
| Line 111: | Line 113: | ||
| style="text-align: right;" |200,000 | | style="text-align: right;" |200,000 | ||
|- | |- | ||
| − | | | + | |{{img|Diamond Ring|45}} |
|[[Diamond Ring]] | |[[Diamond Ring]] | ||
| style="text-align: center;" |1 | | style="text-align: center;" |1 | ||
| Line 117: | Line 119: | ||
| style="text-align: right;" |300,000 | | style="text-align: right;" |300,000 | ||
|- | |- | ||
| − | | | + | |{{img|Black Opal Ring|45}} |
|[[Black Opal Ring]] | |[[Black Opal Ring]] | ||
| style="text-align: center;" |1 | | style="text-align: center;" |1 | ||
| Line 123: | Line 125: | ||
| style="text-align: right;" |1,500,000 | | style="text-align: right;" |1,500,000 | ||
|- | |- | ||
| − | | | + | |{{img|Gold Necklace|45}} |
|[[Gold Necklace]] | |[[Gold Necklace]] | ||
| style="text-align: center;" |1 | | style="text-align: center;" |1 | ||
| Line 129: | Line 131: | ||
| style="text-align: right;" |100,000 | | style="text-align: right;" |100,000 | ||
|- | |- | ||
| − | | | + | |{{img|Sapphire Necklace|45}} |
|[[Sapphire Necklace]] | |[[Sapphire Necklace]] | ||
| style="text-align: center;" |1 | | style="text-align: center;" |1 | ||
| Line 135: | Line 137: | ||
| style="text-align: right;" |120,000 | | style="text-align: right;" |120,000 | ||
|- | |- | ||
| − | | | + | |{{img|Emerald Necklace|45}} |
|[[Emerald Necklace]] | |[[Emerald Necklace]] | ||
| style="text-align: center;" |1 | | style="text-align: center;" |1 | ||
| Line 141: | Line 143: | ||
| style="text-align: right;" |140,000 | | style="text-align: right;" |140,000 | ||
|- | |- | ||
| − | | | + | |{{img|Ruby Necklace|45}} |
|[[Ruby Necklace]] | |[[Ruby Necklace]] | ||
| style="text-align: center;" |1 | | style="text-align: center;" |1 | ||
| Line 147: | Line 149: | ||
| style="text-align: right;" |200,000 | | style="text-align: right;" |200,000 | ||
|- | |- | ||
| − | | | + | |{{img|Diamond Necklace|45}} |
|[[Diamond Necklace]] | |[[Diamond Necklace]] | ||
| style="text-align: center;" |1 | | style="text-align: center;" |1 | ||
| Line 153: | Line 155: | ||
| style="text-align: right;" |300,000 | | style="text-align: right;" |300,000 | ||
|- | |- | ||
| − | | | + | |{{img|Black Opal Necklace|45}} |
|[[Black Opal Necklace]] | |[[Black Opal Necklace]] | ||
| style="text-align: center;" |1 | | style="text-align: center;" |1 | ||
Latest revision as of 01:08, 1 June 2025

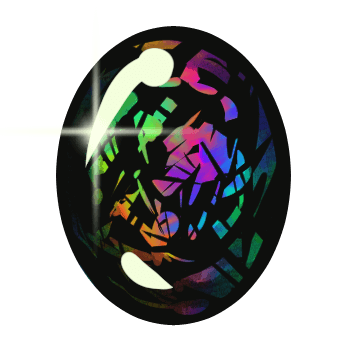
The Mysterious Man, not to be mistaken with the Mysterious Man (helmet) with the same name, was an April 2020 Event exclusive monster appearing in all combat zones at random.
There were also a blue illusion variant which does no damage and drops no loot.
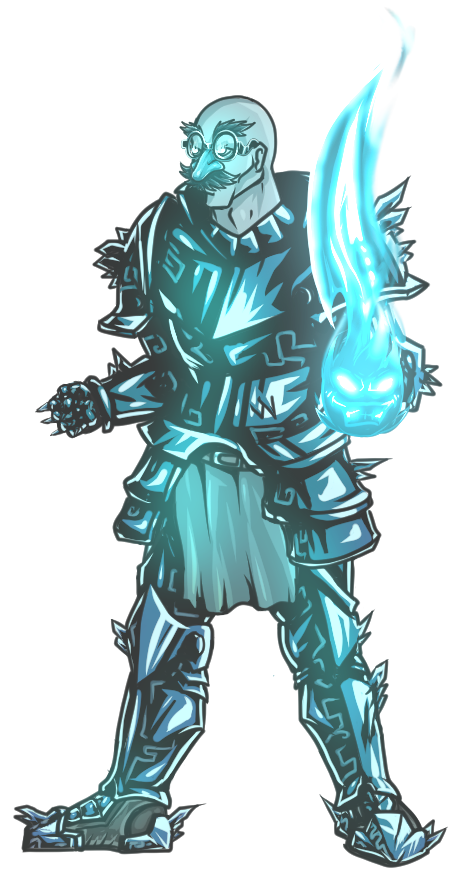
All damage dealt to the Mysterious Man are reduced down to one so a fast weapon is recommended to defeat them.
Drops
Main Drops
| Image | Item | Quantity | Rarity | Price |
|---|---|---|---|---|
| Mysterious Man (helmet) | 1 | |||
| Corny Joke | 1 | |||
| Death Metal Wig | 1 | |||

|
Sapphire | 1 | 1,000 | |
|
Emerald | 1 | 2,000 | |
|
Ruby | 1 | 5,000 | |
|
Diamond | 1 | 10,000 | |
|
Black Opal | 1 | 50,000 | |

|
Gold Ring | 1 | 100,000 | |
|
Sapphire Ring | 1 | 120,000 | |
|
Emerald Ring | 1 | 140,000 | |
|
Ruby Ring | 1 | 200,000 | |
|
Diamond Ring | 1 | 300,000 | |
|
Black Opal Ring | 1 | 1,500,000 | |
|
Gold Necklace | 1 | 100,000 | |

|
Sapphire Necklace | 1 | 120,000 | |
|
Emerald Necklace | 1 | 140,000 | |
|
Ruby Necklace | 1 | 200,000 | |
|
Diamond Necklace | 1 | 300,000 | |
|
Black Opal Necklace | 1 | 1,500,000 |
| Monsters | |
|---|---|
| Regular |
Small Rat •
|
| Gathering | |
| Elite |
Elite Chicken •
Elite Goblin •
Elite Black Knight •
|
| Dungeon |
|
| Event |
|
 Chicken
 Cow
Cow Goblin
 Greater Imp
 Guard
Guard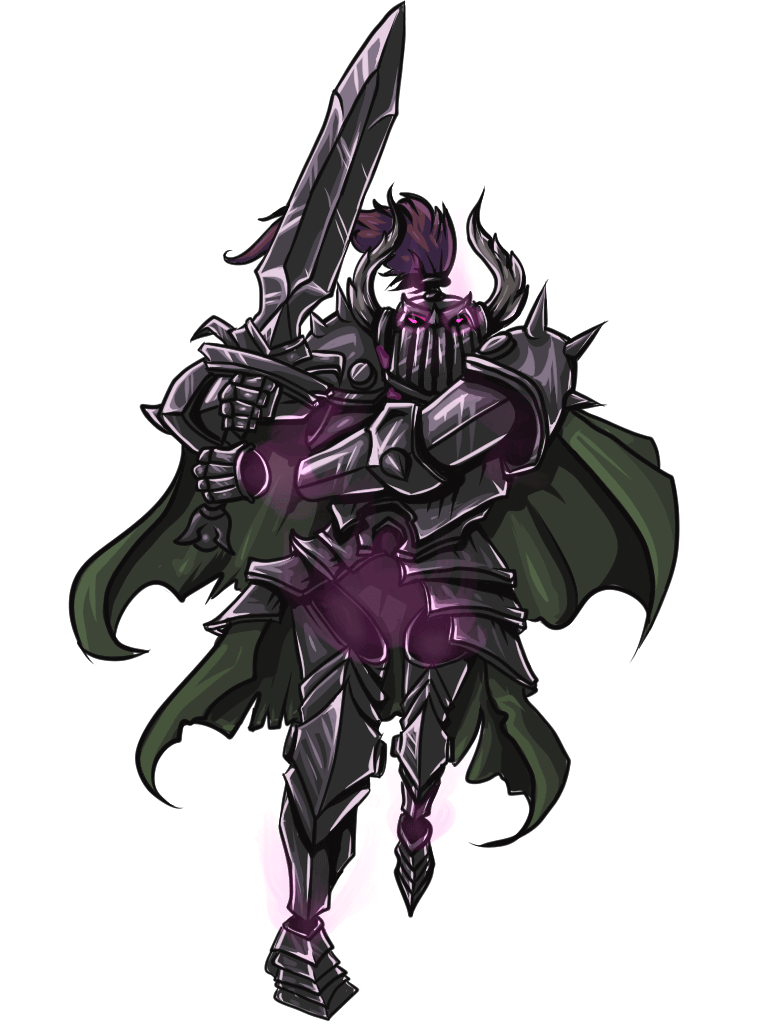 Black Knight
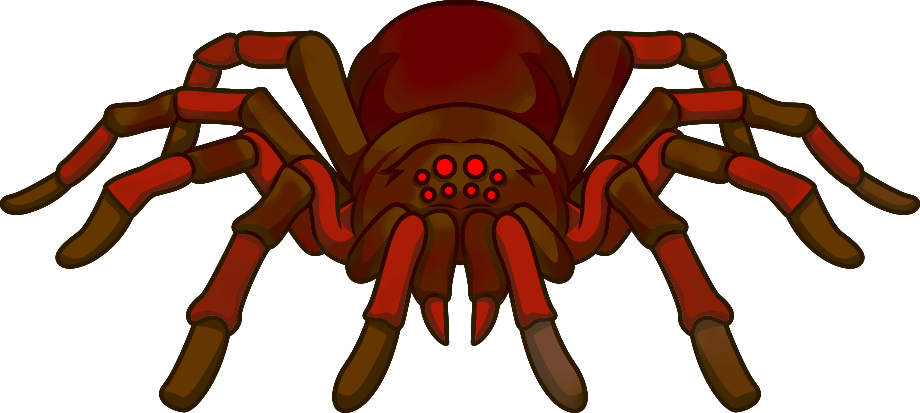 Deadly Red Spider
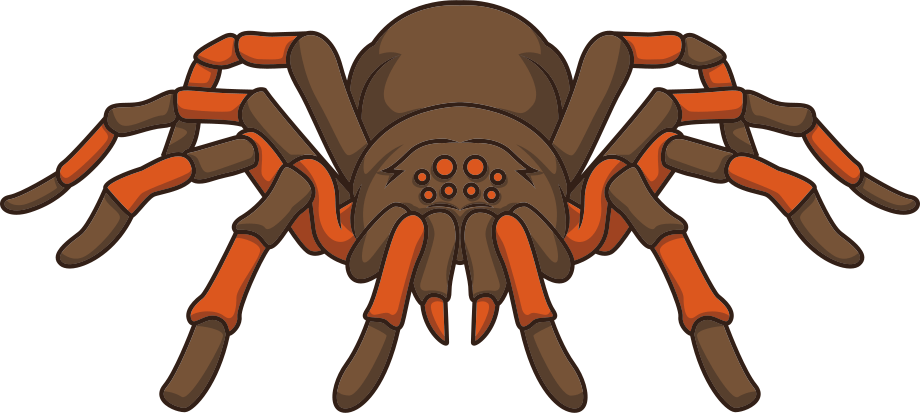 Deadly Spider
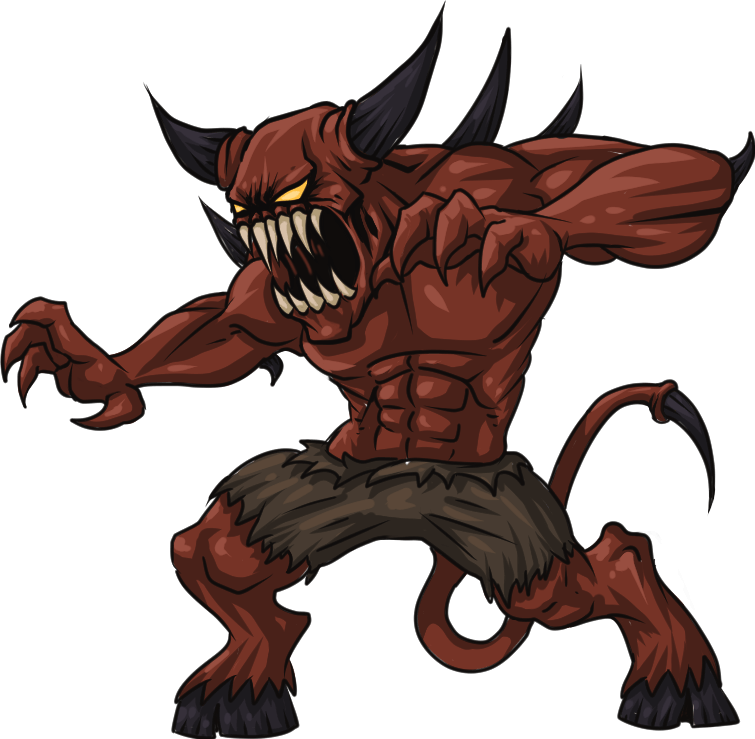 Lesser Demon
 Corrupted Tree
 Bone Giant
 Fire Giant
 Moss Giant
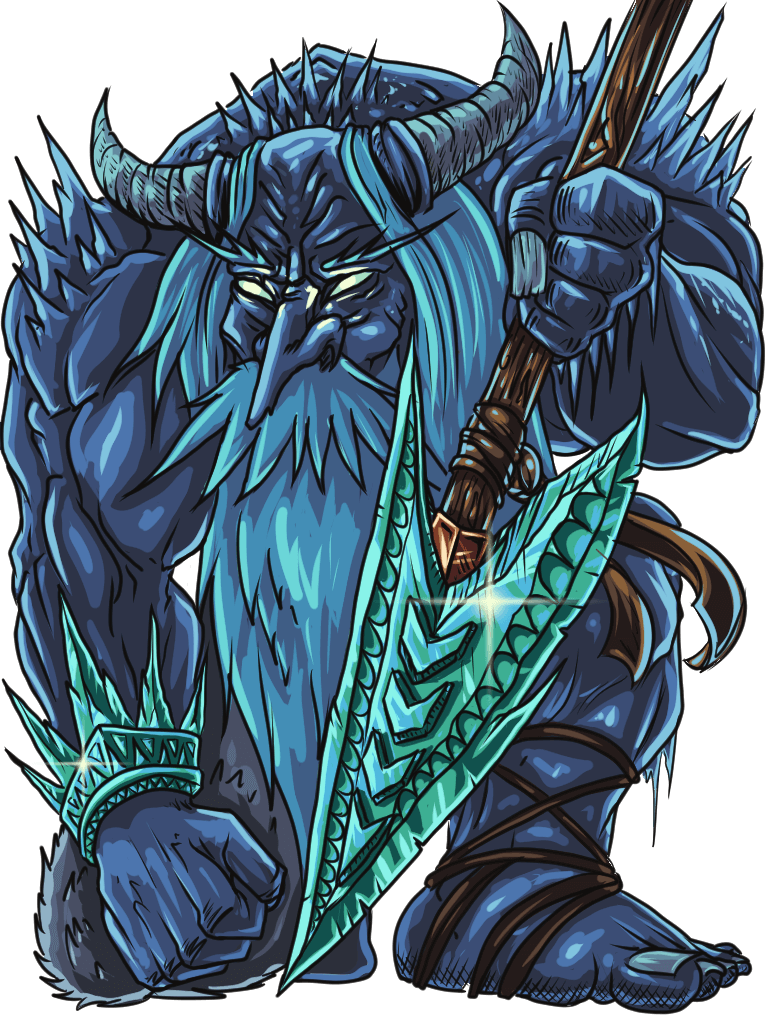 Ice Giant
 Chaos Giant
 Chaotic Abomination
 Greater Demon
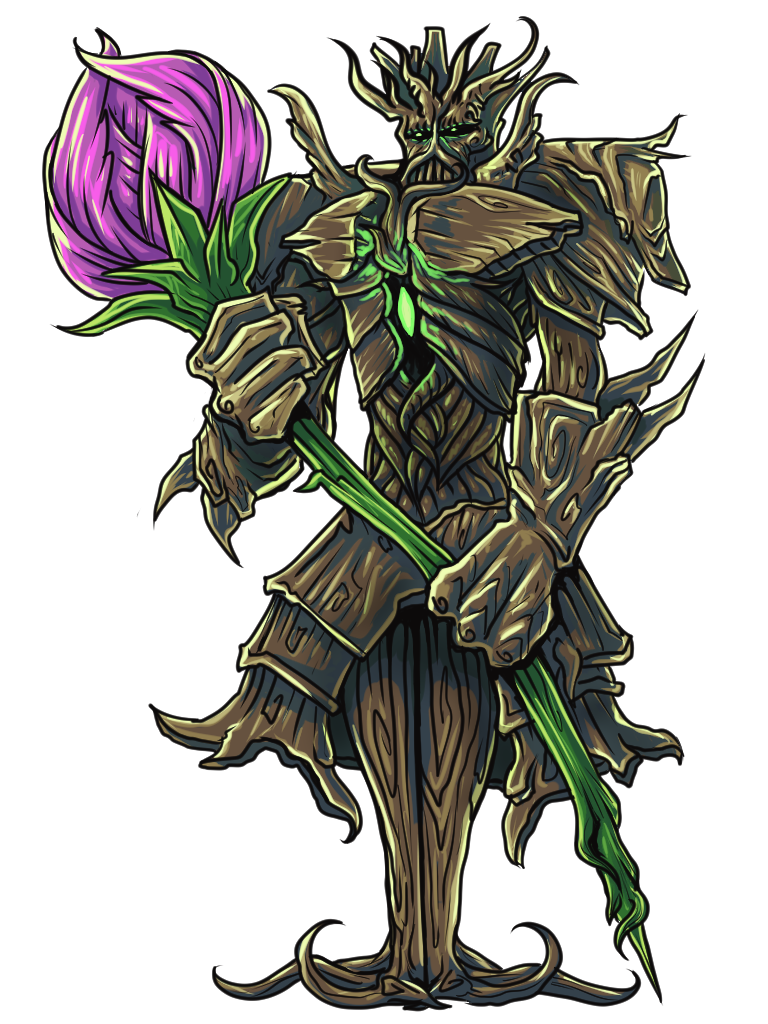 Spriggan
 Swordfish
 Ascended
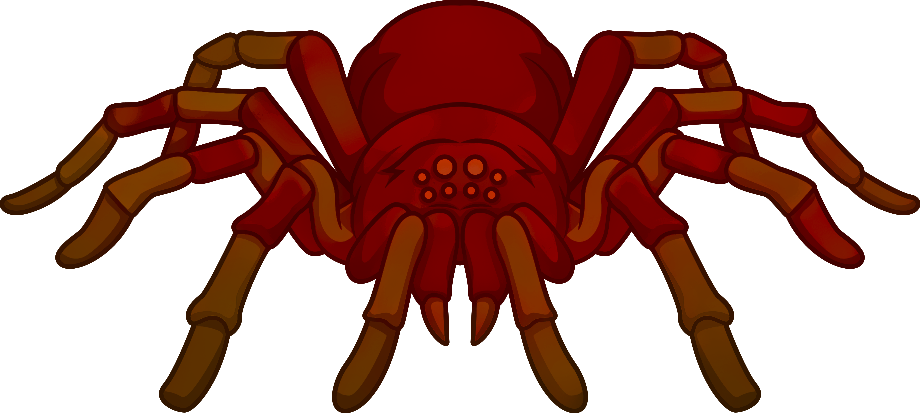 Blood Spider
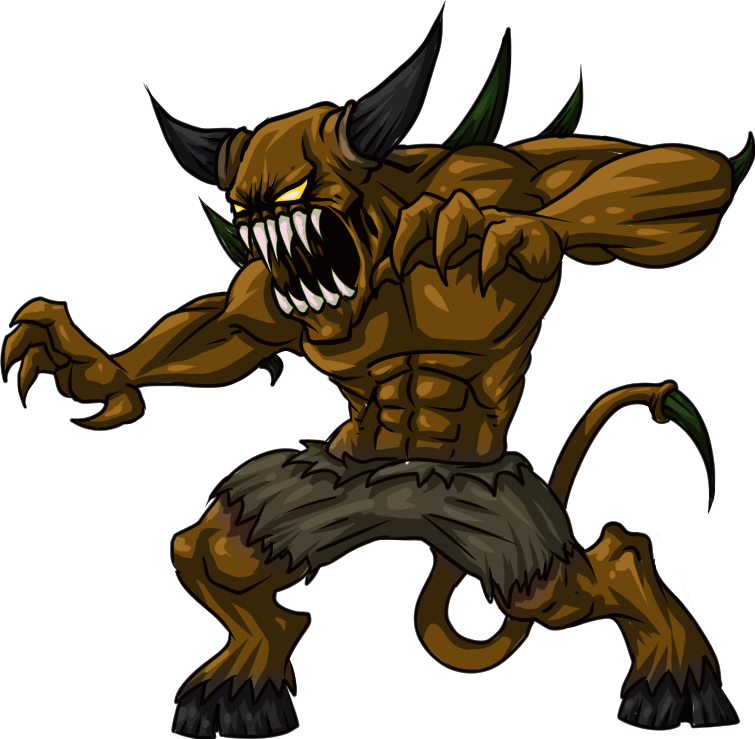 Vassal Demon
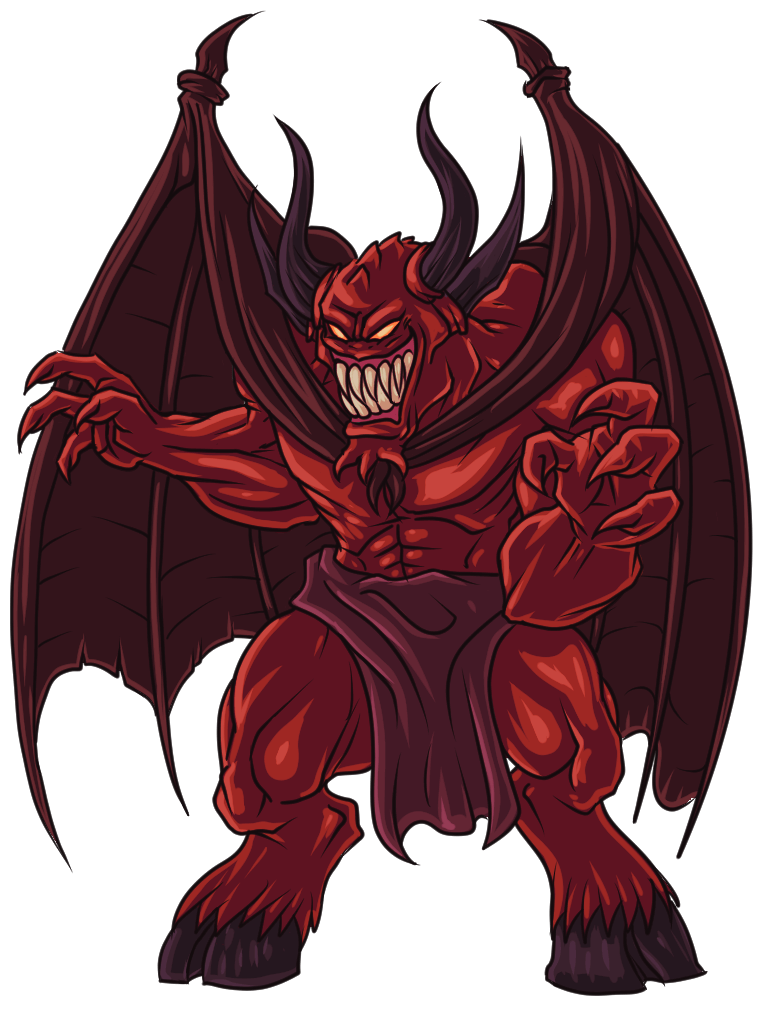 Overseer Demon
 Black Knight Titan
 Giant King
 Aberrant Shrimp
 Gummy Shark