Difference between revisions of "Ancient Maelstrom Orb"
Jump to navigation
Jump to search
ShadyDingo (talk | contribs) |
LilMissMDK (talk | contribs) m (removed Category:Combat using HotCat) |
||
| (3 intermediate revisions by the same user not shown) | |||
| Line 1: | Line 1: | ||
| − | + | {{Infobox Location | |
| + | |title = The Maelstrom | ||
|zone-type = [[Combat]] | |zone-type = [[Combat]] | ||
|dangerous = Yes | |dangerous = Yes | ||
| − | |monsters = {{ | + | |monsters = {{img|The Shrimp God - Phase 1|20}} {{img|The Shrimp God - Phase 2|20}} |
|combat-drops = Shrimp Scepter, Shrimp Stinger, Shrimp Tail, Devourer's Band | |combat-drops = Shrimp Scepter, Shrimp Stinger, Shrimp Tail, Devourer's Band | ||
| − | |recommended-stats = | + | |recommended-stats = 90+ (base) |
| − | + | |recommended-style = Any | |
| − | |recommended-style = | + | }} |
| − | }} | ||
| − | A maximum of 5 players/mercenaries can enter | + | The '''{{PAGENAME}}''' is a key to the Maelstrom dungeon. A maximum of 5 players/mercenaries can enter this dungeon. |
| − | == | + | ==Acquisition== |
| − | + | The Ancient Maelstrom Orb may be purchased in the [[Marketplace]] or crafted: | |
| − | + | {{Item Recipes}} | |
| − | |||
| − | |||
| − | |||
| − | |||
| − | |||
| − | |||
| − | |||
| − | |||
| − | |||
| − | |||
| − | |||
| − | |||
| − | |||
| − | |||
| − | |||
| − | |||
==Recommended Gear== | ==Recommended Gear== | ||
| Line 46: | Line 30: | ||
==Monsters== | ==Monsters== | ||
| + | Three Phase 1 Shrimp God monsters will appear in the first half of the battle. For the second half of the battle, two Phase 1 monsters will appear and finally one of the Phase 2 Shrimp God monsters will attack. | ||
| + | |||
{| class="wikitable" | {| class="wikitable" | ||
| − | !Monster | + | !Monster !!Encounters !!Max hit !!Hp !!Notable drops |
| − | !Encounters | ||
| − | !Max hit | ||
| − | !Hp | ||
| − | !Notable drops | ||
|- | |- | ||
| − | |{{img|The Shrimp God - Phase 1 | + | |{{img|The Shrimp God - Phase 1|35|word=1}} ||5 ||??? ||250,000 |
| − | |5 | + | |{{img|Aqueous Chunks|35|word=1}}<br>{{img|Frost Shard|35|word=1}}<br>{{img|Ancient Trident|35|word=1}} |
| − | |??? | ||
| − | |250,000 | ||
| − | |{{img| | ||
|- | |- | ||
| − | |{{img|The Shrimp God - Phase 2 | + | |{{img|The Shrimp God - Phase 2|35|word=1}} ||1 ||??? ||250,000 |
| − | |1 | + | |{{img|Aqueous Chunks|35|word=1}}<br>{{img|Frost Shard|35|word=1}}<br>{{img|Ancient Trident|35|word=1}} |
| − | |??? | ||
| − | |250,000 | ||
| − | |{{img| | ||
|} | |} | ||
==Notable Drops== | ==Notable Drops== | ||
{| class="wikitable" | {| class="wikitable" | ||
| − | !Item | + | !Item !!Rarity !!Market Price Each |
| − | !Rarity | ||
| − | !Market Price Each | ||
|- | |- | ||
| − | |{{img| | + | |{{img|Aqueous Chunks|35|word=1}} ||100% |
| − | |100% | ||
|{{img|gold|32}}{{#iferror: {{#expr:{{market|aqueous chunks}}/1}}|No price data|{{AddSeparator|{{market|aqueous chunks}}}}}} | |{{img|gold|32}}{{#iferror: {{#expr:{{market|aqueous chunks}}/1}}|No price data|{{AddSeparator|{{market|aqueous chunks}}}}}} | ||
|- | |- | ||
| − | |{{img| | + | |{{img|Frost Shard|35|word=1}} ||100% |
| − | |100% | + | |{{img|Gold|32}}{{#iferror: {{#expr:{{market|frost shard}}/1}}|No price data|{{AddSeparator|{{market|frost shard}}}}}} |
| − | |{{img| | ||
|- | |- | ||
| − | |{{img| | + | |{{img|Shrimp Scepter|35|word=1}} ||1.562% |
| − | | | ||
|{{img|gold|32}}{{#iferror: {{#expr:{{market|shrimp scepter}}/1}}|No price data|{{AddSeparator|{{market|shrimp scepter}}}}}} | |{{img|gold|32}}{{#iferror: {{#expr:{{market|shrimp scepter}}/1}}|No price data|{{AddSeparator|{{market|shrimp scepter}}}}}} | ||
|- | |- | ||
| − | |{{img| | + | |{{img|Shrimp Stinger|35|word=1}} ||1.562% |
| − | | | ||
|{{img|gold|32}}{{#iferror: {{#expr:{{market|shrimp stinger}}/1}}|No price data|{{AddSeparator|{{market|shrimp stinger}}}}}} | |{{img|gold|32}}{{#iferror: {{#expr:{{market|shrimp stinger}}/1}}|No price data|{{AddSeparator|{{market|shrimp stinger}}}}}} | ||
|- | |- | ||
| − | |{{img|shrimp tail|auto|35|word=1}} | + | |{{img|shrimp tail|auto|35|word=1}} ||1.562% |
| − | | | ||
|{{img|gold|32}}{{#iferror: {{#expr:{{market|shrimp tail}}/1}}|No price data|{{AddSeparator|{{market|shrimp tail}}}}}} | |{{img|gold|32}}{{#iferror: {{#expr:{{market|shrimp tail}}/1}}|No price data|{{AddSeparator|{{market|shrimp tail}}}}}} | ||
|- | |- | ||
| − | |{{img| | + | |{{img|Ring of Taxes|35|word=1}} ||3.125% |
| − | | | + | |{{img|gold|32}}{{#iferror: {{#expr:{{market|ring of taxes}}/1}}|No price data|{{AddSeparator|{{market|ring of taxes}}}}}} |
| − | |{{img|gold|32}}{{#iferror: {{#expr:{{market| | ||
|- | |- | ||
| − | |{{img| | + | |{{img|Devourer's Band|35|word=1}} ||2.083% |
| − | | | ||
|{{img|gold|32}}{{#iferror: {{#expr:{{market|devourer's band}}/1}}|No price data|{{AddSeparator|{{market|devourer's band}}}}}} | |{{img|gold|32}}{{#iferror: {{#expr:{{market|devourer's band}}/1}}|No price data|{{AddSeparator|{{market|devourer's band}}}}}} | ||
|- | |- | ||
| − | |{{img| | + | |{{img|Ancient Ring|35|word=1}} ||12.5% |
| − | | | ||
|{{img|gold|32}}{{#iferror: {{#expr:{{market|ancient ring}}/1}}|No price data|{{AddSeparator|{{market|ancient ring}}}}}} | |{{img|gold|32}}{{#iferror: {{#expr:{{market|ancient ring}}/1}}|No price data|{{AddSeparator|{{market|ancient ring}}}}}} | ||
|- | |- | ||
| − | |{{img| | + | |{{img|Ancient Token|35|word=1}} ||12.5% |
| − | | | ||
|{{img|gold|32}}{{#iferror: {{#expr:{{market|ancient token}}/1}}|No price data|{{AddSeparator|{{market|ancient token}}}}}} | |{{img|gold|32}}{{#iferror: {{#expr:{{market|ancient token}}/1}}|No price data|{{AddSeparator|{{market|ancient token}}}}}} | ||
| + | |- | ||
| + | |{{img|Alacrity Pendant|35|word=1}} ||3.125% | ||
| + | |{{img|gold|32}}{{#iferror: {{#expr:{{market|Alacrity Pendant}}/1}}|No price data|{{AddSeparator|{{market|Alacrity Pendant}}}}}} | ||
|} | |} | ||
| − | + | ==Drops== | |
| − | + | ||
| + | {{Loot table|name=The Maelstrom}} | ||
Latest revision as of 16:04, 19 June 2025
 | |
| Type of zone | Combat |
|---|---|
| Dangerous | Yes |
| Encounters | |
| Monsters | 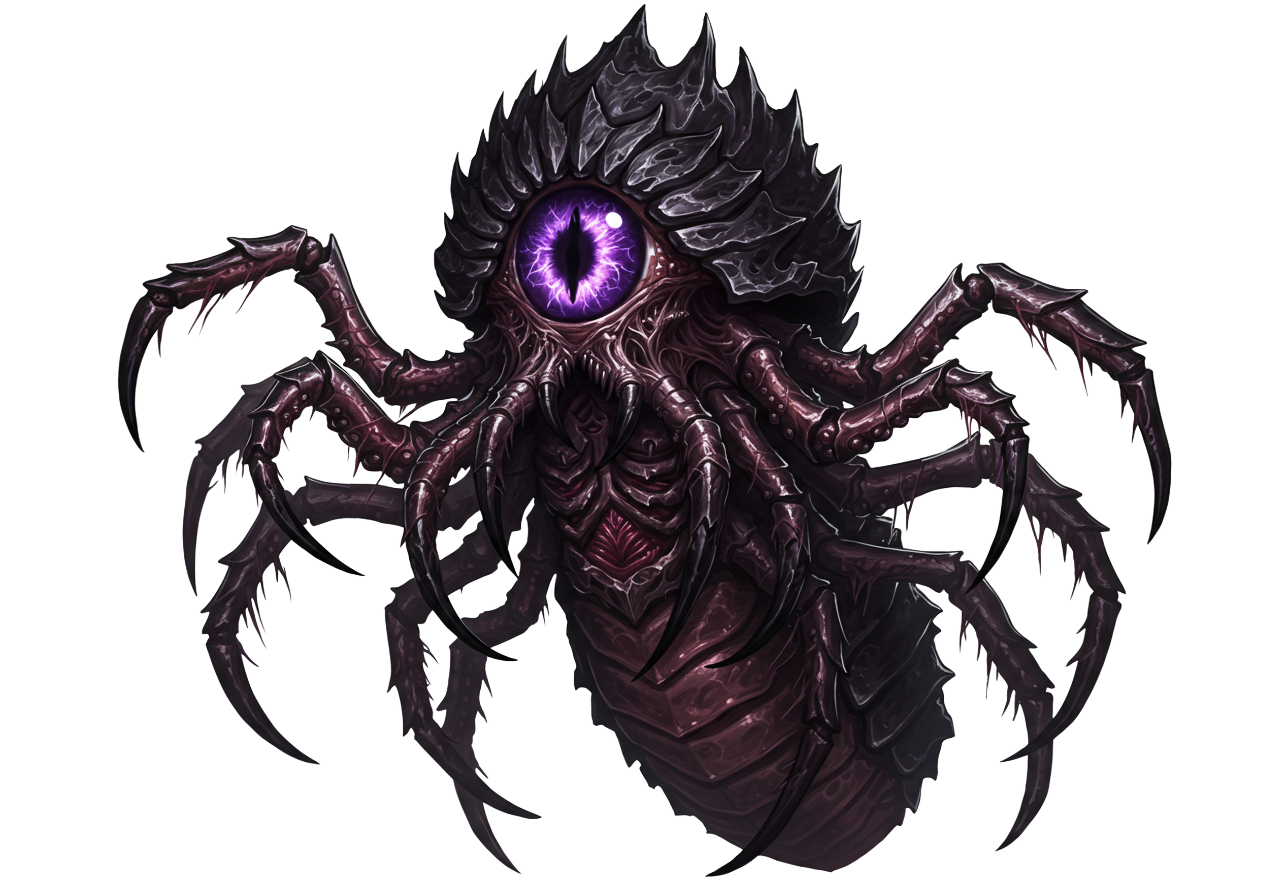 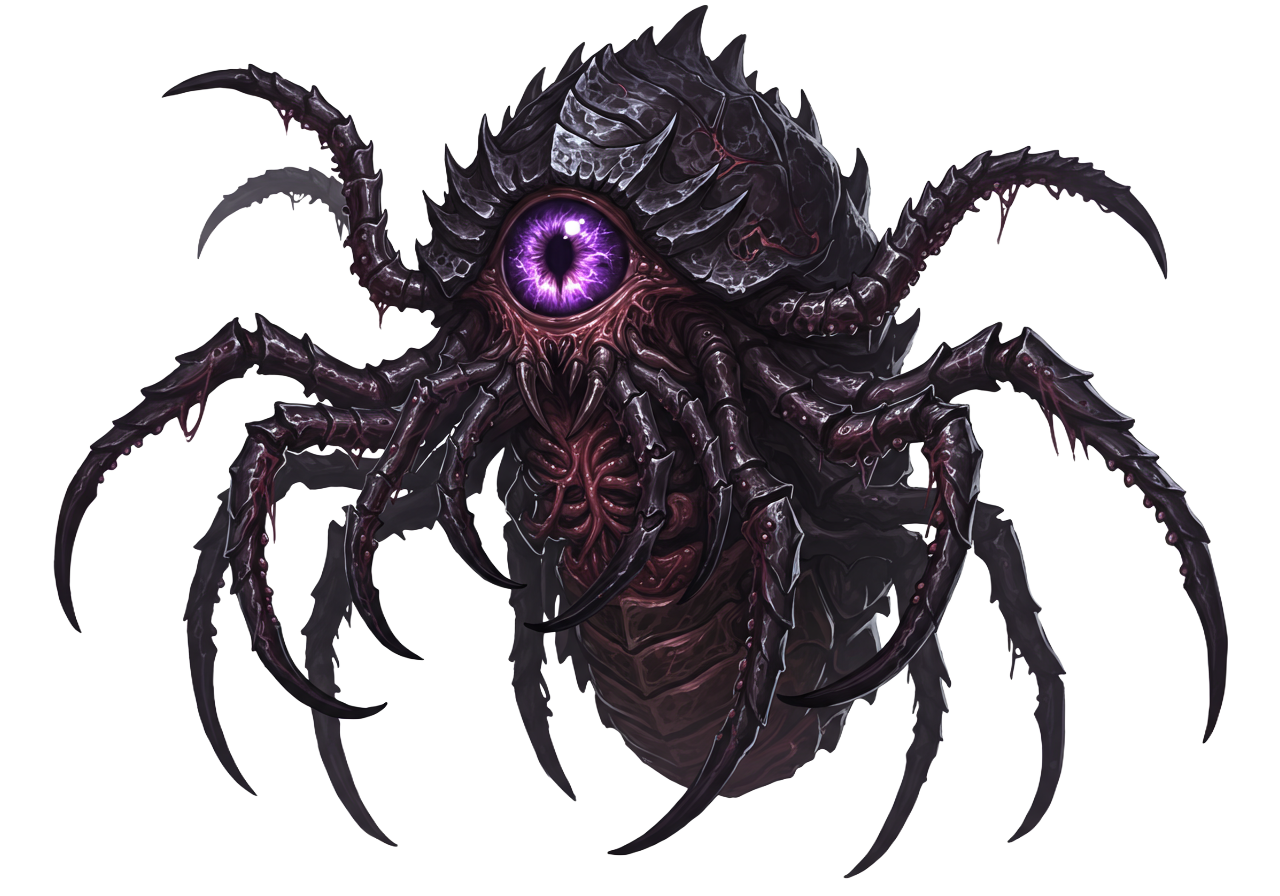 |
| Notable Drops | Shrimp Scepter, Shrimp Stinger, Shrimp Tail, Devourer's Band |
| Zone Recommendations | |
| Rec. Combat Levels | 90+ (base) |
| Rec. Combat Style | Any |
The Ancient Maelstrom Orb is a key to the Maelstrom dungeon. A maximum of 5 players/mercenaries can enter this dungeon.
Contents
Acquisition
The Ancient Maelstrom Orb may be purchased in the Marketplace or crafted:
| Icon | Name | Skill: Level | Experience | Recipe |
|---|---|---|---|---|
 | Ancient Maelstrom Orb | 112,500 |  x50, x50,  x500, x500, 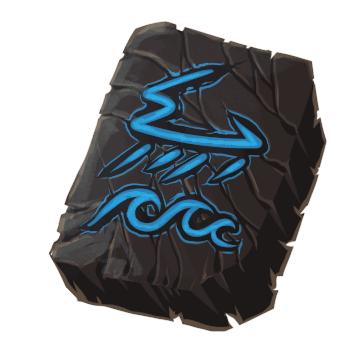 x500, x500, 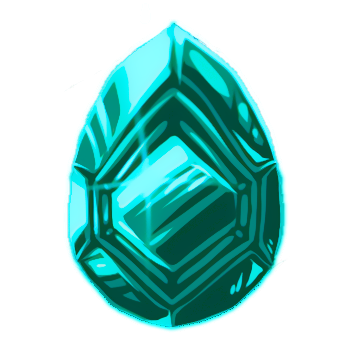 x50, x50, 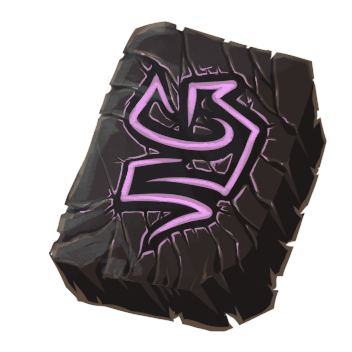 x500, x500, 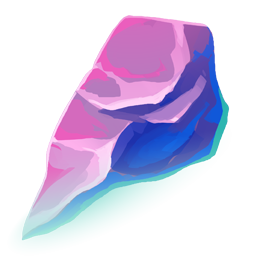 x4 x4 | |
 x13 x13 |
Recommended Gear
Difficulties 1-10
- Level: [?]
- Armor: [?]
- Weapon: Melee [?]
Difficulties 11+
- Level: [?]
- Armor: [?]
- Weapon: Melee [?]
Monsters
Three Phase 1 Shrimp God monsters will appear in the first half of the battle. For the second half of the battle, two Phase 1 monsters will appear and finally one of the Phase 2 Shrimp God monsters will attack.
| Monster | Encounters | Max hit | Hp | Notable drops |
|---|---|---|---|---|
 The Shrimp God - Phase 1 The Shrimp God - Phase 1 |
5 | ??? | 250,000 |  Aqueous Chunks Aqueous Chunks Frost Shard Frost Shard |
 The Shrimp God - Phase 2 The Shrimp God - Phase 2 |
1 | ??? | 250,000 |  Aqueous Chunks Aqueous Chunks Frost Shard Frost Shard |
Notable Drops
| Item | Rarity | Market Price Each |
|---|---|---|
 Aqueous Chunks Aqueous Chunks |
100% | |
 Frost Shard Frost Shard |
100% | |
| 1.562% | ||
| 1.562% | ||
| 1.562% | ||
 Ring of Taxes Ring of Taxes |
3.125% | |
 Devourer's Band Devourer's Band |
2.083% | |
 Ancient Ring Ancient Ring |
12.5% | |
 Ancient Token Ancient Token |
12.5% | |
 Alacrity Pendant Alacrity Pendant |
3.125% |
Drops
| Item | Quantity | Rarity | Vendor value | |
|---|---|---|---|---|
| A Diamond Plated Bug | 2–6 | 100% | 2,000,000–6,000,000 | |
| A Diamond Plated Bug | 4–8 | 50% | 4,000,000–8,000,000 | |
| A Diamond Plated Bug | 4–16 | 10% | 4,000,000–16,000,000 |
| Item | Quantity | Rarity | Vendor value | Leagues | |
|---|---|---|---|---|---|
| Small Gathering Supply Crate | 1 | 90% | 1,000 | ||
| Gathering Supply Crate | 1 | 50% | 1,000 | ||
| Large Gathering Supply Crate | 1 | 30% | 1,000 |