Difference between revisions of "Overgrown Castle"
(Added more details on the Overgrown castle.) |
(Added more details on the Overgrown castle.) |
||
| Line 1: | Line 1: | ||
{{Infobox Location|title=OverGrown Castle|image=https://i.gyazo.com/ccd0127f306184f9c10ecc105d2ff3b5.png|rel-date=Refactor|zone-type=Combat|dangerous=yes|max-players=3|monsters=|recommended-stats=50+|recommended-gear=|recommended-style=Melee, piercing}} | {{Infobox Location|title=OverGrown Castle|image=https://i.gyazo.com/ccd0127f306184f9c10ecc105d2ff3b5.png|rel-date=Refactor|zone-type=Combat|dangerous=yes|max-players=3|monsters=|recommended-stats=50+|recommended-gear=|recommended-style=Melee, piercing}} | ||
| + | |||
'''The Overgrown Castle''' is a 3 player/mercenaries combat location that can be accessed by using the [[Castle Map]] Dungeon key. | '''The Overgrown Castle''' is a 3 player/mercenaries combat location that can be accessed by using the [[Castle Map]] Dungeon key. | ||
| − | The base dungeon is pretty low-medium difficulty and should be doable with a tank and 2 dps players/mercenaries. | + | The base dungeon is pretty low-medium difficulty and should be doable with a tank and 2 dps players/mercenaries for a relatively safe run,or 3 dps players/mercenaries for a riskier run. |
| − | Range is recommended because the monsters in the dungeon | + | Range is recommended because the monsters in the dungeon are all classified as a beast, and all beasts in this dungeon have a negative defensive affinity to range and piercing. |
| + | |||
| + | That means, you are recommended to take a range loadout that does piercing and range damage. | ||
==Dungeon Key== | ==Dungeon Key== | ||
| Line 14: | Line 17: | ||
|- | |- | ||
|{{img|Castle Map|45|45|word=1}}||3 | |{{img|Castle Map|45|45|word=1}}||3 | ||
| − | |{{img|1=Range|2=25|3=25|word=1}}Level 50+ | + | |{{img|1=Range|2=25|3=25|word=1}} (Level 50+) |
|} | |} | ||
==Dungeon Info== | ==Dungeon Info== | ||
| + | There are three waves in this dungeon. Their details are: | ||
| − | + | ======1st wave====== | |
| − | + | This will always spawn 40 monsters of two types, either the wolves or the wild boars. | |
| − | 50% spawn | + | Either of them has a 50% chance to spawn, so you can expect to never see a uniform spawn count. But a average of 20 wolves and 20 boars can be expected, but not guaranteed. |
| − | |||
| − | + | The monsters will spawn 4 at a time, so there will be 10 sets of 4 monsters in a wave, where wolves and boars will spawn. | |
| + | <br /> | ||
| + | ======2nd wave====== | ||
| + | This will always 12 Nox wolves. This is a 100% spawn rate. | ||
| + | <br /> | ||
| + | |||
| + | ======3rd wave====== | ||
| + | This will always spawn 2 monsters of two types, either the ANGY BOAR, or the ANGY WOLF. | ||
| + | |||
| + | Either of them has a 50% chance to spawn, so you can expect to never see them in a 1:1 ratio,and can expect to face either one of them only or both of them per dungeon. | ||
| − | |||
| − | |||
===Monsters=== | ===Monsters=== | ||
| − | {| class="wikitable" | + | {| class="wikitable mw-collapsible mw-collapsed" |
!Monster | !Monster | ||
!Encounters | !Encounters | ||
| − | ! | + | !Offensive Affinities |
| − | ! | + | !Defensive Affinities |
!List of All Drops Available with their drop rate | !List of All Drops Available with their drop rate | ||
|- | |- | ||
|{{Img|wild boar|60|auto|word=1}} | |{{Img|wild boar|60|auto|word=1}} | ||
|0-40 | |0-40 | ||
| − | | | + | |Melee: 20% |
| − | + | Magic: 0% | |
| − | |||
| − | |||
| − | + | Range: 0% | |
| + | |Melee: 20% | ||
| + | Magic: 10% | ||
| − | + | Range: -20% | |
| − | {{img|Bone|25|25|word=1}}( | + | Piercing: -33.3% |
| + | |{{img|Monster Tooth|25|25|word=1}}(10%){{img|Tusk|25|25|word=1}}(10%) | ||
| + | {{img|Valuable Furs|25|25|word=1}}(10%){{img|Bone Shards|25|25|word=1}}(5%) | ||
| − | {{img|Fur|25|25|word=1}}(2%) | + | {{img|Bone|25|25|word=1}}(4%) {{img|Fur|25|25|word=1}}(2%) |
| − | {{img|Hide|25|25|word=1}}(1.33%) | + | {{img|Hide|25|25|word=1}}(1.33%) {{img|Rough Hide|25|25|word=1}}(1%) |
| − | {{img| | + | {{img|Basic Runic Dust|25|25|word=1}}(1%) {{img|Partial Map|25|25|word=1}}(6.7/10k) |
| − | + | {{img|Book|25|25|word=1}}(1.0/10k){{img|Overgrown Woods Scroll|25|25|word=1}}(0.7/10k) | |
| − | |||
| − | |||
| − | |||
| − | {{img|Book|25|25|word=1}}(1.0/10k) | ||
| − | |||
| − | {{img|Overgrown Woods Scroll|25|25|word=1}}(0.7/10k) | ||
|- | |- | ||
|{{Img|wolf|60|auto|word=1}} | |{{Img|wolf|60|auto|word=1}} | ||
|0-40 | |0-40 | ||
| − | | | + | |Melee: 20% |
| − | + | Magic: 0% | |
| − | |||
| − | |||
| − | + | Range: 0% | |
| + | |Melee: 20% | ||
| + | Magic: 10% | ||
| − | + | Range: -20% | |
| − | {{img| | + | Piercing: -33.3% |
| + | |{{img|Monster Tooth|25|25|word=1}}(40%){{img|Bone Shards|25|25|word=1}}(40%) | ||
| + | {{img|Valuable Furs|25|25|word=1}}(20%){{img|Bone|25|25|word=1}}(5%) | ||
| − | {{img|Hide|25|25|word=1}}(1.67%) | + | {{img|Fur|25|25|word=1}}(2.5%){{img|Hide|25|25|word=1}}(1.67%) |
| − | {{img|Rough Hide|25|25|word=1}}(1.33%) | + | {{img|Rough Hide|25|25|word=1}}(1.33%){{img|Unusual Runic Dust|25|25|word=1}}(1%) |
| − | + | {{img|Partial Map|25|25|word=1}}(6.7/10k) {{img|Overgrown Woods Scroll|25|25|word=1}}(0.7/10k) | |
| − | |||
| − | {{img|Partial Map|25|25|word=1}}(6.7/10k) | ||
| − | |||
| − | {{img|Overgrown Woods Scroll|25|25|word=1}}(0.7/10k) | ||
|- | |- | ||
|{{Img|nox wolf|60|auto|word=1}} | |{{Img|nox wolf|60|auto|word=1}} | ||
|12 | |12 | ||
| − | | | + | |Melee: 20% |
| − | + | Magic: 0% | |
| − | |||
| − | |||
| − | |||
| − | |||
| − | + | Range: 0% | |
| + | |Melee: 40% | ||
| + | Magic: 20% | ||
| − | + | Nature: -10% | |
| − | + | Range: -20% | |
| − | + | Fire: -30% | |
| − | + | Ice: -30% | |
| − | {{img| | + | Piercing: -33.3% |
| + | |{{img|Valuable Furs|25|25|word=1}}(66% for 1-8){{img|Monster Tooth|25|25|word=1}}(50% for 1-8) | ||
| + | {{img|Bone Shards|25|25|word=1}}(50% for 1-8){{img|Monster Tooth|25|25|word=1}}(10% for 1-8) | ||
| − | {{img| | + | {{img|Bone Shards|25|25|word=1}}(10% for 1-8){{img|Valuable Furs|25|25|word=1}}(10% for 1-8) |
| − | {{img| | + | {{img|Unusual Runic Dust|25|25|word=1}}(10%){{img|Bone|25|25|word=1}}(8.33%) |
| − | {{img| | + | {{img|Fur|25|25|word=1}}(4.17%){{img|Hide|25|25|word=1}}(3.33%) |
| − | {{img| | + | {{img|Rough Hide|25|25|word=1}}(2.27%){{img|Partial Map|25|25|word=1}}(2%) |
| − | {{img|Charred Pelt|25|25|word=1}}(0.1%) | + | {{img|Overgrown Woods Scroll|25|25|word=1}}(0.2%){{img|Charred Pelt|25|25|word=1}}(0.1%) |
{{img|Armor and its Weakness|25|25|word=1}}(0.1%) | {{img|Armor and its Weakness|25|25|word=1}}(0.1%) | ||
| Line 125: | Line 129: | ||
|{{Img|ANGY WOLF|60|auto|word=1}} | |{{Img|ANGY WOLF|60|auto|word=1}} | ||
|0-2 | |0-2 | ||
| − | | | + | |Melee: 33% |
| − | | | + | Magic: 0% |
| − | + | ||
| − | + | Range: 0% | |
| + | |Fire: 100% | ||
| + | Melee: 50% | ||
| + | |||
| + | Magic: 0% | ||
| − | + | Range: -10% | |
| − | + | Nature: -25% | |
| − | + | Piercing: -25% | |
| − | {{img| | + | Ice: -50% |
| + | |{{img|Prime Runic Dust|25|25|word=1}}(10%){{img|Bone|25|25|word=1}}(8.33%) | ||
| + | {{img|Fur|25|25|word=1}}(4.17%){{img|Hide|25|25|word=1}}(3.33%) | ||
| − | {{img|Bestial | + | {{img|Rough Hide|25|25|word=1}}(2.27%){{img|Bestial Dagger|25|25|word=1}}(1%) |
| − | {{img|Charred Pelt|25|25|word=1}}(1%) | + | {{img|Bestial Defender|25|25|word=1}}(1%){{img|Charred Pelt|25|25|word=1}}(1%) |
|- | |- | ||
|{{Img|Angy boar|60|auto|word=1}} | |{{Img|Angy boar|60|auto|word=1}} | ||
|0-2 | |0-2 | ||
| − | | | + | |Melee: 33% |
| − | | | + | Magic: 0% |
| − | + | ||
| − | + | Range: 0% | |
| + | |Fire: 100% | ||
| + | Melee: 50% | ||
| + | |||
| + | Magic: 0% | ||
| − | + | Range: -10% | |
| − | + | Nature: -25% | |
| − | + | Piercing: -25% | |
| − | {{img| | + | Ice: -50% |
| + | |{{img|Prime Runic Dust|25|25|word=1}}(10%){{img|Bone|25|25|word=1}}(8.33%) | ||
| + | {{img|Fur|25|25|word=1}}(4.17%){{img|Hide|25|25|word=1}}(3.33%) | ||
| − | {{img|Bestial | + | {{img|Rough Hide|25|25|word=1}}(2.27%){{img|Bestial Dagger|25|25|word=1}}(1%) |
| − | {{img|Charred Pelt|25|25|word=1}}(1%) | + | {{img|Bestial Defender|25|25|word=1}}(1%){{img|Charred Pelt|25|25|word=1}}(1%) |
|} | |} | ||
| + | |||
| + | |||
==Some Important Info on the dungeon:== | ==Some Important Info on the dungeon:== | ||
This dungeon primarily has beasts from the [[Overgrown woods]] combat zone. That means they'll be dropping a lot of junk. Taking the [[Tax ring]] will give a big boost on profit from the dungeon, as it boosts junk drop chance. | This dungeon primarily has beasts from the [[Overgrown woods]] combat zone. That means they'll be dropping a lot of junk. Taking the [[Tax ring]] will give a big boost on profit from the dungeon, as it boosts junk drop chance. | ||
Revision as of 10:47, 28 March 2025
 | |
| Release Date | Refactor |
|---|---|
| Type of zone | Combat |
| Dangerous | yes |
| Encounters | |
| Max Players | 3 |
| Zone Recommendations | |
| Rec. Combat Levels | 50+ |
| Rec. Combat Style | Melee, piercing |
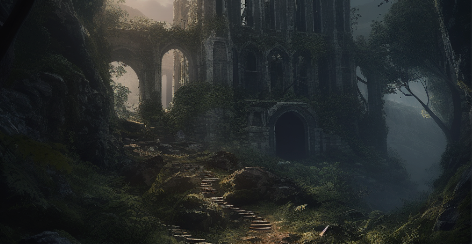
The Overgrown Castle is a 3 player/mercenaries combat location that can be accessed by using the Castle Map Dungeon key.
The base dungeon is pretty low-medium difficulty and should be doable with a tank and 2 dps players/mercenaries for a relatively safe run,or 3 dps players/mercenaries for a riskier run.
Range is recommended because the monsters in the dungeon are all classified as a beast, and all beasts in this dungeon have a negative defensive affinity to range and piercing.
That means, you are recommended to take a range loadout that does piercing and range damage.
Contents
Dungeon Key
| Item | Max Players | Recommended Level |
|---|---|---|
 Castle Map Castle Map |
3 |
Dungeon Info
There are three waves in this dungeon. Their details are:
1st wave
This will always spawn 40 monsters of two types, either the wolves or the wild boars.
Either of them has a 50% chance to spawn, so you can expect to never see a uniform spawn count. But a average of 20 wolves and 20 boars can be expected, but not guaranteed.
The monsters will spawn 4 at a time, so there will be 10 sets of 4 monsters in a wave, where wolves and boars will spawn.
2nd wave
This will always 12 Nox wolves. This is a 100% spawn rate.
3rd wave
This will always spawn 2 monsters of two types, either the ANGY BOAR, or the ANGY WOLF.
Either of them has a 50% chance to spawn, so you can expect to never see them in a 1:1 ratio,and can expect to face either one of them only or both of them per dungeon.
Monsters
| Monster | Encounters | Offensive Affinities | Defensive Affinities | List of All Drops Available with their drop rate |
|---|---|---|---|---|
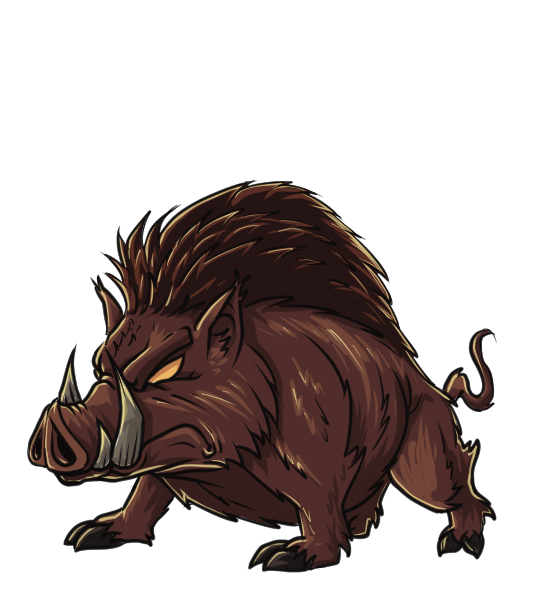 Wild Boar Wild Boar
|
0-40 | Melee: 20%
Magic: 0% Range: 0% |
Melee: 20%
Magic: 10% Range: -20% Piercing: -33.3% |
 Monster Tooth(10%) Monster Tooth(10%) Tusk(10%) Tusk(10%)
|
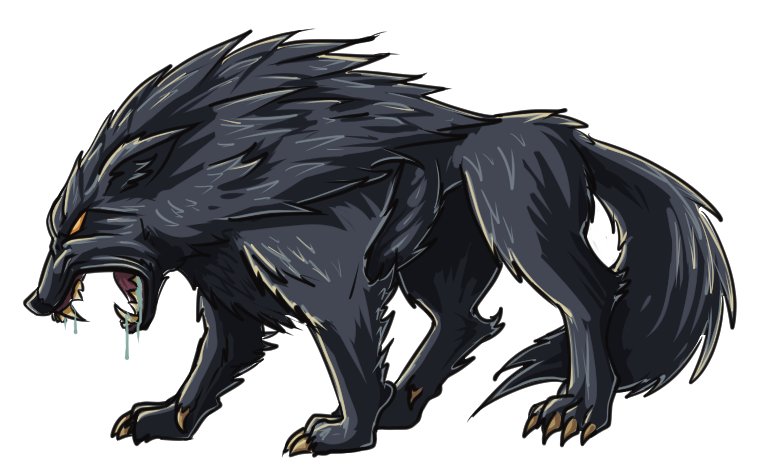 Wolf Wolf
|
0-40 | Melee: 20%
Magic: 0% Range: 0% |
Melee: 20%
Magic: 10% Range: -20% Piercing: -33.3% |
 Monster Tooth(40%) Monster Tooth(40%) Bone Shards(40%) Bone Shards(40%)
|
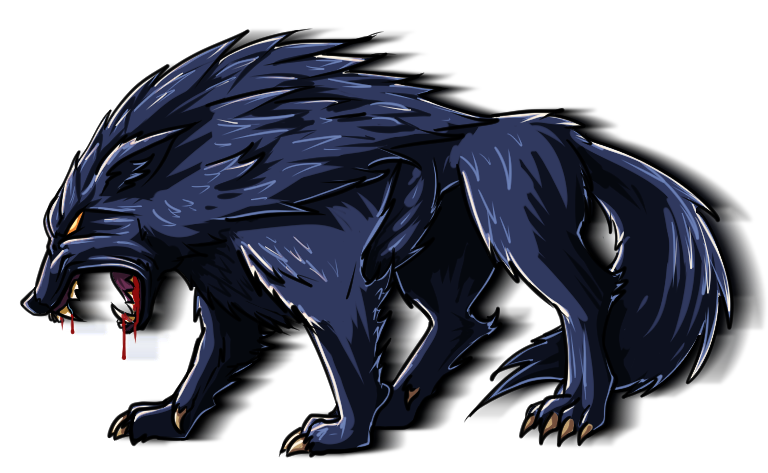 Nox Wolf Nox Wolf
|
12 | Melee: 20%
Magic: 0% Range: 0% |
Melee: 40%
Magic: 20% Nature: -10% Range: -20% Fire: -30% Ice: -30% Piercing: -33.3% |
 Valuable Furs(66% for 1-8) Valuable Furs(66% for 1-8) Monster Tooth(50% for 1-8) Monster Tooth(50% for 1-8)
Armor and its Weakness(0.1%) |
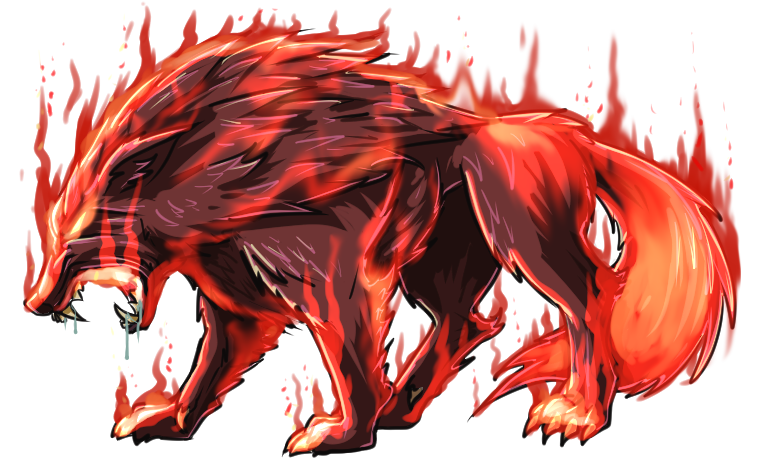 Angy Wolf Angy Wolf
|
0-2 | Melee: 33%
Magic: 0% Range: 0% |
Fire: 100%
Melee: 50% Magic: 0% Range: -10% Nature: -25% Piercing: -25% Ice: -50% |
 Prime Runic Dust(10%) Prime Runic Dust(10%) Bone(8.33%) Bone(8.33%)
|
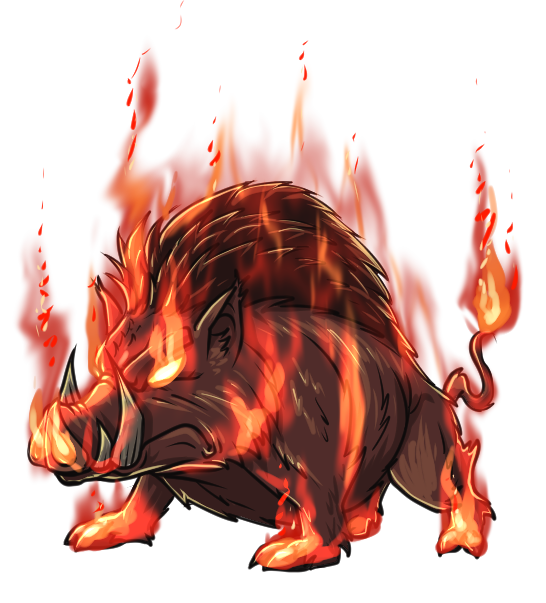 Angy Boar Angy Boar
|
0-2 | Melee: 33%
Magic: 0% Range: 0% |
Fire: 100%
Melee: 50% Magic: 0% Range: -10% Nature: -25% Piercing: -25% Ice: -50% |
 Prime Runic Dust(10%) Prime Runic Dust(10%) Bone(8.33%) Bone(8.33%)
|
Some Important Info on the dungeon:
This dungeon primarily has beasts from the Overgrown woods combat zone. That means they'll be dropping a lot of junk. Taking the Tax ring will give a big boost on profit from the dungeon, as it boosts junk drop chance.
Affixes like Lucky looter, Loaded Dice, Beast Hunter, Beast Slayer, Novice Treasure Hunter, Master Treasure Hunter help a lot on clearing the dungeon faster, and give more junk/drops from it.
The achievement "Castle Hunting" Gives another talent that further boosts your damage against beasts by 1%, so that's another thing to keep note of when running the dungeon.
 Fur
Fur Hide
Hide Rough Hide
 Basic Runic Dust
 Partial Map
 Book
Book Overgrown Woods Scroll
 Unusual Runic Dust
 Charred Pelt
 Bestial Dagger
 Bestial Defender