Difference between revisions of "Palace of Flame"
Jump to navigation
Jump to search
Spongiform (talk | contribs) m (Fixed some typos.) |
LilMissMDK (talk | contribs) (Condensing the description and fixing the Overheat link to point to the appropriate section. Removing some unneeded notes. Removed an unnecessary table since it was notes with a template for a different dungeon. Added missing images and links to monster table.) |
||
| Line 1: | Line 1: | ||
| − | |||
{{Infobox Location | {{Infobox Location | ||
|image = https://play.idlescape.com/images/misc/keys/flame_feather.png | |image = https://play.idlescape.com/images/misc/keys/flame_feather.png | ||
| Line 5: | Line 4: | ||
|dangerous = Yes | |dangerous = Yes | ||
|max-players = 2 | |max-players = 2 | ||
| − | |||
|combat-drops = [[Mantle of Flame]] | |combat-drops = [[Mantle of Flame]] | ||
|recommended-stats = 99 | |recommended-stats = 99 | ||
|recommended-gear = Stygian +0 | |recommended-gear = Stygian +0 | ||
}} | }} | ||
| − | |||
| − | |||
| − | '''Palace of Flame''' | + | The '''Palace of Flame''' is a 2 player [[Combat#Zones|combat area]] that uses a [[Burning Feather]] key. It is the source of the [[Mantle of Flame]]. Players require early end-game equipment to survive and food with [[Flame Resistance]] buff is recommended to protect against the dungeon wide debuff [[Enchantments#Zone Buffs/Debuffs|Overheat]]. Monsters in this dungeon are weak to piercing weapons and water magic. |
| − | |||
==Recommended Gear== | ==Recommended Gear== | ||
| Line 21: | Line 16: | ||
*Level: 90+ in all three combat skills | *Level: 90+ in all three combat skills | ||
| − | *Armor: Stygian + | + | *Armor: Stygian +5 with enchantments |
| − | *Weapon: | + | *Weapon: Piercing weapons or weapons with water or ice affinities |
| − | *Food: Roughly 600 HP total in Flame Resistance food. [[Demon Skin]] and [[Nimble]] are not necessary unless recommended gear | + | *Food: Roughly 600 HP total in Flame Resistance food. [[Demon Skin]] and [[Nimble]] are not necessary unless recommended gear requirements are not met. |
| − | **Auto Eat: 70 or 60 health with [[Protection]] | + | **Auto Eat: 70% or 60% health with [[Protection]] |
| − | |||
===1 Man=== | ===1 Man=== | ||
*Level: 99 in all three combat skills | *Level: 99 in all three combat skills | ||
| − | *Armor: Stygian +5 with enchantments, protection is a MUST. last phoenix hit for 70 with protection. Kings Crown+10 | + | *Armor: Stygian +5 with enchantments, protection is a MUST. last phoenix hit for 70 with protection. Kings Crown +10 using [[Reinforcement]]. |
| − | *Weapon: | + | *Weapon: A slow weapon such as an augmented [[Shapeless Scythe]] is recommended as not to burn through the flame resistance buff. |
| − | *Food: Roughly 800 HP total in Flame Resistance food. [[Demon Skin]] and [[Nimble]] are not necessary unless recommended gear | + | *Food: Roughly 800 HP total in Flame Resistance food. [[Demon Skin]] and [[Nimble]] are not necessary unless recommended gear requirements are not met. |
| − | **Auto Eat: 80 | + | **Auto Eat: 80% |
| − | |||
==Monsters== | ==Monsters== | ||
| Line 44: | Line 37: | ||
!Notable Drops | !Notable Drops | ||
|- | |- | ||
| − | | | + | |<img src='https://www.play.idlescape.com/images/combat/monsters/ember_demon.png' alt='Ember Demon' width='60px' height='60px' /> [[Ember Demon]] |
| style="text-align:center;" |1 | | style="text-align:center;" |1 | ||
| style="text-align:center;" |{{?}} | | style="text-align:center;" |{{?}} | ||
| Line 50: | Line 43: | ||
|{{?}} | |{{?}} | ||
|- | |- | ||
| − | | | + | |<img src='https://www.play.idlescape.com/images/combat/monsters/flame_demon.png' alt='Flame Demon' width='60px' height='60px' /> [[Flame Demon]] |
| style="text-align:center;" |2 | | style="text-align:center;" |2 | ||
| style="text-align:center;" |{{?}} | | style="text-align:center;" |{{?}} | ||
| Line 56: | Line 49: | ||
|{{?}} | |{{?}} | ||
|- | |- | ||
| − | | | + | |<img src='https://www.play.idlescape.com/images/combat/monsters/inferno_demon.png' alt='Inferno Demon' width='60px' height='60px' /> [[Inferno Demon]] |
| style="text-align:center;" |1 | | style="text-align:center;" |1 | ||
| style="text-align:center;" |{{?}} | | style="text-align:center;" |{{?}} | ||
| style="text-align:center;" |1,400 | | style="text-align:center;" |1,400 | ||
| − | |{{img|Crest | + | |{{img|Chaos Crest|25|word=1}} |
|- | |- | ||
| − | | | + | |<img src='https://www.play.idlescape.com/images/combat/monsters/elite/fire_giant_elite.png' alt='Inferno Giant' width='60px' height='60px' /> [[Inferno Giant]] |
| style="text-align:center;" |1 | | style="text-align:center;" |1 | ||
| style="text-align:center;" |{{?}} | | style="text-align:center;" |{{?}} | ||
| Line 68: | Line 61: | ||
|{{img|Ancient Fire Amulet|25|word=1}} | |{{img|Ancient Fire Amulet|25|word=1}} | ||
|- | |- | ||
| − | |<img src='https://www.play.idlescape.com/images/combat/monsters/elite/chicken_elite.png' alt='Just a Chicken' width='60px' height='60px' /> Just a Chicken | + | |<img src='https://www.play.idlescape.com/images/combat/monsters/elite/chicken_elite.png' alt='Just a Chicken' width='60px' height='60px' /> [[Just a Chicken]] |
| style="text-align:center;" |1 | | style="text-align:center;" |1 | ||
| style="text-align:center;" |{{?}} | | style="text-align:center;" |{{?}} | ||
| Line 74: | Line 67: | ||
|{{?}} | |{{?}} | ||
|- | |- | ||
| − | |{{img|Phoenix | + | |{{img|Phoenix|60}} [[Phoenix 1]] |
| style="text-align:center;" |1 | | style="text-align:center;" |1 | ||
| style="text-align:center;" |{{?}} | | style="text-align:center;" |{{?}} | ||
| Line 136: | Line 129: | ||
|} | |} | ||
| − | |||
| − | |||
| − | |||
| − | |||
| − | |||
| − | |||
| − | |||
| − | |||
| − | |||
| − | |||
| − | |||
| − | |||
| − | |||
| − | |||
| − | |||
| − | |||
| − | |||
| − | |||
| − | |||
| − | |||
| − | |||
| − | |||
| − | |||
| − | |||
| − | |||
| − | |||
| − | |||
| − | |||
| − | |||
| − | |||
| − | |||
| − | |||
| − | |||
| − | |||
| − | |||
| − | |||
| − | |||
| − | |||
| − | |||
| − | |||
| − | |||
| − | |||
| − | |||
| − | |||
| − | |||
| − | |||
| − | |||
| − | |||
| − | |||
| − | |||
| − | |||
| − | |||
| − | |||
| − | |||
| − | |||
| − | |||
| − | |||
| − | |||
| − | |||
| − | |||
| − | |||
| − | |||
| − | |||
| − | |||
| − | |||
| − | |||
| − | |||
| − | |||
| − | |||
| − | |||
| − | |||
| − | |||
| − | |||
| − | |||
| − | |||
| − | |||
| − | |||
| − | |||
| − | |||
| − | |||
| − | |||
| − | |||
| − | |||
| − | |||
| − | |||
| − | |||
| − | |||
| − | |||
| − | |||
| − | |||
| − | |||
| − | |||
| − | |||
| − | |||
| − | |||
| − | |||
| − | |||
| − | |||
| − | |||
| − | |||
| − | |||
| − | |||
| − | |||
| − | |||
| − | |||
| − | |||
| − | |||
| − | |||
| − | |||
| − | |||
| − | |||
| − | |||
| − | |||
| − | |||
| − | |||
| − | |||
| − | |||
| − | |||
| − | |||
| − | |||
| − | |||
| − | |||
| − | |||
| − | |||
| − | |||
| − | |||
| − | |||
| − | |||
| − | |||
| − | |||
| − | |||
| − | |||
| − | |||
| − | |||
| − | |||
| − | |||
| − | |||
| − | |||
| − | |||
| − | |||
| − | |||
| − | |||
| − | |||
| − | |||
| − | |||
| − | |||
| − | |||
| − | |||
| − | |||
| − | |||
| − | |||
| − | |||
| − | |||
| − | |||
| − | |||
| − | |||
| − | |||
| − | |||
| − | |||
| − | |||
| − | |||
| − | |||
| − | |||
| − | |||
| − | |||
| − | |||
| − | |||
| − | |||
| − | |||
| − | |||
| − | |||
| − | |||
| − | |||
| − | |||
| − | |||
[[Category:Combat]] | [[Category:Combat]] | ||
[[Category:Zones]] | [[Category:Zones]] | ||
[[Category:Dungeon]] | [[Category:Dungeon]] | ||
Revision as of 10:55, 2 April 2025
 | |
| Type of zone | Combat |
|---|---|
| Dangerous | Yes |
| Encounters | |
| Max Players | 2 |
| Notable Drops | Mantle of Flame |
| Zone Recommendations | |
| Rec. Combat Levels | 99 |
| Rec. Gear | Stygian +0 |
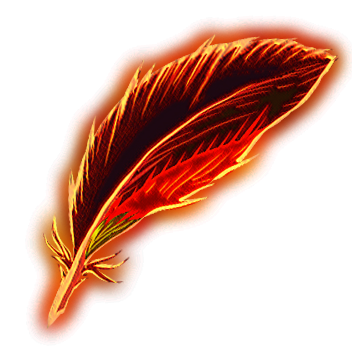
The Palace of Flame is a 2 player combat area that uses a Burning Feather key. It is the source of the Mantle of Flame. Players require early end-game equipment to survive and food with Flame Resistance buff is recommended to protect against the dungeon wide debuff Overheat. Monsters in this dungeon are weak to piercing weapons and water magic.
Recommended Gear
2 Man
- Level: 90+ in all three combat skills
- Armor: Stygian +5 with enchantments
- Weapon: Piercing weapons or weapons with water or ice affinities
- Food: Roughly 600 HP total in Flame Resistance food. Demon Skin and Nimble are not necessary unless recommended gear requirements are not met.
- Auto Eat: 70% or 60% health with Protection
1 Man
- Level: 99 in all three combat skills
- Armor: Stygian +5 with enchantments, protection is a MUST. last phoenix hit for 70 with protection. Kings Crown +10 using Reinforcement.
- Weapon: A slow weapon such as an augmented Shapeless Scythe is recommended as not to burn through the flame resistance buff.
- Food: Roughly 800 HP total in Flame Resistance food. Demon Skin and Nimble are not necessary unless recommended gear requirements are not met.
- Auto Eat: 80%
Monsters
| Monster | Encounters | Max Hit | HP | Notable Drops |
|---|---|---|---|---|
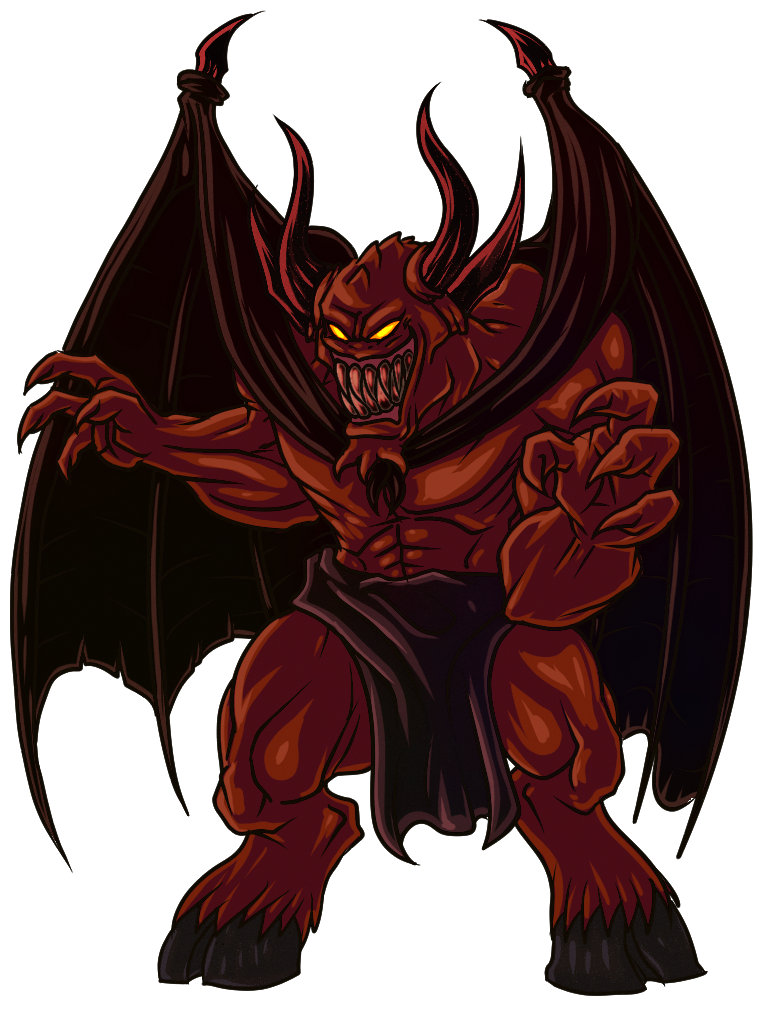 Ember Demon Ember Demon
|
1 | [?] | 275 | [?] |
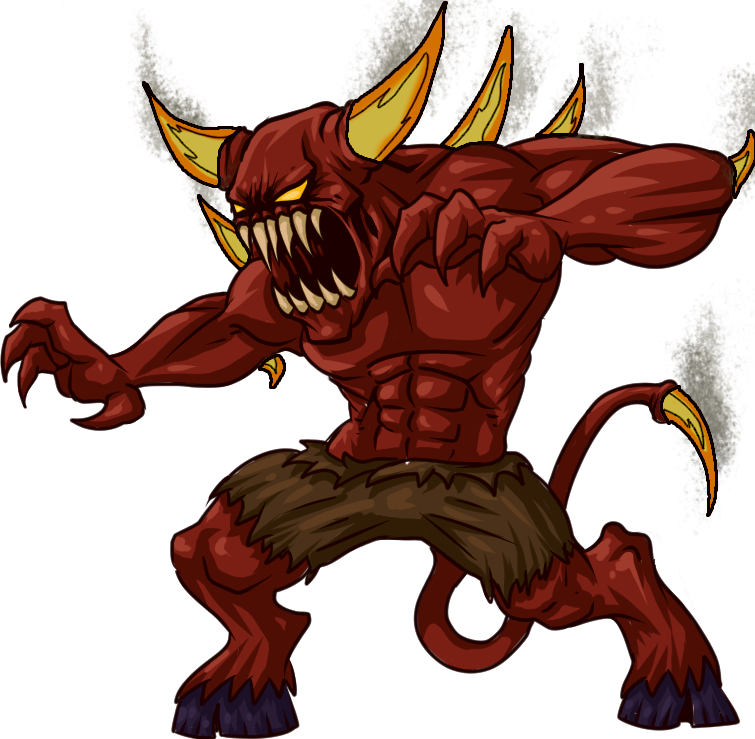 Flame Demon Flame Demon
|
2 | [?] | 962/1,100 | [?] |
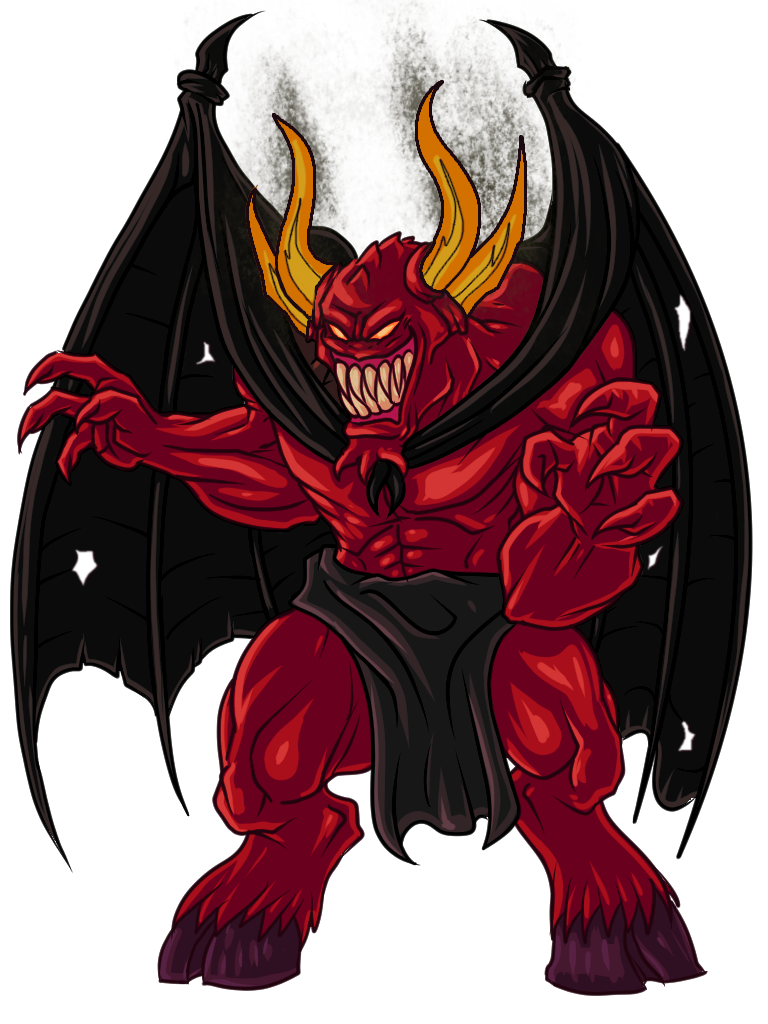 Inferno Demon Inferno Demon
|
1 | [?] | 1,400 | |
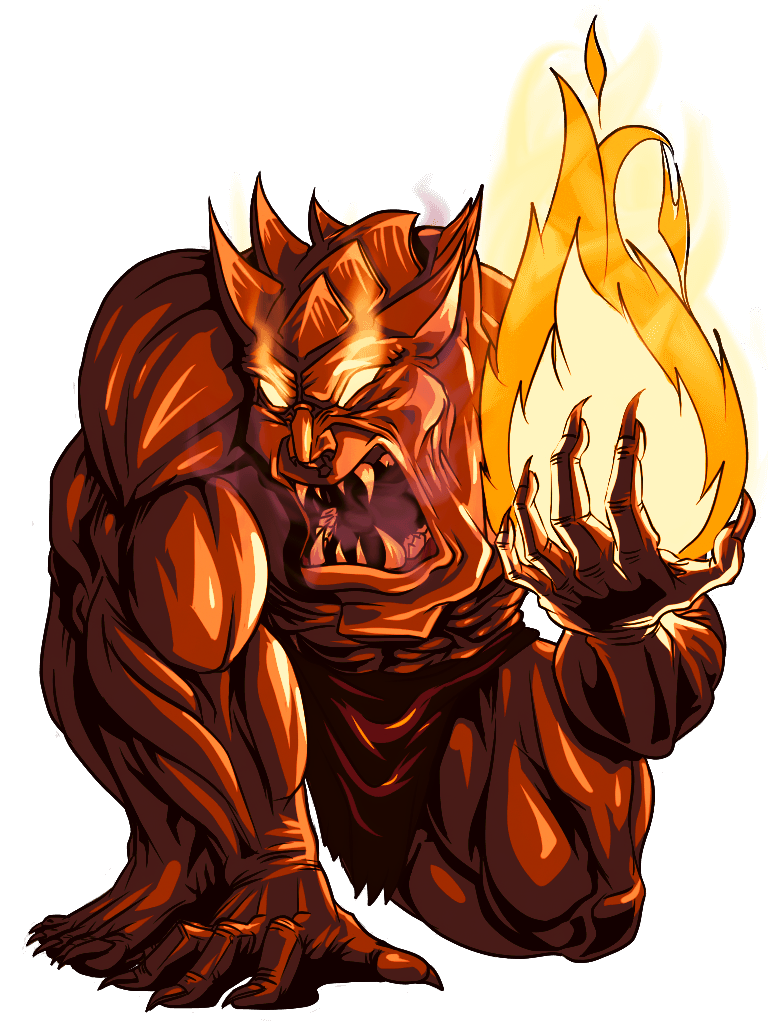 Inferno Giant Inferno Giant
|
1 | [?] | 1,150 |  Ancient Fire Amulet Ancient Fire Amulet
|
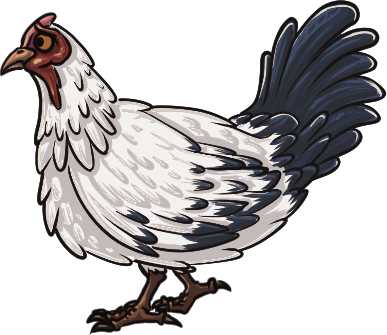 Just a Chicken Just a Chicken
|
1 | [?] | 300 | [?] |
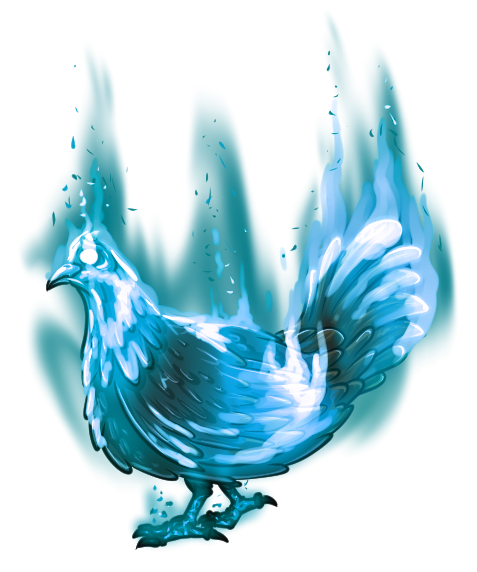 Phoenix 1 Phoenix 1
|
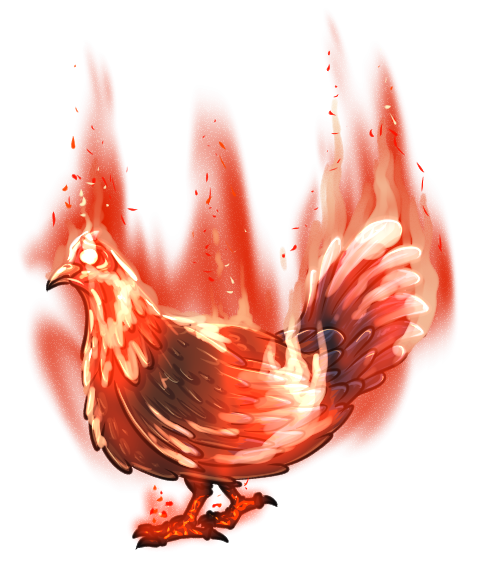
1 | [?] | 500 |  Ancient Fire Amulet Ancient Fire Amulet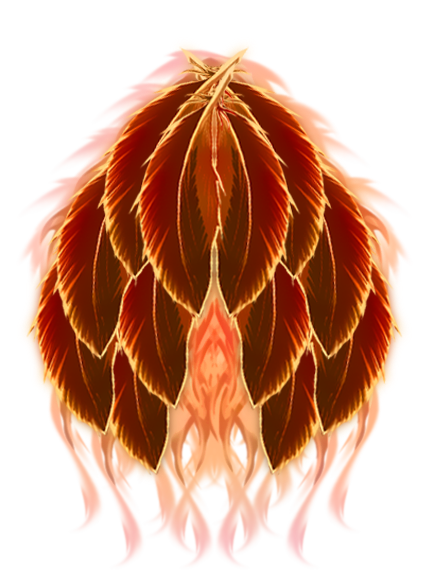 Mantle of Flame Mantle of Flame
|
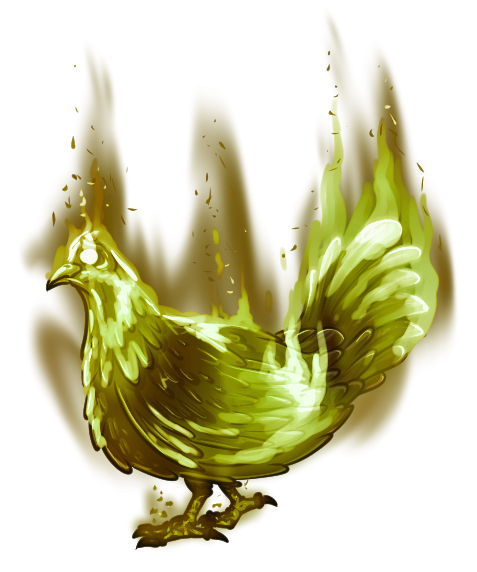
 Phoenix 2 Phoenix 2
|
1 | [?] | 750 |  Ancient Fire Amulet Ancient Fire Amulet Mantle of Flame Mantle of Flame
|
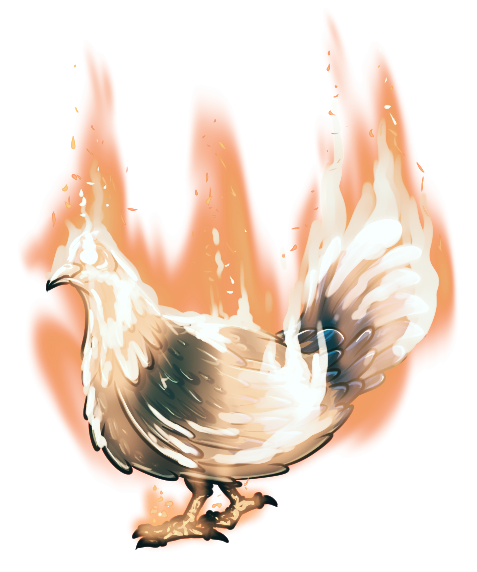
 Phoenix 3 Phoenix 3
|
1 | [?] | 1,000 |  Ancient Fire Amulet Ancient Fire Amulet Mantle of Flame Mantle of Flame
|
 Phoenix 4 Phoenix 4
|
1 | 85 | 1,250 |  Ancient Fire Amulet Ancient Fire Amulet Mantle of Flame Mantle of Flame
|

|
Completion | - | - |  Mantle of Flame Mantle of Flame
|
Completion Drops
100%
| Item | Quantity | Rarity | Price |
|---|---|---|---|
| 25,000 - 150,000[?] | Always | - | |
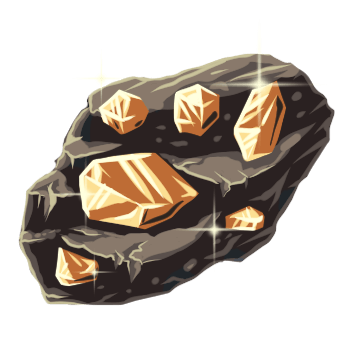 Gold Ore Gold Ore
|
350 - 3,500[?] | Always | 100 |
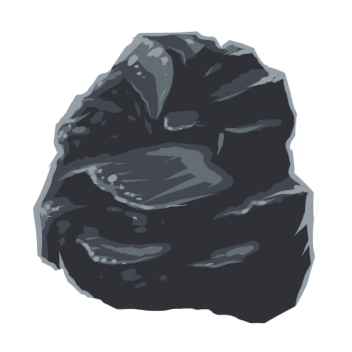 Coal Coal
|
350 - 2,000[?] | Always | 20 |
 Feather Feather
|
500 - 16,000[?] | Always | 6 |