Difference between revisions of "Gold Bar"
(Page created, used customized equipment formatting) |
LilMissMDK (talk | contribs) m (using item recipes in acquisition, modified details of other sections) |
||
| (17 intermediate revisions by 8 users not shown) | |||
| Line 1: | Line 1: | ||
| − | {{ | + | {{AutoInfobox}} |
| − | |||
| − | |||
| − | |||
| − | |||
| − | |||
| − | |||
| − | |||
| − | }} | ||
| − | + | A {{PAGENAME}} is a common item that is used in {{img|Crafting|25|word=1}}, {{img|Augmenting|25|word=1}}, and {{img|Researching|25|word=1}}. | |
| − | == | + | ==Acquisition== |
| − | |||
| − | |||
| − | |||
| − | == | + | Players can use the City Forge, Dwarven Forge, or Volcanic Forge with varying heat intensities to produce these {{PAGENAME}}s through {{img|Smithing|25|word=1}}: |
| − | + | ||
| − | + | {{Item Recipes}} | |
| + | |||
| + | {{PAGENAME}}s may sometimes be found inside a [[Dwarven Research Cache]]s or be earned in battle: | ||
| + | {{Drop Sources}} | ||
| + | |||
| + | These bars can be purchased at the [[Marketplace]] or possibly harvested from a {{img|Mysterious Seed|25|word=1}} with {{img|Farming|25|word=1}} level 5. | ||
| + | |||
| + | ==Crafting Uses== | ||
| + | |||
| + | [[Crafting]] the following items require Gold Bars. Note that if there are multiple crafting recipes available for a specific item, only recipes requiring Gold Bars are listed on this page. For information about the other recipes, see the page for that specific item. | ||
| + | |||
| + | {{Crafting Uses}} | ||
| + | |||
| + | ==Augmentation and Research== | ||
| + | |||
| + | [[Augmenting]] and [[Researching]] items cost the same resources. Note: if an item is upgraded beyond +5, augmentation may also require base copies of the item. On a failed Research action, the item will break and turn into a gear scrap whose type is related to the source item's rarity. | ||
| + | |||
| + | {{Augmenting Uses}} | ||
Latest revision as of 04:26, 8 June 2025
 | |
| Vendor Value | 1,000 |
|---|---|
| Tooltip | |
May be used to craft or augment jewelry. Sadly you aren't authorized to create your own currency. | |
A Gold Bar is a common item that is used in ![]() Crafting,
Crafting, ![]() Augmenting, and
Augmenting, and  Researching.
Acquisition
Players can use the City Forge, Dwarven Forge, or Volcanic Forge with varying heat intensities to produce these Gold Bars through ![]() Smithing:
Smithing:
| Icon | Name | Skill: Level | Experience | Recipe |
|---|---|---|---|---|
| Gold Bar | 150 |  x5, x5, |
Gold Bars may sometimes be found inside a Dwarven Research Caches or be earned in battle:
| Source | Quantity | Rarity | Leagues | |
|---|---|---|---|---|
| Cursed Naga | 1–2 | 1% | All | |
| Corrupted Naga | 1–5 | 5% | All | |
| Ancient Dwarven Golem | [Expand][Collapse]▼▲ | |||
| Ancient Dwarven Golem | 1–12 | 50% | All | |
| Ancient Dwarven Golem | 1–24 | 10% | All | |
These bars can be purchased at the Marketplace or possibly harvested from a 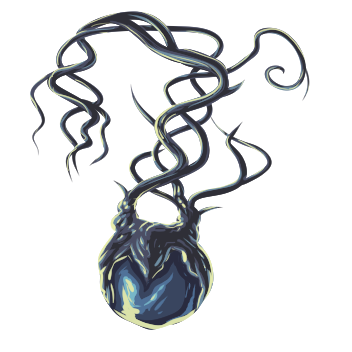 Mysterious Seed with
 ![]() Farming level 5.
Farming level 5.
Crafting Uses
Crafting the following items require Gold Bars. Note that if there are multiple crafting recipes available for a specific item, only recipes requiring Gold Bars are listed on this page. For information about the other recipes, see the page for that specific item.
| Item Created | Category | Lvl. Req. | XP | Materials | |
|---|---|---|---|---|---|
 | Sapphire Ring | Jewelry | 5 | 3000 | 1 1  50 |
 | Sapphire Necklace | Jewelry | 5 | 3000 | 1 1 50 |
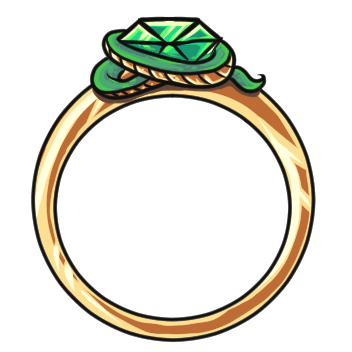 | Emerald Ring | Jewelry | 10 | 3500 | 1 1  50 |
 | Emerald Necklace | Jewelry | 10 | 3500 | 1 1 50 |
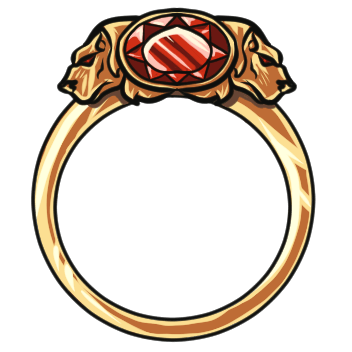 | Ruby Ring | Jewelry | 25 | 4500 | 1 1 50 |
 | Ruby Necklace | Jewelry | 25 | 4500 | 1 1 50 |
 | Diamond Ring | Jewelry | 50 | 5500 | 1 1 50 |
 | Diamond Necklace | Jewelry | 50 | 5500 | 1 1 50 |
 | Black Opal Ring | Jewelry | 60 | 7500 | 1 1  50 |
 | Black Opal Necklace | Jewelry | 60 | 7500 | 1 1 50 |
| Gold Ring | Jewelry | 1 | 5000 | 100 |
| Gold Necklace | Jewelry | 1 | 5000 | 100 |
 | Corrupted Ring | Jewelry | 55 | 35000 | 10 1  2 300 |
 | 14x Alluring Lure Bait | Fishing | 35 | 250 | 1 2 |
 | Golden Spoon | Skilling | 90 | 250000 | 10 10 3000  5 500 |
Augmentation and Research
Augmenting and Researching items cost the same resources. Note: if an item is upgraded beyond +5, augmentation may also require base copies of the item. On a failed Research action, the item will break and turn into a gear scrap whose type is related to the source item's rarity.