Difference between revisions of "Elite Infected Naga"
m (→Trivia: Adding {{Navbar Monsters}}) |
m (https://idlescape.com/ -> https://play.idlescape.com/) |
||
| Line 1: | Line 1: | ||
{{Infobox Monster | {{Infobox Monster | ||
| − | |image = https://idlescape.com/images/combat/monsters/elite/infected_naga_elite.png | + | |image = https://play.idlescape.com/images/combat/monsters/elite/infected_naga_elite.png |
|release = [[Patch Notes|04-04-2021 v0.8.8]] | |release = [[Patch Notes|04-04-2021 v0.8.8]] | ||
|zones = [[Corroded Scroll]] | |zones = [[Corroded Scroll]] | ||
| Line 35: | Line 35: | ||
!Price | !Price | ||
|- | |- | ||
| − | |<img src="https://idlescape.com/images/mining/gold_ore.png" height="auto" width="35"> | + | |<img src="https://play.idlescape.com/images/mining/gold_ore.png" height="auto" width="35"> |
|[[Gold Ore]] | |[[Gold Ore]] | ||
| style="text-align: center;" | | | style="text-align: center;" | | ||
| Line 49: | Line 49: | ||
!Price | !Price | ||
|- | |- | ||
| − | |<img src="https://idlescape.com/images/smithing/ichor.png" height="auto" width="35"> | + | |<img src="https://play.idlescape.com/images/smithing/ichor.png" height="auto" width="35"> |
|[[Ichor]] | |[[Ichor]] | ||
| style="text-align: center;" | | | style="text-align: center;" | | ||
| Line 55: | Line 55: | ||
| style="text-align: right;" |500 | | style="text-align: right;" |500 | ||
|- | |- | ||
| − | |<img src="https://idlescape.com/images/mining/runite_ore.png" height="auto" width="35"> | + | |<img src="https://play.idlescape.com/images/mining/runite_ore.png" height="auto" width="35"> |
|[[Runite Ore]] | |[[Runite Ore]] | ||
| style="text-align: center;" | | | style="text-align: center;" | | ||
| Line 61: | Line 61: | ||
| style="text-align: right;" |200 | | style="text-align: right;" |200 | ||
|- | |- | ||
| − | |<img src="https://idlescape.com/images/smithing/gold_bar.png" height="auto" width="35"> | + | |<img src="https://play.idlescape.com/images/smithing/gold_bar.png" height="auto" width="35"> |
|[[Gold Bar]] | |[[Gold Bar]] | ||
| style="text-align: center;" | | | style="text-align: center;" | | ||
| Line 67: | Line 67: | ||
| style="text-align: right;" |1,500 | | style="text-align: right;" |1,500 | ||
|- | |- | ||
| − | |<img src="https://idlescape.com/images/smithing/runite_bar.png" height="auto" width="35"> | + | |<img src="https://play.idlescape.com/images/smithing/runite_bar.png" height="auto" width="35"> |
|[[Runite Bar]] | |[[Runite Bar]] | ||
| style="text-align: center;" | | | style="text-align: center;" | | ||
| Line 73: | Line 73: | ||
| style="text-align: right;" |9,000 | | style="text-align: right;" |9,000 | ||
|- | |- | ||
| − | |<img src="https://idlescape.com/images/runecrafting/rune_slate.png" height="auto" width="35"> | + | |<img src="https://play.idlescape.com/images/runecrafting/rune_slate.png" height="auto" width="35"> |
|[[Rune Slate]] | |[[Rune Slate]] | ||
| style="text-align: center;" | | | style="text-align: center;" | | ||
| Line 79: | Line 79: | ||
| style="text-align: right;" |15 | | style="text-align: right;" |15 | ||
|- | |- | ||
| − | |<img src="https://idlescape.com/images/runecrafting/chaos_rune.png" height="auto" width="35"> | + | |<img src="https://play.idlescape.com/images/runecrafting/chaos_rune.png" height="auto" width="35"> |
|[[Chaos Rune]] | |[[Chaos Rune]] | ||
| style="text-align: center;" | | | style="text-align: center;" | | ||
| Line 85: | Line 85: | ||
| style="text-align: right;" |10 | | style="text-align: right;" |10 | ||
|- | |- | ||
| − | |<img src="https://idlescape.com/images/runecrafting/death_rune.png" height="auto" width="35"> | + | |<img src="https://play.idlescape.com/images/runecrafting/death_rune.png" height="auto" width="35"> |
|[[Death Rune]] | |[[Death Rune]] | ||
| style="text-align: center;" | | | style="text-align: center;" | | ||
| Line 91: | Line 91: | ||
| style="text-align: right;" |10 | | style="text-align: right;" |10 | ||
|- | |- | ||
| − | |<img src="https://idlescape.com/images/mining/sapphire.png" height="auto" width="35"> | + | |<img src="https://play.idlescape.com/images/mining/sapphire.png" height="auto" width="35"> |
|[[Sapphire]] | |[[Sapphire]] | ||
| style="text-align: center;" | | | style="text-align: center;" | | ||
| Line 97: | Line 97: | ||
| style="text-align: right;" |1,000 | | style="text-align: right;" |1,000 | ||
|- | |- | ||
| − | |<img src="https://idlescape.com/images/mining/emerald.png" height="auto" width="35"> | + | |<img src="https://play.idlescape.com/images/mining/emerald.png" height="auto" width="35"> |
|[[Emerald]] | |[[Emerald]] | ||
| style="text-align: center;" | | | style="text-align: center;" | | ||
| Line 103: | Line 103: | ||
| style="text-align: right;" |2,000 | | style="text-align: right;" |2,000 | ||
|- | |- | ||
| − | |<img src="https://idlescape.com/images/mining/ruby.png" height="auto" width="35"> | + | |<img src="https://play.idlescape.com/images/mining/ruby.png" height="auto" width="35"> |
|[[Ruby]] | |[[Ruby]] | ||
| style="text-align: center;" | | | style="text-align: center;" | | ||
| Line 109: | Line 109: | ||
| style="text-align: right;" |5,000 | | style="text-align: right;" |5,000 | ||
|- | |- | ||
| − | |<img src="https://idlescape.com/images/mining/diamond.png" height="auto" width="35"> | + | |<img src="https://play.idlescape.com/images/mining/diamond.png" height="auto" width="35"> |
|[[Diamond]] | |[[Diamond]] | ||
| style="text-align: center;" | | | style="text-align: center;" | | ||
| Line 115: | Line 115: | ||
| style="text-align: right;" |10,000 | | style="text-align: right;" |10,000 | ||
|- | |- | ||
| − | |<img src="https://idlescape.com/images/mining/black_opal.png" height="auto" width="35"> | + | |<img src="https://play.idlescape.com/images/mining/black_opal.png" height="auto" width="35"> |
|[[Black Opal]] | |[[Black Opal]] | ||
| style="text-align: center;" | | | style="text-align: center;" | | ||
| Line 121: | Line 121: | ||
| style="text-align: right;" |50,000 | | style="text-align: right;" |50,000 | ||
|- | |- | ||
| − | |<img src="https://idlescape.com/images/combat/equipment/stygian_boots_icon.png" height="auto" width="35"> | + | |<img src="https://play.idlescape.com/images/combat/equipment/stygian_boots_icon.png" height="auto" width="35"> |
|[[Stygian Boots]] | |[[Stygian Boots]] | ||
| style="text-align: center;" | | | style="text-align: center;" | | ||
| Line 127: | Line 127: | ||
| style="text-align: right;" |2,880,000 | | style="text-align: right;" |2,880,000 | ||
|- | |- | ||
| − | |<img src="https://idlescape.com/images/combat/equipment/nagas_bracelet.png" height="auto" width="35"> | + | |<img src="https://play.idlescape.com/images/combat/equipment/nagas_bracelet.png" height="auto" width="35"> |
|[[Nagas Bracelet|Naga's Bracelet]] | |[[Nagas Bracelet|Naga's Bracelet]] | ||
| style="text-align: center;" | | | style="text-align: center;" | | ||
| Line 133: | Line 133: | ||
| style="text-align: right;" |75,000 | | style="text-align: right;" |75,000 | ||
|- | |- | ||
| − | |<img src="https://idlescape.com/images/misc/Elite_Scroll.png" height="auto" width="45"> | + | |<img src="https://play.idlescape.com/images/misc/Elite_Scroll.png" height="auto" width="45"> |
|[[Corroded Scroll]] | |[[Corroded Scroll]] | ||
| style="text-align: center;" | | | style="text-align: center;" | | ||
| Line 149: | Line 149: | ||
!Price | !Price | ||
|- | |- | ||
| − | |<img alt="Satchel.png" src="https://idlescape.com/images/misc/satchel.png" height="auto" width="45"> | + | |<img alt="Satchel.png" src="https://play.idlescape.com/images/misc/satchel.png" height="auto" width="45"> |
|Satchel | |Satchel | ||
| style="text-align: center;" | | | style="text-align: center;" | | ||
| Line 155: | Line 155: | ||
| style="text-align: right;" |1000 | | style="text-align: right;" |1000 | ||
|- | |- | ||
| − | |<img src="https://idlescape.com/images/farming/mysterious_seed.png" height="auto" width="45"> | + | |<img src="https://play.idlescape.com/images/farming/mysterious_seed.png" height="auto" width="45"> |
|Mysterious Seed | |Mysterious Seed | ||
| style="text-align: center;" | | | style="text-align: center;" | | ||
Revision as of 12:38, 17 May 2023
Elite Infected Nagas are the elite version of the Infected Naga and is one of the two monsters found in the Corroded Scroll challenge.
Drops
Elite monsters have drops rates that are 20~100 times more than their regular counterpart which is further multiplied in a higher challenge.
100%
| Item | Quantity | Rarity | Price | |
|---|---|---|---|---|
| Gold Ore | Always[?] | 100 |
Main Drops
| Item | Quantity | Rarity | Price | |
|---|---|---|---|---|
| Ichor | Common | 500 | ||
| Runite Ore | Common | 200 | ||
| Gold Bar | Common | 1,500 | ||
| Runite Bar | Common | 9,000 | ||
| Rune Slate | Common | 15 | ||
| Chaos Rune | Common | 10 | ||
| Death Rune | Common | 10 | ||
| Sapphire | Common | 1,000 | ||
| Emerald | Common | 2,000 | ||
| Ruby | Uncommon | 5,000 | ||
| Diamond | Uncommon | 10,000 | ||
| Black Opal | Uncommon | 50,000 | ||
| Stygian Boots | Uncommon | 2,880,000 | ||
| Naga's Bracelet | Uncommon | 75,000 | ||
| Corroded Scroll | Uncommon | 500 |
Quantity numbers/Rarity are based on community data logs and might be lower/higher
Universal Drops
| Image | Item | Quantity | Rarity | Price |
|---|---|---|---|---|
| Satchel | Uncommon | 1000 | ||
| Mysterious Seed | Uncommon | 7 |
Trivia
The Elite Infected Naga has a lighter image than the regular Infected Naga. (Elite on left)
Elite Infected NagaInfected Naga
| Monsters | |
|---|---|
| Regular |
Small Rat •
|
| Gathering | |
| Elite |
Elite Chicken •
Elite Goblin •
Elite Black Knight •
|
| Dungeon |
|
| Event |
|
 Chicken
 Cow
Cow Goblin
 Greater Imp
 Guard
Guard Black Knight
 Deadly Red Spider
 Deadly Spider
 Lesser Demon
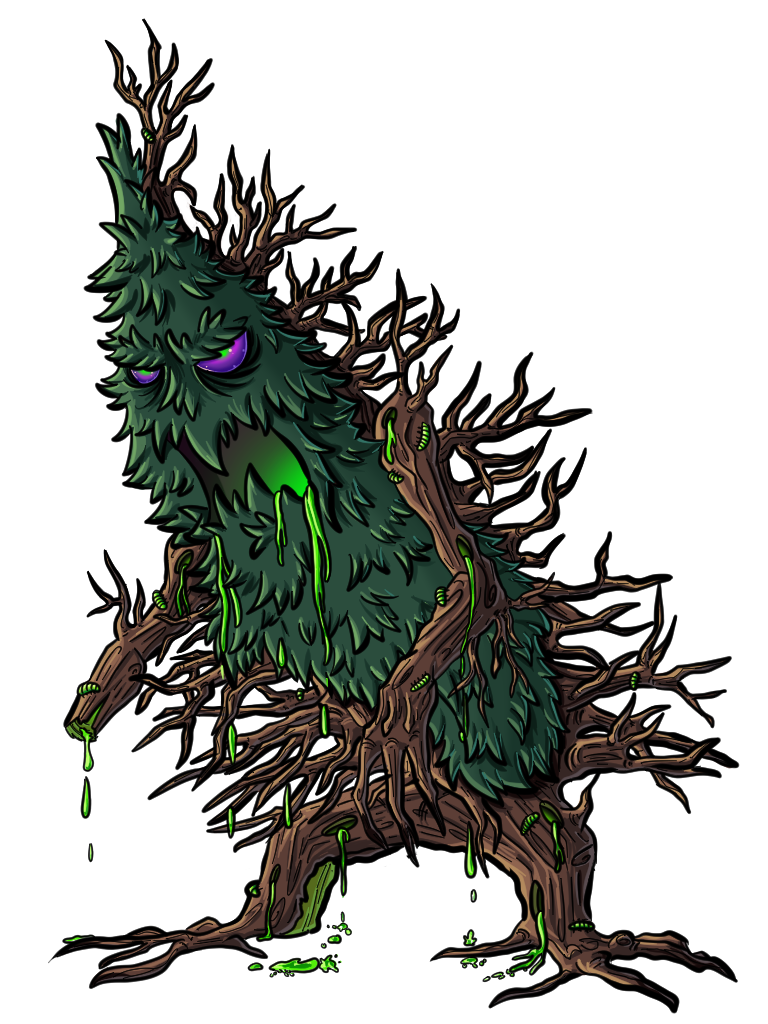 Corrupted Tree
 Bone Giant
 Fire Giant
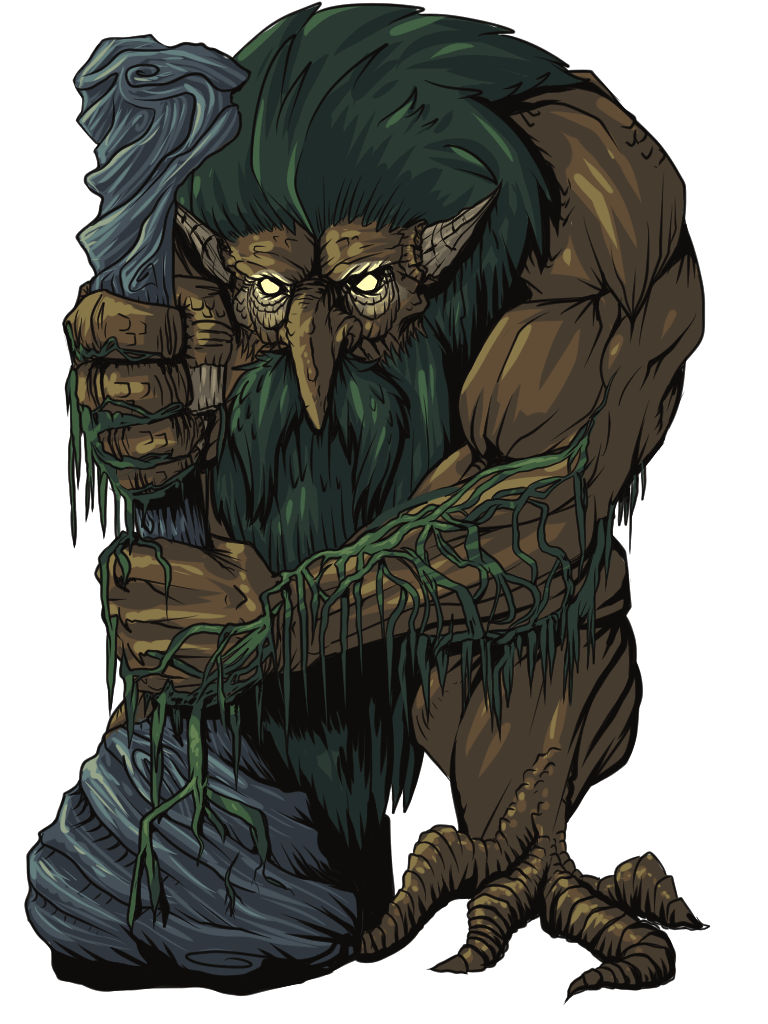 Moss Giant
 Ice Giant
 Chaos Giant
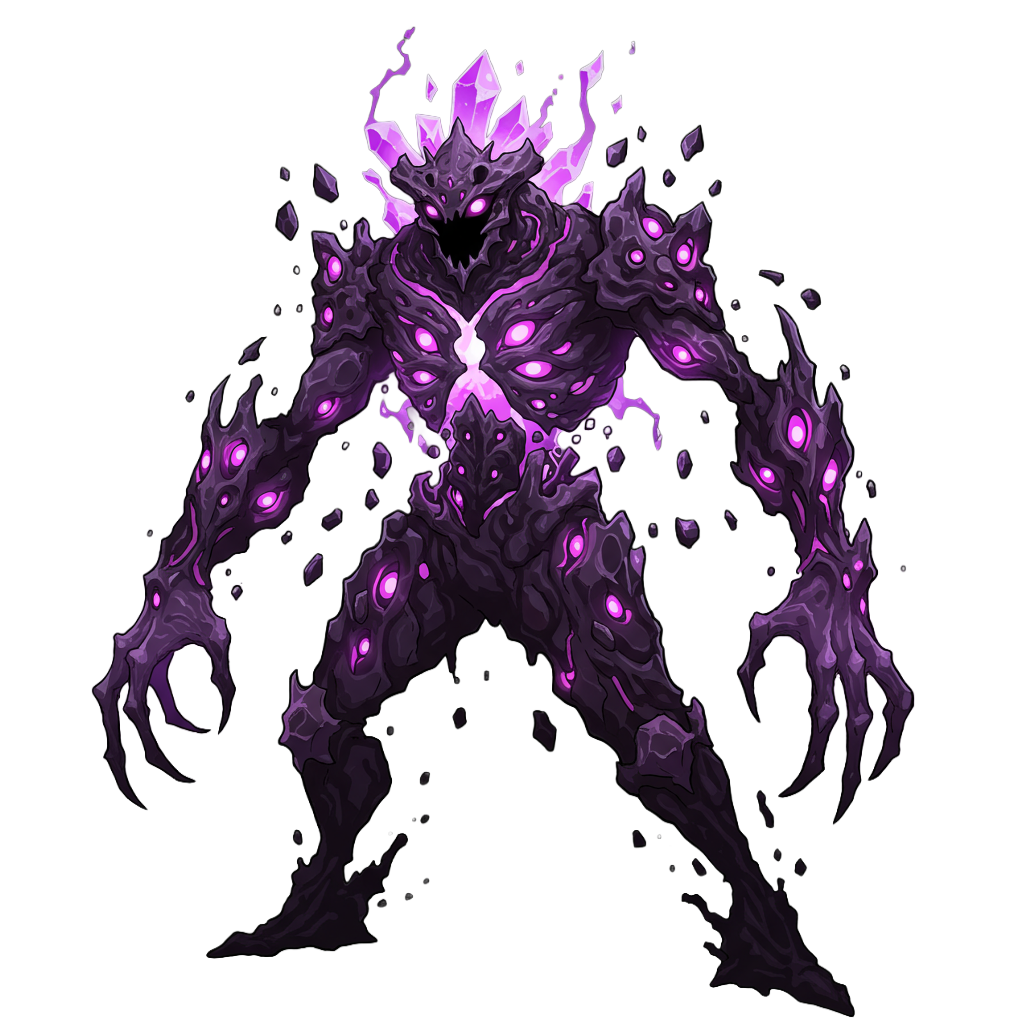 Chaotic Abomination
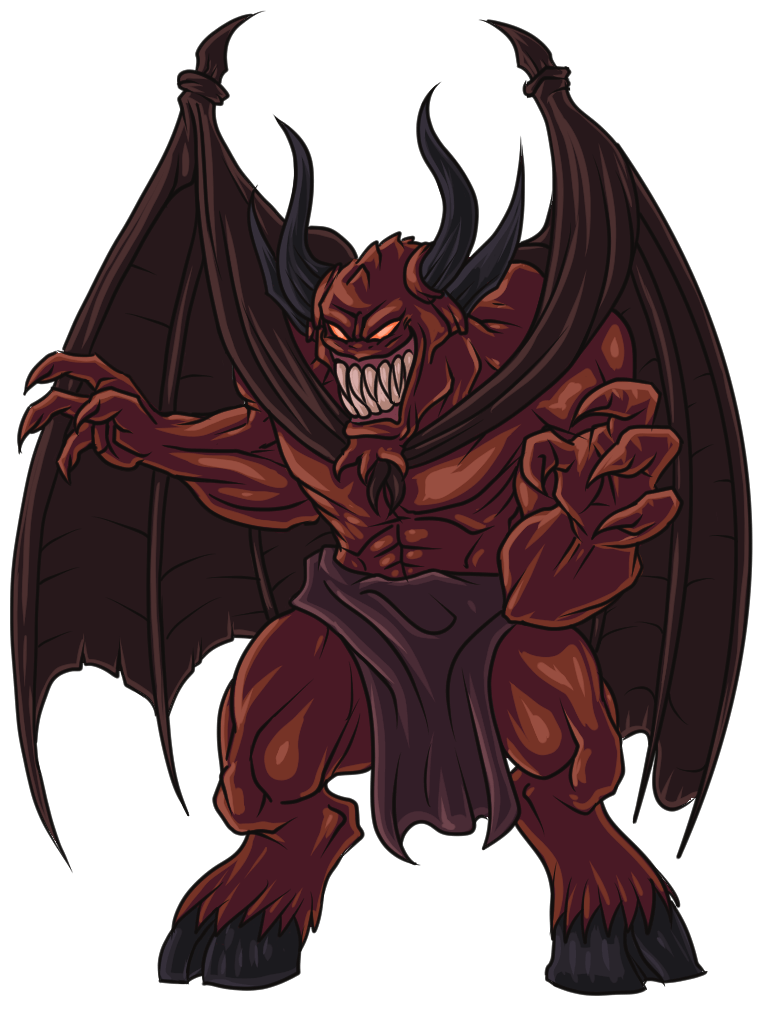 Greater Demon
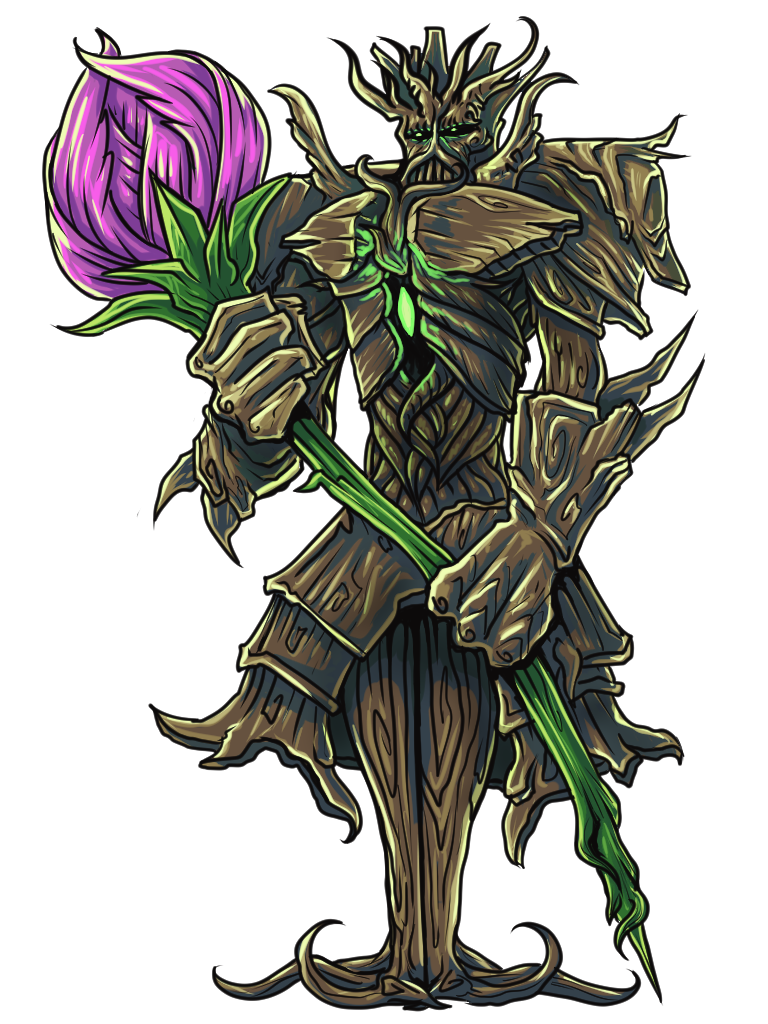 Spriggan
 Swordfish
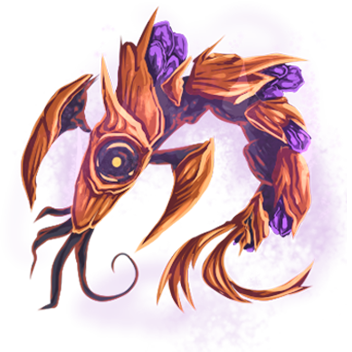 Ascended
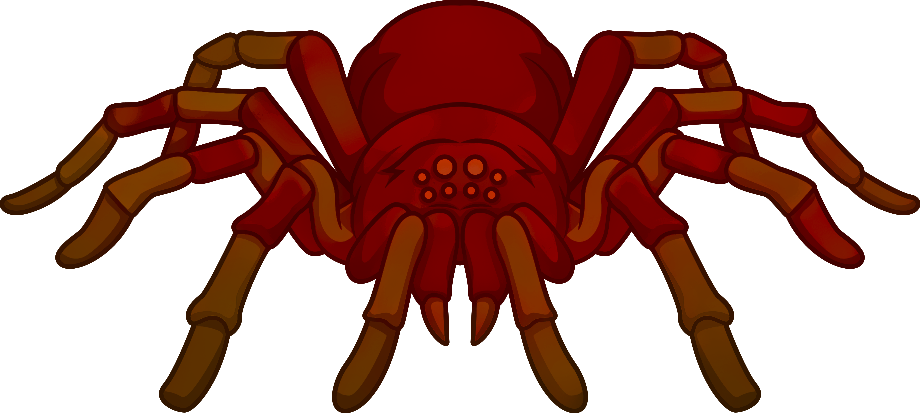 Blood Spider
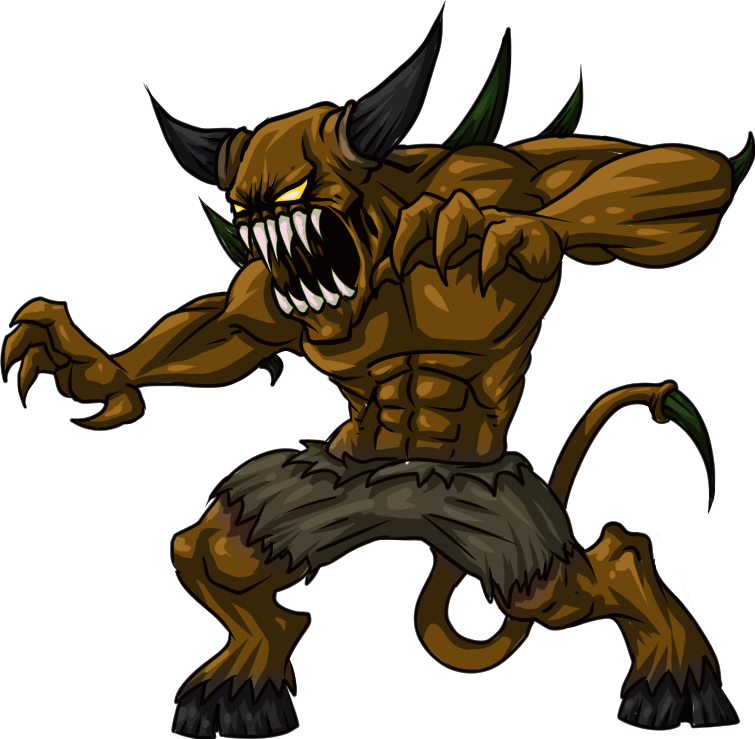 Vassal Demon
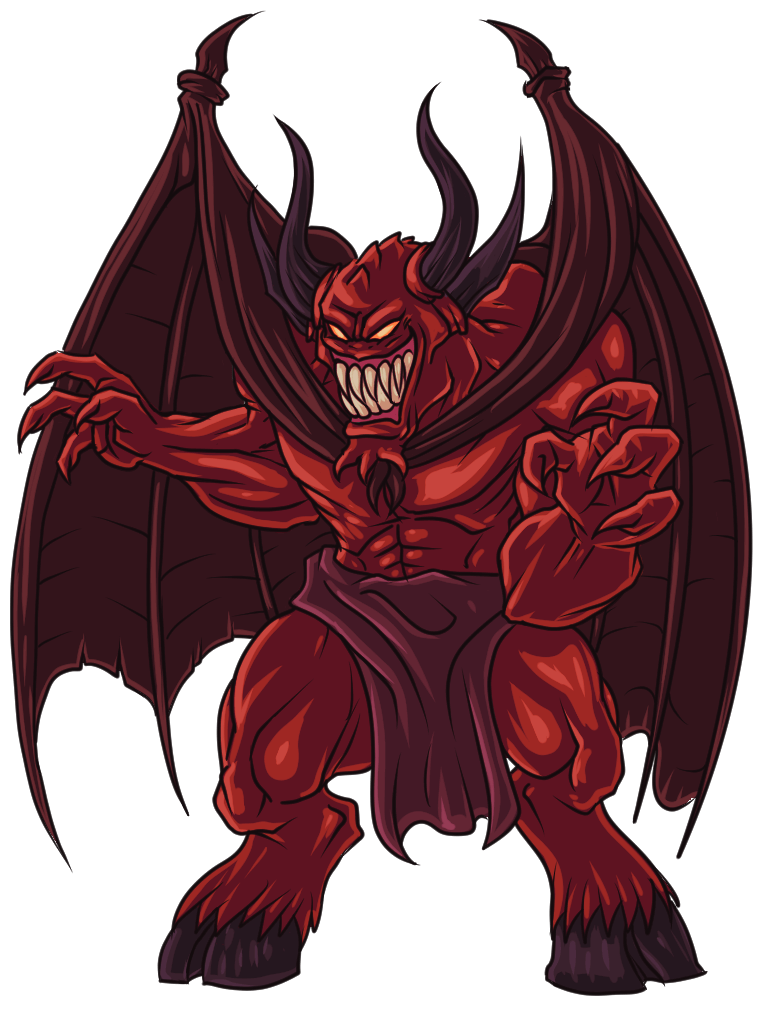 Overseer Demon
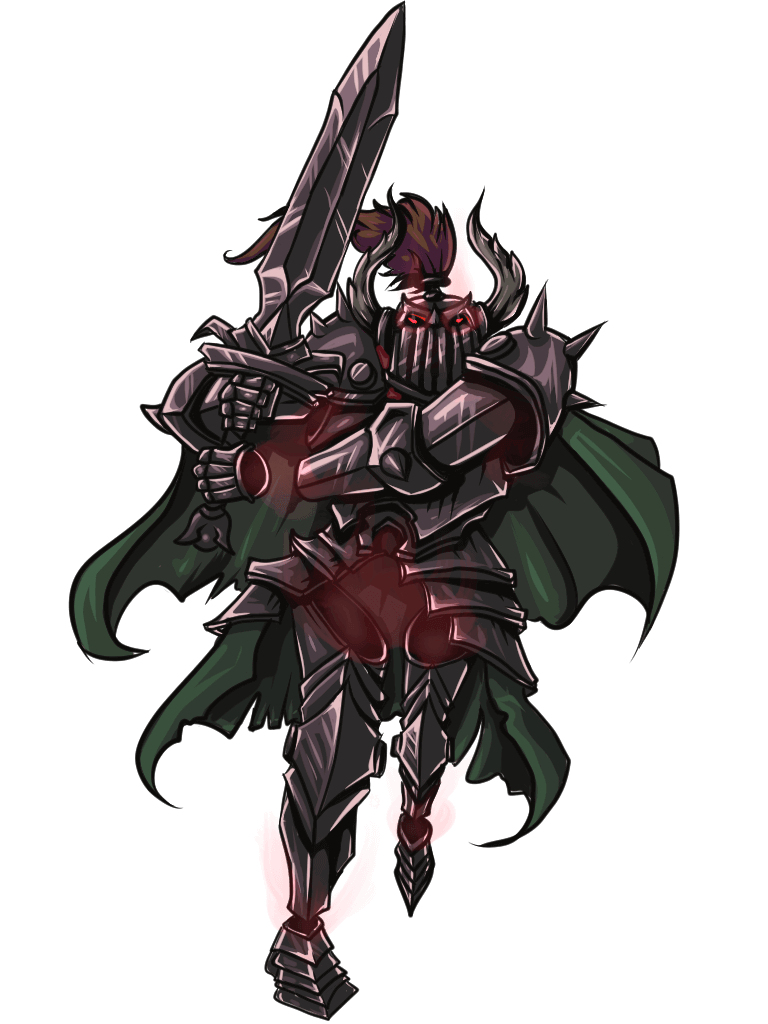 Black Knight Titan
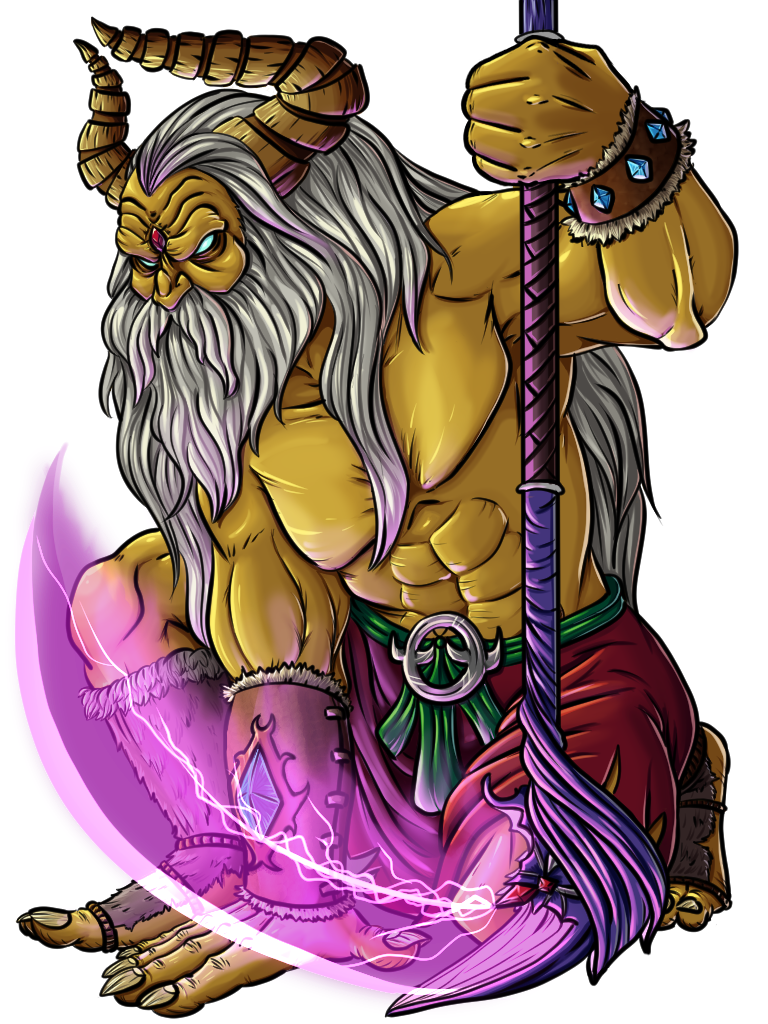 Giant King
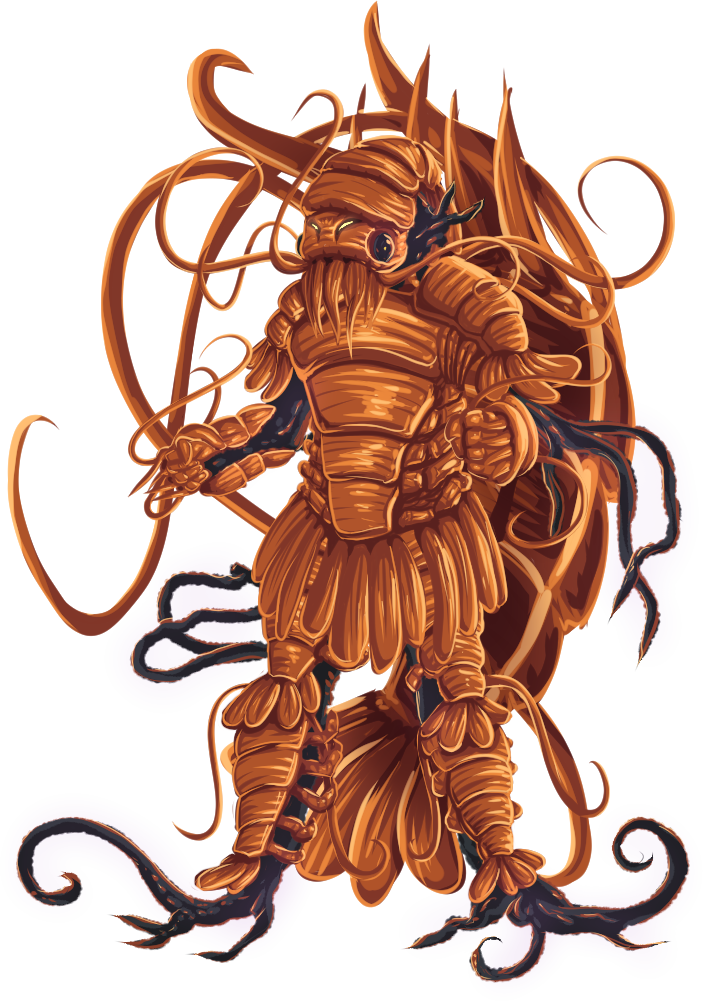 Aberrant Shrimp
 Gummy Shark