Difference between revisions of "Chaotic Abomination"
m (Removed light-mode colors) |
m (https://idlescape.com/ -> https://play.idlescape.com/) |
||
| Line 1: | Line 1: | ||
{{Infobox Monster | {{Infobox Monster | ||
| − | |image = https://idlescape.com/images/combat/monsters/chaotic_abomination.png | + | |image = https://play.idlescape.com/images/combat/monsters/chaotic_abomination.png |
|release = 18-08-2021 [https://www.reddit.com/r/Idlescape/comments/p71fuf/update_18_august_2021_v090_combat_20_phase_1/ (Update)] | |release = 18-08-2021 [https://www.reddit.com/r/Idlescape/comments/p71fuf/update_18_august_2021_v090_combat_20_phase_1/ (Update)] | ||
|zones = Chaos Wastes | |zones = Chaos Wastes | ||
| Line 61: | Line 61: | ||
!Price | !Price | ||
|- | |- | ||
| − | |<img alt="Chaos Rune.png" src="https://idlescape.com/images/runecrafting/chaos_rune.png" height="auto" width="45"> | + | |<img alt="Chaos Rune.png" src="https://play.idlescape.com/images/runecrafting/chaos_rune.png" height="auto" width="45"> |
|[[Runes|Chaos Rune]] | |[[Runes|Chaos Rune]] | ||
| style="text-align: center;" |1 - 4 | | style="text-align: center;" |1 - 4 | ||
| Line 76: | Line 76: | ||
!Price | !Price | ||
|- | |- | ||
| − | |<img alt="Air Rune.png" src="https://idlescape.com/images/runecrafting/air_rune.png" height="auto" width="45"> | + | |<img alt="Air Rune.png" src="https://play.idlescape.com/images/runecrafting/air_rune.png" height="auto" width="45"> |
|[[Runes|Air Rune]] | |[[Runes|Air Rune]] | ||
| style="text-align: center;" |1 - 4 | | style="text-align: center;" |1 - 4 | ||
| Line 82: | Line 82: | ||
| style="text-align: right;" |10 | | style="text-align: right;" |10 | ||
|- | |- | ||
| − | |<img alt="Earth Rune.png" src="https://idlescape.com/images/runecrafting/earth_rune.png" height="auto" width="45"> | + | |<img alt="Earth Rune.png" src="https://play.idlescape.com/images/runecrafting/earth_rune.png" height="auto" width="45"> |
|[[Runes|Earth Rune]] | |[[Runes|Earth Rune]] | ||
| style="text-align: center;" |1 - 4 | | style="text-align: center;" |1 - 4 | ||
| Line 88: | Line 88: | ||
| style="text-align: right;" |10 | | style="text-align: right;" |10 | ||
|- | |- | ||
| − | |<img alt="Fire Rune.png" src="https://idlescape.com/images/runecrafting/fire_rune.png" height="auto" width="45"> | + | |<img alt="Fire Rune.png" src="https://play.idlescape.com/images/runecrafting/fire_rune.png" height="auto" width="45"> |
|[[Runes|Fire Rune]] | |[[Runes|Fire Rune]] | ||
| style="text-align: center;" |1 - 4 | | style="text-align: center;" |1 - 4 | ||
| Line 94: | Line 94: | ||
| style="text-align: right;" |10 | | style="text-align: right;" |10 | ||
|- | |- | ||
| − | |<img alt="Water Rune.png" src="https://idlescape.com/images/runecrafting/water_rune.png" height="auto" width="45"> | + | |<img alt="Water Rune.png" src="https://play.idlescape.com/images/runecrafting/water_rune.png" height="auto" width="45"> |
|[[Runes|Water Rune]] | |[[Runes|Water Rune]] | ||
| style="text-align: center;" |1 - 4 | | style="text-align: center;" |1 - 4 | ||
| Line 100: | Line 100: | ||
| style="text-align: right;" |10 | | style="text-align: right;" |10 | ||
|- | |- | ||
| − | |<img alt="Blood Rune.png" src="https://idlescape.com/images/runecrafting/blood_rune.png" height="auto" width="45"> | + | |<img alt="Blood Rune.png" src="https://play.idlescape.com/images/runecrafting/blood_rune.png" height="auto" width="45"> |
|[[Runes|Blood Rune]] | |[[Runes|Blood Rune]] | ||
| style="text-align: center;" |1 - 4 | | style="text-align: center;" |1 - 4 | ||
| Line 106: | Line 106: | ||
| style="text-align: right;" |10 | | style="text-align: right;" |10 | ||
|- | |- | ||
| − | |<img alt="Death Rune.png" src="https://idlescape.com/images/runecrafting/death_rune.png" height="auto" width="45"> | + | |<img alt="Death Rune.png" src="https://play.idlescape.com/images/runecrafting/death_rune.png" height="auto" width="45"> |
|[[Runes|Death Rune]] | |[[Runes|Death Rune]] | ||
| style="text-align: center;" |1 - 4 | | style="text-align: center;" |1 - 4 | ||
| Line 112: | Line 112: | ||
| style="text-align: right;" |10 | | style="text-align: right;" |10 | ||
|- | |- | ||
| − | |<img alt="Chaos Rune.png" src="https://idlescape.com/images/runecrafting/chaos_rune.png" height="auto" width="45"> | + | |<img alt="Chaos Rune.png" src="https://play.idlescape.com/images/runecrafting/chaos_rune.png" height="auto" width="45"> |
|[[Runes|Chaos Rune]] | |[[Runes|Chaos Rune]] | ||
| style="text-align: center;" |29 | | style="text-align: center;" |29 | ||
| Line 118: | Line 118: | ||
| style="text-align: right;" |10 | | style="text-align: right;" |10 | ||
|- | |- | ||
| − | |<img alt="Nature Rune.png" src="https://idlescape.com/images/runecrafting/nature_rune.png" height="auto" width="45"> | + | |<img alt="Nature Rune.png" src="https://play.idlescape.com/images/runecrafting/nature_rune.png" height="auto" width="45"> |
|[[Runes|Nature Rune]] | |[[Runes|Nature Rune]] | ||
| style="text-align: center;" |1 - 4 | | style="text-align: center;" |1 - 4 | ||
| Line 124: | Line 124: | ||
| style="text-align: right;" |10 | | style="text-align: right;" |10 | ||
|- | |- | ||
| − | |<img alt="Mind Rune.png" src="https://idlescape.com/images/runecrafting/mind_rune.png" height="auto" width="45"> | + | |<img alt="Mind Rune.png" src="https://play.idlescape.com/images/runecrafting/mind_rune.png" height="auto" width="45"> |
|[[Runes|Mind Rune]] | |[[Runes|Mind Rune]] | ||
| style="text-align: center;" |1 - 4 | | style="text-align: center;" |1 - 4 | ||
| Line 130: | Line 130: | ||
| style="text-align: right;" |10 | | style="text-align: right;" |10 | ||
|- | |- | ||
| − | |<img alt="Cosmic Rune.png" src="https://idlescape.com/images/runecrafting/cosmic_rune.png" height="auto" width="45"> | + | |<img alt="Cosmic Rune.png" src="https://play.idlescape.com/images/runecrafting/cosmic_rune.png" height="auto" width="45"> |
|[[Runes|Cosmic Rune]] | |[[Runes|Cosmic Rune]] | ||
| style="text-align: center;" |1 - 4 | | style="text-align: center;" |1 - 4 | ||
| Line 136: | Line 136: | ||
| style="text-align: right;" |10 | | style="text-align: right;" |10 | ||
|- | |- | ||
| − | |<img src="https://idlescape.com/images/runecrafting/chaos_talisman.png" height="auto" width="45"> | + | |<img src="https://play.idlescape.com/images/runecrafting/chaos_talisman.png" height="auto" width="45"> |
|[[Chaos Talisman]] | |[[Chaos Talisman]] | ||
| style="text-align: center;" |1 | | style="text-align: center;" |1 | ||
| Line 142: | Line 142: | ||
| style="text-align: right;" | - | | style="text-align: right;" | - | ||
|- | |- | ||
| − | |<img src="https://idlescape.com/images/misc/Range_Scrap.png" height="auto" width="45"> | + | |<img src="https://play.idlescape.com/images/misc/Range_Scrap.png" height="auto" width="45"> |
|[[Useless Scraps]] | |[[Useless Scraps]] | ||
| style="text-align: center;" |1 | | style="text-align: center;" |1 | ||
| Line 148: | Line 148: | ||
| style="text-align: right;" |1,000 | | style="text-align: right;" |1,000 | ||
|- | |- | ||
| − | |<img src="https://idlescape.com/images/misc/Magic_Scrap.png" height="auto" width="45"> | + | |<img src="https://play.idlescape.com/images/misc/Magic_Scrap.png" height="auto" width="45"> |
|[[Useless Scraps]] | |[[Useless Scraps]] | ||
| style="text-align: center;" |1 | | style="text-align: center;" |1 | ||
| Line 154: | Line 154: | ||
| style="text-align: right;" |1,000 | | style="text-align: right;" |1,000 | ||
|- | |- | ||
| − | |<img alt="Stygian Boots.png" src="https://idlescape.com/images/combat/equipment/stygian_boots_icon.png" height="auto" width="45"> | + | |<img alt="Stygian Boots.png" src="https://play.idlescape.com/images/combat/equipment/stygian_boots_icon.png" height="auto" width="45"> |
|[[Stygian Boots]] | |[[Stygian Boots]] | ||
| style="text-align: center;" |1 | | style="text-align: center;" |1 | ||
| Line 160: | Line 160: | ||
| style="text-align: right;" |2,880,000 | | style="text-align: right;" |2,880,000 | ||
|- | |- | ||
| − | |<img src="https://idlescape.com/images/misc/elite/Elite_Scroll_Chaos.png" height="auto" width="45"> | + | |<img src="https://play.idlescape.com/images/misc/elite/Elite_Scroll_Chaos.png" height="auto" width="45"> |
|[[Shapeless Scroll]] | |[[Shapeless Scroll]] | ||
| style="text-align: center;" |1 | | style="text-align: center;" |1 | ||
| Line 166: | Line 166: | ||
| style="text-align: right;" |500 | | style="text-align: right;" |500 | ||
|- | |- | ||
| − | |<img src="https://idlescape.com/images/jewellery/ancient_nature_talisman.png" height="auto" width="45"> | + | |<img src="https://play.idlescape.com/images/jewellery/ancient_nature_talisman.png" height="auto" width="45"> |
|[[Ancient Nature Amulet]] | |[[Ancient Nature Amulet]] | ||
| style="text-align: center;" |1 | | style="text-align: center;" |1 | ||
| Line 172: | Line 172: | ||
| style="text-align: right;" |200,000 | | style="text-align: right;" |200,000 | ||
|- | |- | ||
| − | |<img src="https://idlescape.com/images/jewellery/ancient_fire_talisman.png" height="auto" width="45"> | + | |<img src="https://play.idlescape.com/images/jewellery/ancient_fire_talisman.png" height="auto" width="45"> |
|[[Ancient Fire Amulet]] | |[[Ancient Fire Amulet]] | ||
| style="text-align: center;" |1 | | style="text-align: center;" |1 | ||
| Line 178: | Line 178: | ||
| style="text-align: right;" |200,000 | | style="text-align: right;" |200,000 | ||
|- | |- | ||
| − | |<img src="https://idlescape.com/images/enchanting/scroll_of_fortitude.png" alt="" height="auto" width="45"> | + | |<img src="https://play.idlescape.com/images/enchanting/scroll_of_fortitude.png" alt="" height="auto" width="45"> |
|Scroll of Fortitude | |Scroll of Fortitude | ||
| style="text-align: center;" |1 | | style="text-align: center;" |1 | ||
| Line 184: | Line 184: | ||
| style="text-align: right;" |250,000 | | style="text-align: right;" |250,000 | ||
|- | |- | ||
| − | |<img src="https://idlescape.com/images/misc/keys/Chaos_Piece.png" alt="Chaos Fragment" height="45" width="45"> | + | |<img src="https://play.idlescape.com/images/misc/keys/Chaos_Piece.png" alt="Chaos Fragment" height="45" width="45"> |
|[[Fragments|Chaos Fragment]] | |[[Fragments|Chaos Fragment]] | ||
| style="text-align: center;" |1 | | style="text-align: center;" |1 | ||
| Line 190: | Line 190: | ||
| style="text-align: right;" |500,000 | | style="text-align: right;" |500,000 | ||
|- | |- | ||
| − | |<img src="https://idlescape.com/images/jewellery/signet_ring.png" height="auto" width="45"> | + | |<img src="https://play.idlescape.com/images/jewellery/signet_ring.png" height="auto" width="45"> |
|[[Signet Ring]] | |[[Signet Ring]] | ||
| style="text-align: center;" |1 | | style="text-align: center;" |1 | ||
| Line 206: | Line 206: | ||
!Price | !Price | ||
|- | |- | ||
| − | |<img alt="Satchel.png" src="https://idlescape.com/images/misc/satchel.png" height="auto" width="45"> | + | |<img alt="Satchel.png" src="https://play.idlescape.com/images/misc/satchel.png" height="auto" width="45"> |
|Satchel | |Satchel | ||
| style="text-align: center;" |1 | | style="text-align: center;" |1 | ||
| Line 212: | Line 212: | ||
| style="text-align: right;" |1000 | | style="text-align: right;" |1000 | ||
|- | |- | ||
| − | |<img src="https://idlescape.com/images/farming/mysterious_seed.png" height="auto" width="45"> | + | |<img src="https://play.idlescape.com/images/farming/mysterious_seed.png" height="auto" width="45"> |
|Mysterious Seed | |Mysterious Seed | ||
| style="text-align: center;" |1 | | style="text-align: center;" |1 | ||
Revision as of 12:35, 17 May 2023
 | |||||||||
| Zones | Chaos Wastes | ||||||||
|---|---|---|---|---|---|---|---|---|---|
| Species | Chaotic | ||||||||
| Ability Rotation | |||||||||
| Offensive Stats | |||||||||
| |||||||||
| Offensive Affinities | |||||||||
| |||||||||
| |||||||||
| |||||||||
| |||||||||
| Defensive Stats | |||||||||
| |||||||||
| Defensive Affinities | |||||||||
| |||||||||
| |||||||||
| |||||||||
| |||||||||
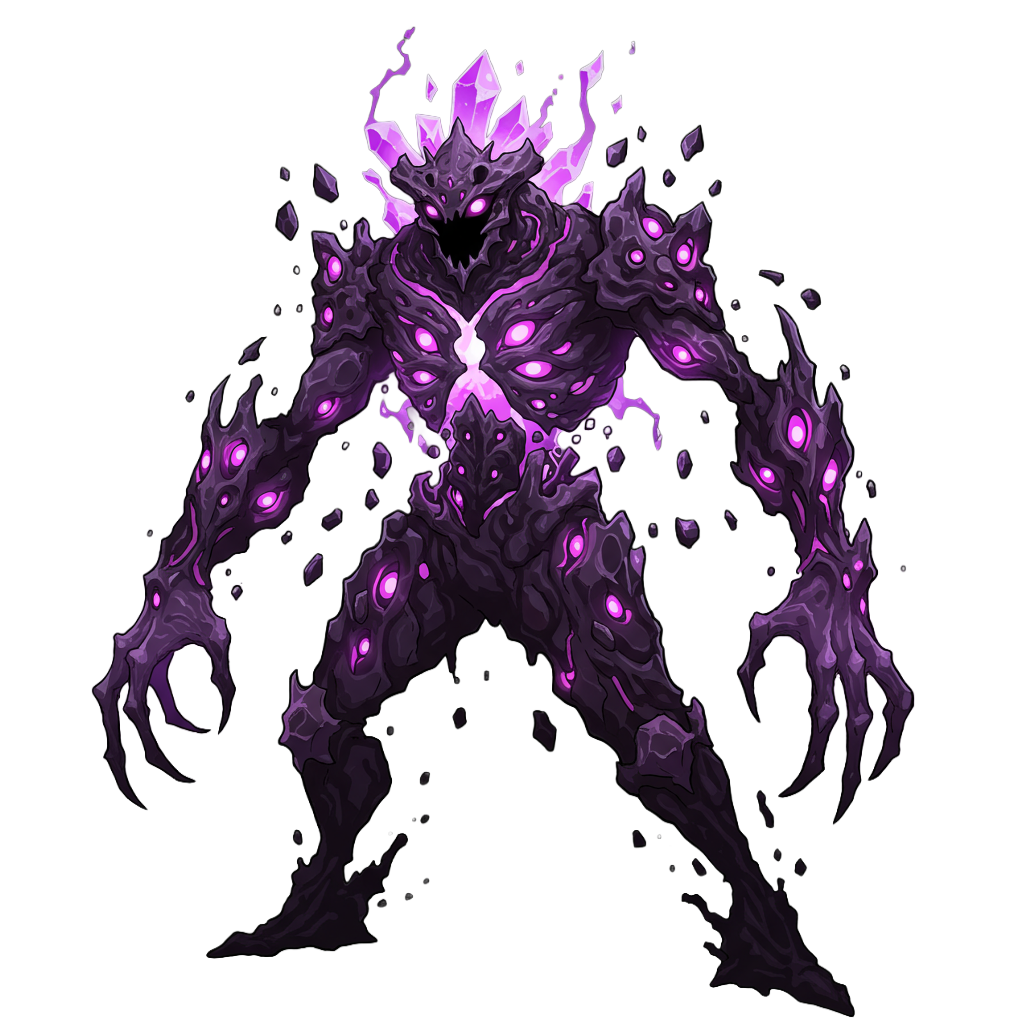
Chaotic Abominations are monsters found in the Chaos Wastes zone and are one of the first monsters with an alternate attack type. Their stats are slightly higher when fought with 2 players.
Attack
Chaotic Abomination has three attack types with a predetermined rotation, Lash Out -> Chaos Rend -> Lash Out -> Chaos Bolt -> Lash Out -> (Repeat)
| Attack | Max Hit | Style | Speed |
|---|---|---|---|
| Lash Out | 10 | Crush | 1.7 |
| Chaos Rend | 23 | Crush AOE | 4.25 |
| Chaos Bolt | 24 | Range AOE | 4.25 |
Chaos Rend hits players once, regardless of number of participants.
Drops
Drop rolls are doubled when fighting alone.
100%
| Image | Item | Quantity | Rarity | Price |
|---|---|---|---|---|
| Chaos Rune | 1 - 4 | Always | 10 |
Main Drops
| Image | Item | Quantity | Rarity | Price |
|---|---|---|---|---|
| Air Rune | 1 - 4 | Uncommon | 10 | |
| Earth Rune | 1 - 4 | Uncommon | 10 | |
| Fire Rune | 1 - 4 | Uncommon | 10 | |
| Water Rune | 1 - 4 | Uncommon | 10 | |
| Blood Rune | 1 - 4 | Uncommon | 10 | |
| Death Rune | 1 - 4 | Uncommon | 10 | |
| Chaos Rune | 29 | Uncommon | 10 | |
| Nature Rune | 1 - 4 | Uncommon | 10 | |
| Mind Rune | 1 - 4 | Uncommon | 10 | |
| Cosmic Rune | 1 - 4 | Uncommon | 10 | |
| Chaos Talisman | 1 | Rare | - | |
| Useless Scraps | 1 | Rare | 1,000 | |
| Useless Scraps | 1 | Rare | 1,000 | |
| Stygian Boots | 1 | Very rare | 2,880,000 | |
| Shapeless Scroll | 1 | Very rare | 500 | |
| Ancient Nature Amulet | 1 | Very rare | 200,000 | |
| Ancient Fire Amulet | 1 | Very rare | 200,000 | |
| Scroll of Fortitude | 1 | Very rare | 250,000 | |
| Chaos Fragment | 1 | Very rare | 500,000 | |
| Signet Ring | 1 | Very rare | 450,000 |
Universal Drops
| Image | Item | Quantity | Rarity | Price |
|---|---|---|---|---|
| Satchel | 1 | Rare | 1000 | |
| Mysterious Seed | 1 | Rare | 7 |
| Monsters | |
|---|---|
| Regular |
Small Rat •
|
| Gathering | |
| Elite |
Elite Chicken •
Elite Goblin •
Elite Black Knight •
|
| Dungeon |
|
| Event |
|
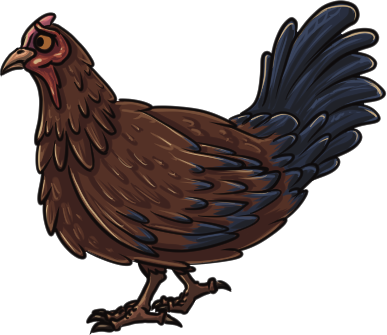 Chicken
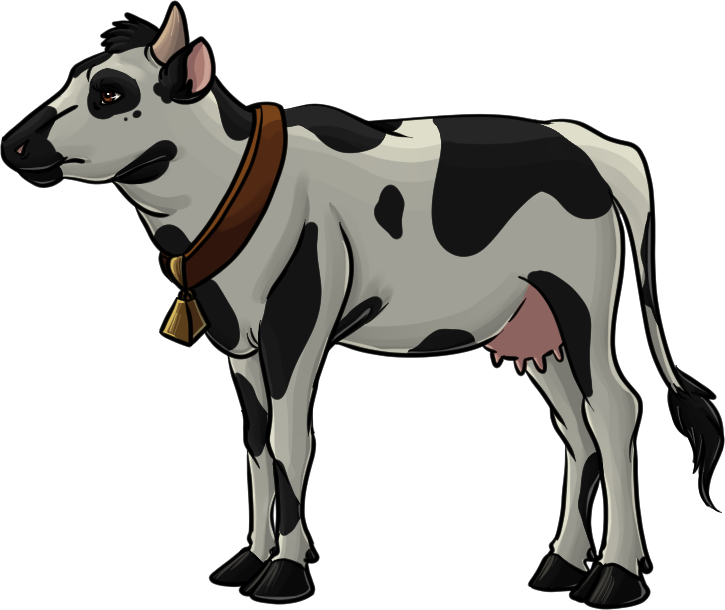 Cow
Cow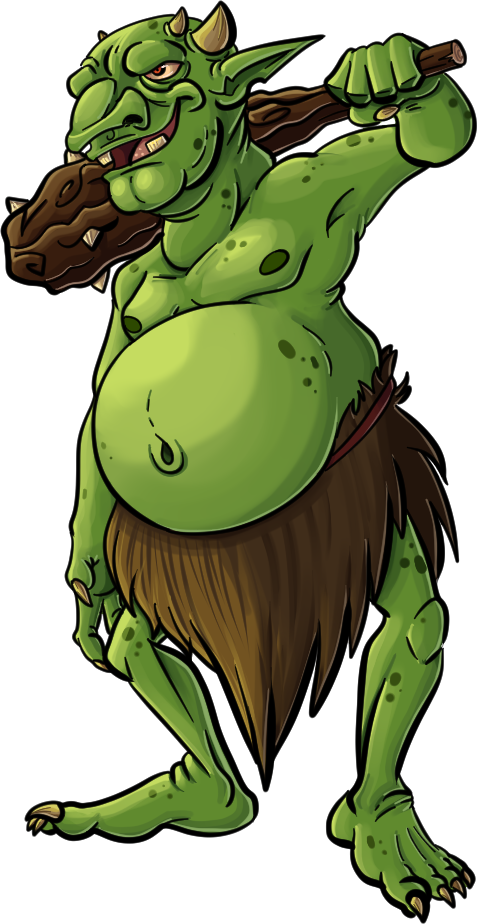 Goblin
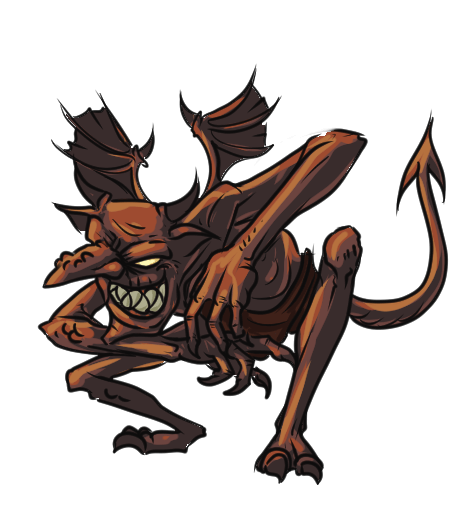 Greater Imp
 Guard
Guard Black Knight
 Deadly Red Spider
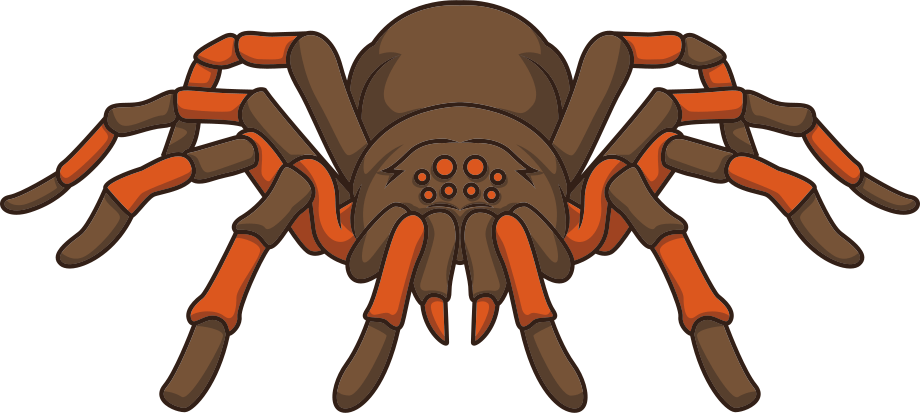 Deadly Spider
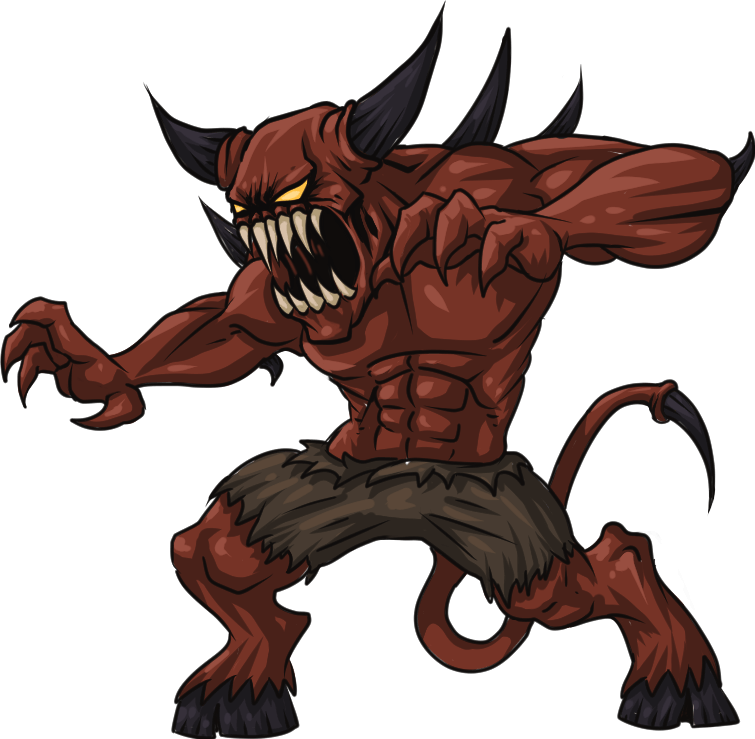 Lesser Demon
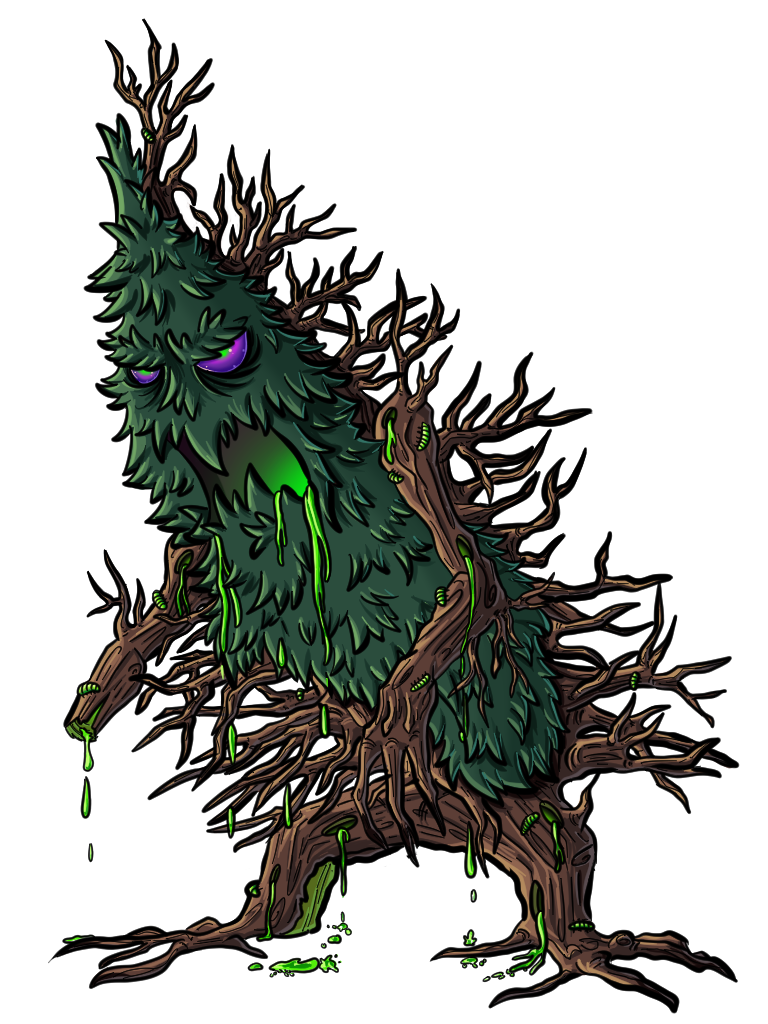 Corrupted Tree
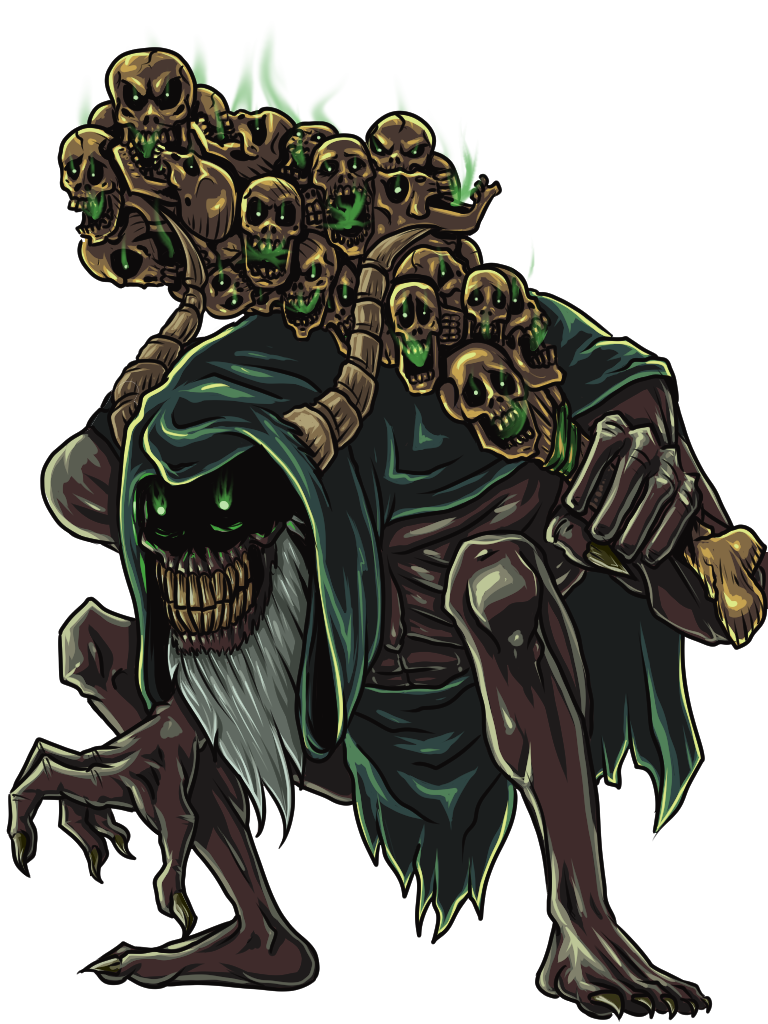 Bone Giant
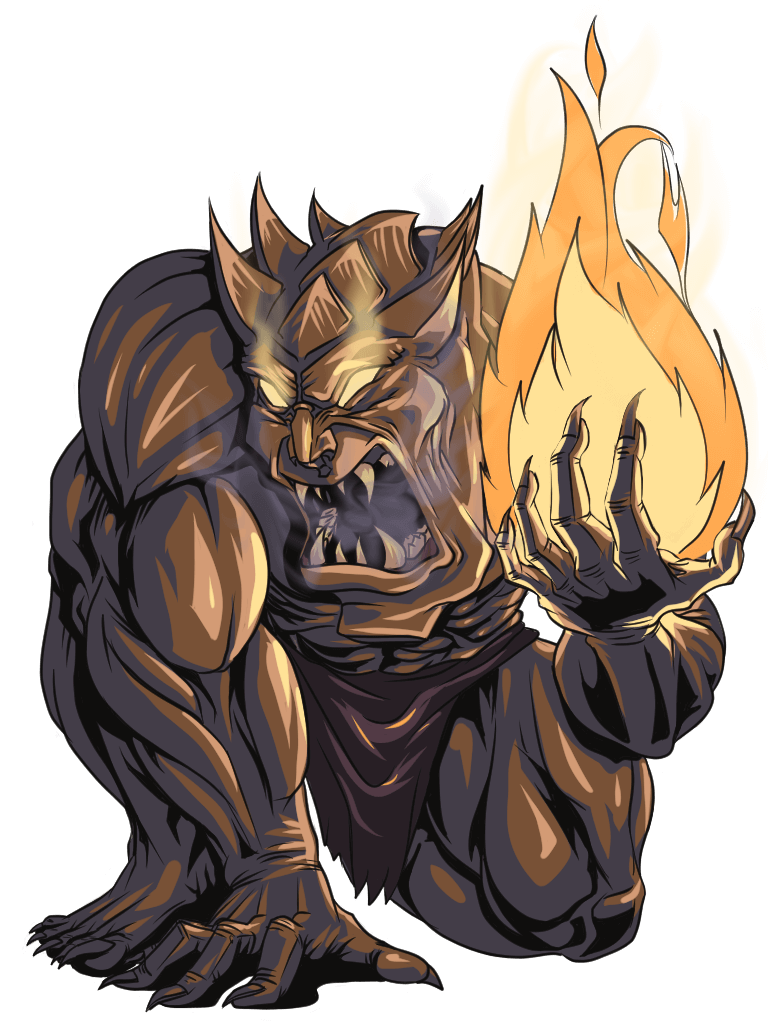 Fire Giant
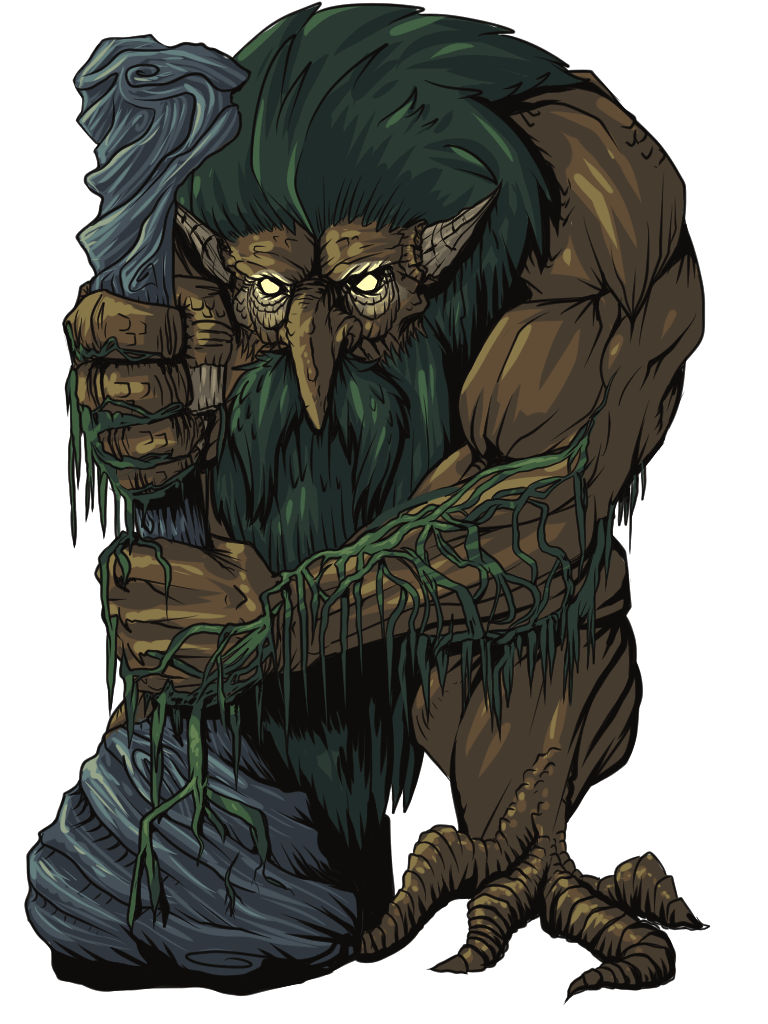 Moss Giant
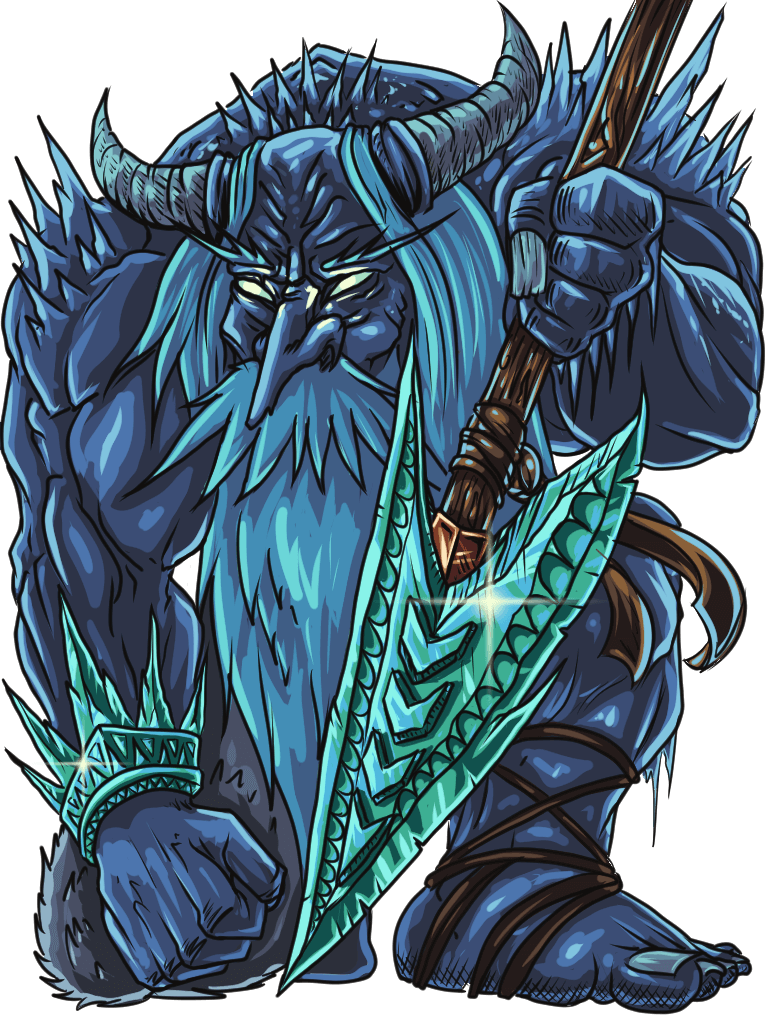 Ice Giant
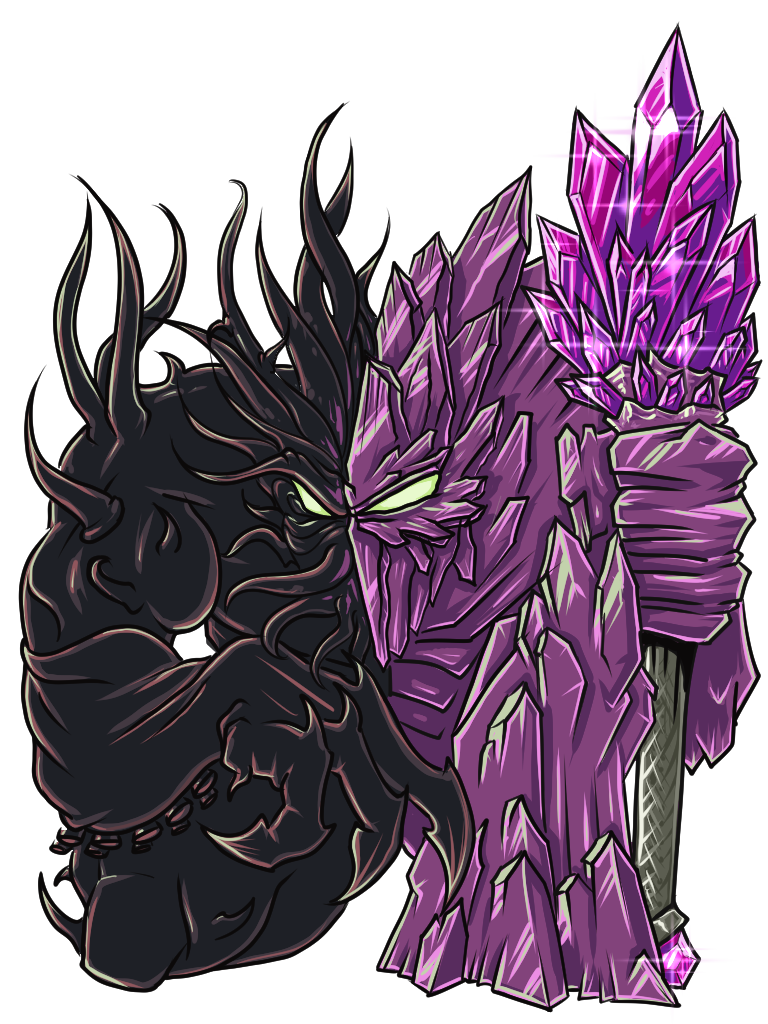 Chaos Giant
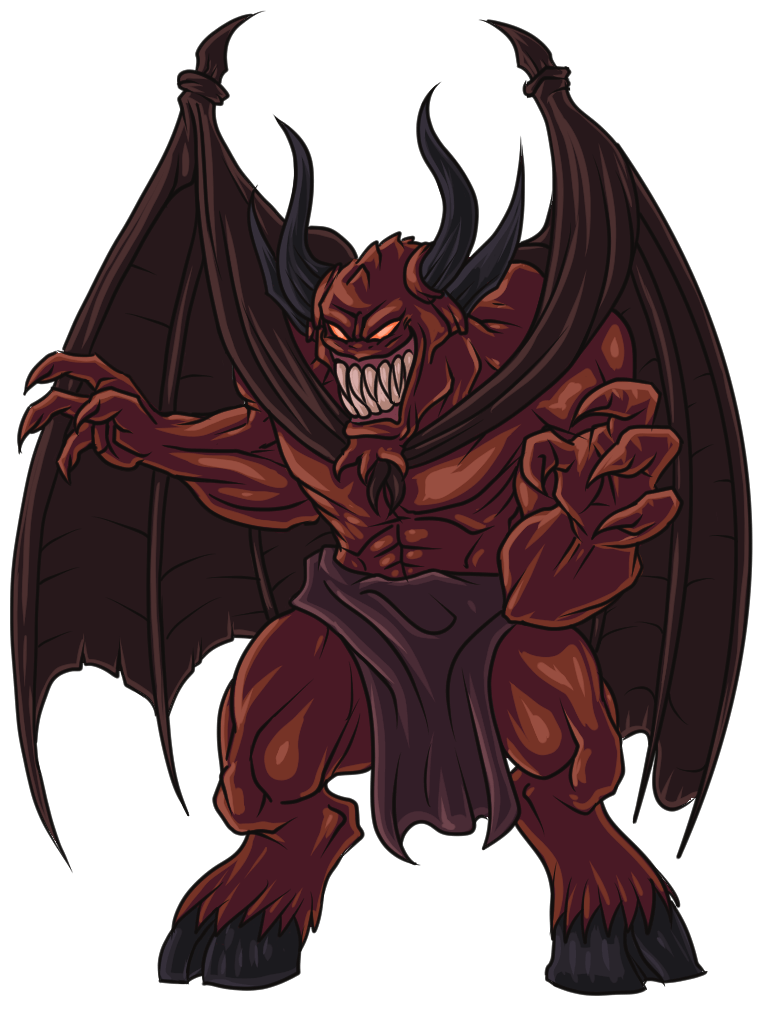 Greater Demon
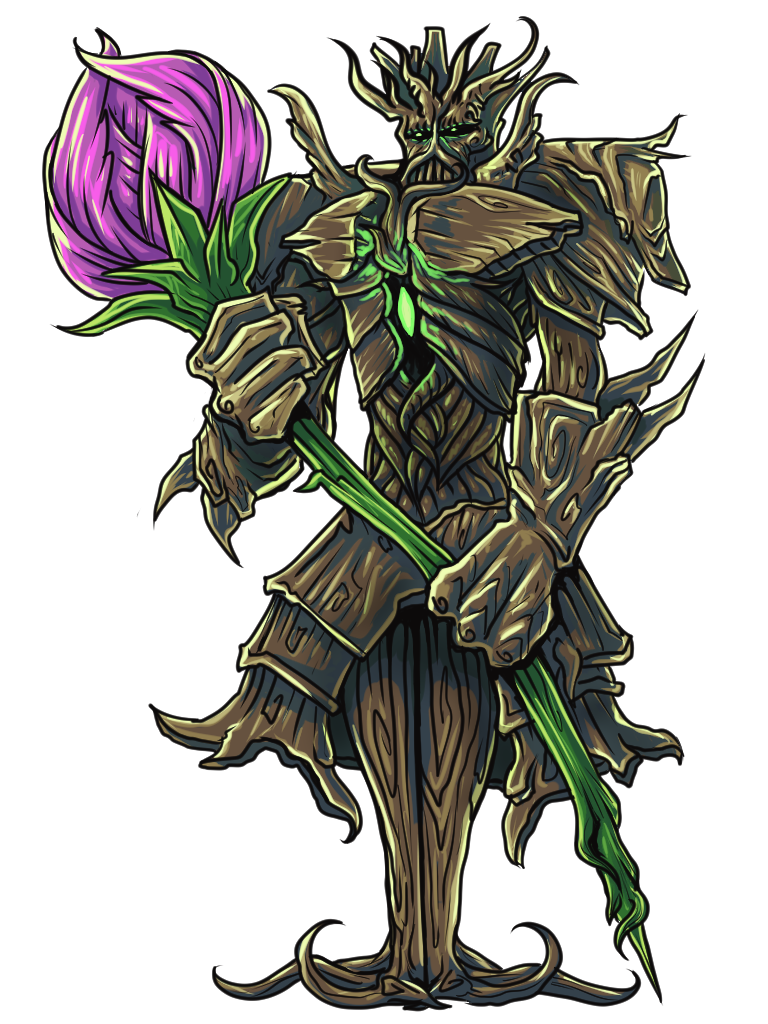 Spriggan
 Swordfish
 Ascended
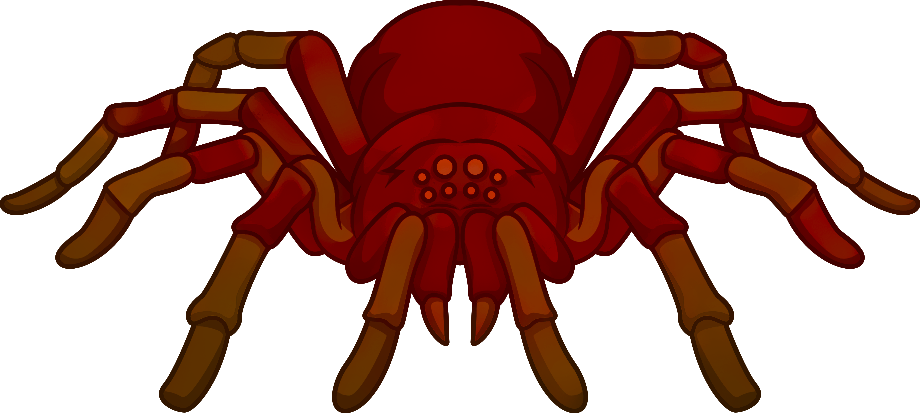 Blood Spider
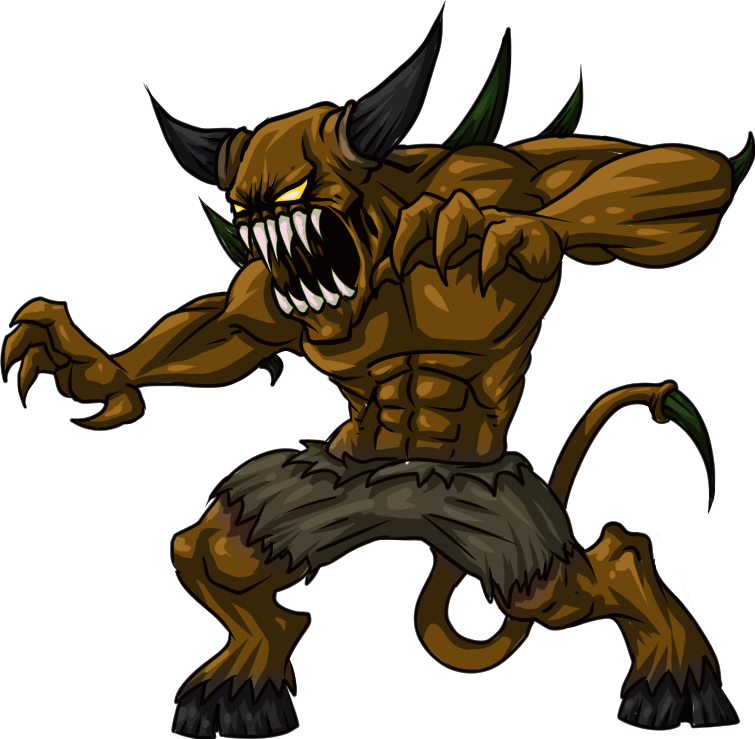 Vassal Demon
 Overseer Demon
 Black Knight Titan
 Giant King
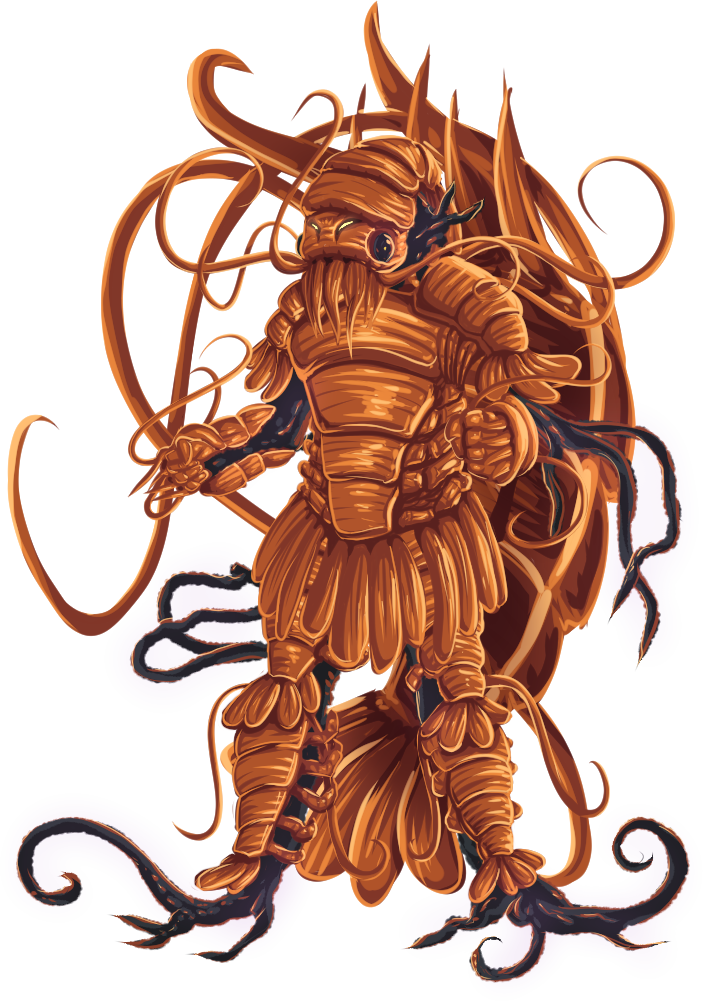 Aberrant Shrimp
 Gummy Shark