Difference between revisions of "Greater Demon"
(Updated infobox and drop table!) |
|||
| Line 1: | Line 1: | ||
| − | |||
| − | |||
| − | |||
| − | |||
| − | |||
{{Infobox Monster | {{Infobox Monster | ||
| − | |title = | + | |title= |
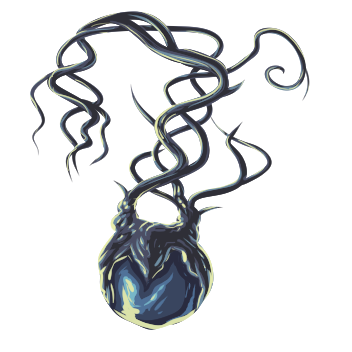
| − | | | + | |image= |
| − | | | + | |zones=[[Fallen Academy]], [[Lava Maze]], [[Dwarven Research Station]], [[Deep Pit]] |
| − | | | + | |attackSpeed=2.6s |
| − | | | + | |DPS=0(Magic) |
| − | | | + | |critChance=5% |
| − | | | + | |critMultiplier=110% |
| − | | | + | |offMelee=0 |
| − | | | + | |offMagic=0 |
| − | | | + | |offRange=0 |
| − | | | + | |offPiercing=0 |
| − | | | + | |offBlunt=0 |
| − | | | + | |offSlashing=0 |
| − | | | + | |offFire=33 |
| − | | | + | |offIce=0 |
| − | | | + | |offNature=0 |
| − | | | + | |offChaos=0 |
| − | | | + | |offPoison=0 |
| − | | | + | |threat=8032 |
| − | | | + | |critAvoidance=5% |
| − | | | + | |critReduction=10% |
| − | | | + | |defMelee=20 |
| + | |defMagic=60 | ||
| + | |defRange=-25 | ||
| + | |defPiercing=0 | ||
| + | |defBlunt=20 | ||
| + | |defSlashing=-25 | ||
| + | |defFire=50 | ||
| + | |defIce=0 | ||
| + | |defNature=0 | ||
| + | |defChaos=0 | ||
| + | |defPoison=0 | ||
| + | |notes = | ||
}} | }} | ||
| + | '''Greater Demons''' are [[monster]]s that can be found in [[Fallen Academy]], [[Lava Maze]] and [[Dwarven Research Station]]. Occasionally while [[mining]] in [[Deep Pit]] a fight with a Greater Demon will be simulated, this delays Players by 15 seconds. This "fight" cannot be escaped from, and losing will lock the player out of the location for 15 minutes. The [[Camo Cloak]] can be used to reduce this delay by 20% and the chance of one occurring by 50%. | ||
| + | |||
==Drops== | ==Drops== | ||
| − | |||
{| class="wikitable sortable" | {| class="wikitable sortable" | ||
| − | !Image | + | ! class="unsortable"|Image |
!Item | !Item | ||
!Quantity | !Quantity | ||
| Line 38: | Line 45: | ||
!Price | !Price | ||
|- | |- | ||
| − | | | + | |{{img|Ichor|45|45}} |
|[[Ichor]] | |[[Ichor]] | ||
| − | | style="text-align: center;" |1 - 2 | + | | style="text-align: center;" |1-2 |
| − | |100% | + | | style="text-align: center;" |100% |
| − | | style="text-align: | + | | style="text-align: center;" |10 |
| − | |||
| − | |||
| − | |||
| − | |||
| − | |||
| − | |||
| − | |||
| − | |||
| − | |||
|- | |- | ||
| − | | | + | |{{img|burnt fish|45|45}} |
|[[Burnt Fish]] | |[[Burnt Fish]] | ||
| − | |1-20 | + | | style="text-align: center;" |1-20 |
| − | |40% | + | | style="text-align: center;" |40% |
| − | |1 | + | | style="text-align: center;" |1 |
|- | |- | ||
| − | | | + | |{{img|ashes|45|45}} |
|[[Ashes]] | |[[Ashes]] | ||
| − | |1 - 2 | + | | style="text-align: center;" |1-2 |
| − | |33% | + | | style="text-align: center;" |33% |
| − | |5 | + | | style="text-align: center;" |5 |
|- | |- | ||
| − | | | + | |{{img|Violet Ribbons|45|45}} |
| − | |[[Violet | + | |[[Violet Ribbons]] |
| − | |1 | + | | style="text-align: center;" |1 |
| − | |7.5% | + | | style="text-align: center;" |7.5% |
| − | |120 | + | | style="text-align: center;" |120 |
|- | |- | ||
| − | | | + | |{{img|monster tooth|45|45}} |
|[[Monster Tooth]] | |[[Monster Tooth]] | ||
| − | |1 | + | | style="text-align: center;" |1 |
| − | |4% | + | | style="text-align: center;" |4% |
| − | |150 | + | | style="text-align: center;" |150 |
|- | |- | ||
| − | | | + | |{{img|bone shards|45|45}} |
|[[Bone Shards]] | |[[Bone Shards]] | ||
| − | |1 | + | | style="text-align: center;" |1 |
| − | |4% | + | | style="text-align: center;" |4% |
| − | |350 | + | | style="text-align: center;" |350 |
|- | |- | ||
| − | | | + | |{{img|Rune Slate|45|45}} |
|[[Rune Slate]] | |[[Rune Slate]] | ||
| − | |1 | + | | style="text-align: center;" |1 |
| − | |2% | + | | style="text-align: center;" |2% |
| − | |15 | + | | style="text-align: center;" |15 |
|- | |- | ||
| − | | | + | |{{img|Air Rune|45}} |
|[[Air Rune]] | |[[Air Rune]] | ||
| − | |1 - 3 | + | | style="text-align: center;" |1-3 |
| − | |2% | + | | style="text-align: center;" |2% |
| − | |10 | + | | style="text-align: center;" |10 |
|- | |- | ||
| − | | | + | |{{img|Earth Rune|45}} |
|[[Earth Rune]] | |[[Earth Rune]] | ||
| − | |1 - 3 | + | | style="text-align: center;" |1-3 |
| − | |2% | + | | style="text-align: center;" |2% |
| − | |10 | + | | style="text-align: center;" |10 |
|- | |- | ||
| − | | | + | |{{img|Fire Rune|45}} |
|[[Fire Rune]] | |[[Fire Rune]] | ||
| − | |1 - 3 | + | | style="text-align: center;" |1-3 |
| − | |2% | + | | style="text-align: center;" |2% |
| − | |10 | + | | style="text-align: center;" |10 |
|- | |- | ||
| − | | | + | |{{img|Water Rune|45}} |
|[[Water Rune]] | |[[Water Rune]] | ||
| − | |1 - 3 | + | | style="text-align: center;" |1-3 |
| − | |2% | + | | style="text-align: center;" |2% |
| − | |10 | + | | style="text-align: center;" |10 |
|- | |- | ||
| − | | | + | |{{img|Blood Rune|45}} |
|[[Blood Rune]] | |[[Blood Rune]] | ||
| − | |1 - 3 | + | | style="text-align: center;" |1-3 |
| − | | | + | | style="text-align: center;" |3.03% |
| − | |10 | + | | style="text-align: center;" |10 |
|- | |- | ||
| − | | | + | |{{img|Death Rune|45}} |
|[[Death Rune]] | |[[Death Rune]] | ||
| − | |1 - 3 | + | | style="text-align: center;" |1-3 |
| − | | | + | | style="text-align: center;" |3.03% |
| − | |10 | + | | style="text-align: center;" |10 |
|- | |- | ||
| − | | | + | |{{img|Chaos Rune|45}} |
|[[Chaos Rune]] | |[[Chaos Rune]] | ||
| − | |1 - 3 | + | | style="text-align: center;" |1-3 |
| − | |2% | + | | style="text-align: center;" |2% |
| − | |10 | + | | style="text-align: center;" |10 |
|- | |- | ||
| − | | | + | |{{img|Nature Rune|45}} |
|[[Nature Rune]] | |[[Nature Rune]] | ||
| − | |1 - 3 | + | | style="text-align: center;" |1-3 |
| − | |2% | + | | style="text-align: center;" |2% |
| − | |10 | + | | style="text-align: center;" |10 |
|- | |- | ||
| − | | | + | |{{img|Mind Rune|45}} |
|[[Mind Rune]] | |[[Mind Rune]] | ||
| − | |1 - 3 | + | | style="text-align: center;" |1-3 |
| − | |2% | + | | style="text-align: center;" |2% |
| − | |10 | + | | style="text-align: center;" |10 |
|- | |- | ||
| − | | | + | |{{img|Cosmic Rune|45}} |
|[[Cosmic Rune]] | |[[Cosmic Rune]] | ||
| − | |1 - 3 | + | | style="text-align: center;" |1-3 |
| − | |2% | + | | style="text-align: center;" |2% |
| − | |10 | + | | style="text-align: center;" |10 |
|- | |- | ||
| − | | | + | |{{img|Monster Horn|45|45}} |
|[[Monster Horn]] | |[[Monster Horn]] | ||
| − | |1 | + | | style="text-align: center;" |1 |
| − | |2% | + | | style="text-align: center;" |2% |
| − | |250 | + | | style="text-align: center;" |250 |
|- | |- | ||
| − | | | + | |{{img|Book|45|45}} |
| − | |[[Book]] | + | |[[Book]] |
| − | |1 | + | | style="text-align: center;" |1 |
| − | |1% | + | | style="text-align: center;" |1% |
| − | |500 | + | | style="text-align: center;" |500 |
|- | |- | ||
| − | | | + | |{{img|Sturdy Horn|45|45}} |
|[[Sturdy Horn]] | |[[Sturdy Horn]] | ||
| − | |1 | + | | style="text-align: center;" |1 |
| − | |1% | + | | style="text-align: center;" |1% |
| − | |500 | + | | style="text-align: center;" |500 |
|- | |- | ||
| − | | | + | |{{img|River Vines|45|45}} |
|[[River Vines]] | |[[River Vines]] | ||
| − | |1 | + | | style="text-align: center;" |1 |
| − | |1% | + | | style="text-align: center;" |1% |
| − | |90 | + | | style="text-align: center;" |90 |
|- | |- | ||
| − | | | + | |{{img|Singular Runic Dust|45|45}} |
| + | |[[Singular Runic Dust]] | ||
| + | | style="text-align: center;" |1 | ||
| + | | style="text-align: center;" |1% | ||
| + | | style="text-align: center;" |2,00 | ||
| + | |- | ||
| + | |{{img|Unknown Rune|45|45}} | ||
|[[Unknown Rune]] | |[[Unknown Rune]] | ||
| − | |1 | + | | style="text-align: center;" |1 |
| − | |0.667% | + | | style="text-align: center;" |0.667% |
| − | |12,500 | + | | style="text-align: center;" |12,500 |
|- | |- | ||
| − | | | + | |{{img|Intact Wing|45|45}} |
|[[Intact Wing]] | |[[Intact Wing]] | ||
| − | |1 | + | | style="text-align: center;" |1 |
| − | |0.4% | + | | style="text-align: center;" |0.4% |
| − | |5,000 | + | | style="text-align: center;" |5,000 |
|- | |- | ||
| − | | | + | |{{img|sapphire|45|45|}} |
| − | |[[ | + | |[[sapphire]] |
| − | |1 | + | | style="text-align: center;" |1 |
| − | |0.2% | + | | style="text-align: center;" |0.2% |
| − | |1,000 | + | | style="text-align: center;" |1,000 |
|- | |- | ||
| − | | | + | |{{img|Demonic Statue|45|45}} |
|[[Demonic Statue]] | |[[Demonic Statue]] | ||
| − | |1 | + | | style="text-align: center;" |1 |
| − | |0.2% | + | | style="text-align: center;" |0.2% |
| − | |35,000 | + | | style="text-align: center;" |35,000 |
|- | |- | ||
| − | | | + | |{{img|Dwarven Coins|45|45}} |
|[[Dwarven Coins]] | |[[Dwarven Coins]] | ||
| − | |1 | + | | style="text-align: center;" |1 |
| − | |0.2% | + | | style="text-align: center;" |0.2% |
| − | |7,500 | + | | style="text-align: center;" |7,500 |
|- | |- | ||
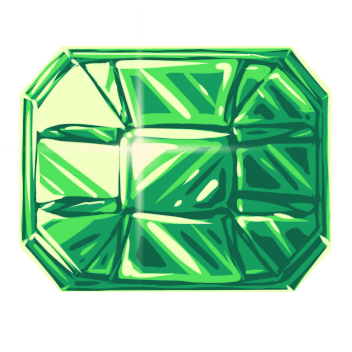
| − | | | + | |{{img|Emerald|45|45|}} |
|[[Emerald]] | |[[Emerald]] | ||
| − | |1 | + | | style="text-align: center;" |1 |
| − | |0.1% | + | | style="text-align: center;" |0.1% |
| − | |2,000 | + | | style="text-align: center;" |2,000 |
|- | |- | ||
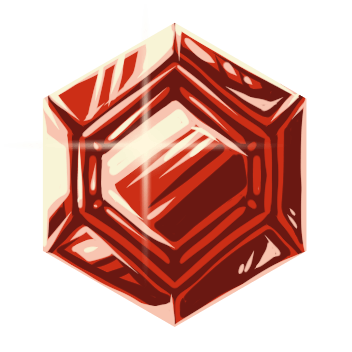
| − | | | + | |{{img|Ruby|45|45|}} |
|[[Ruby]] | |[[Ruby]] | ||
| − | |1 | + | | style="text-align: center;" |1 |
| − | | | + | | style="text-align: center;" |0.062% |
| − | |5,000 | + | | style="text-align: center;" |5,000 |
|- | |- | ||
| − | | | + | |{{img|Demonic Trial|45|45}} |
| − | |[[ | + | |[[Demonic Trial]] |
| − | |1 | + | | style="text-align: center;" |1 |
| − | | | + | | style="text-align: center;" |0.05% |
| − | |500 | + | | style="text-align: center;" |500 |
|- | |- | ||
| − | | | + | |{{img|Diamond|45|45|}} |
|[[Diamond]] | |[[Diamond]] | ||
| − | |1 | + | | style="text-align: center;" |1 |
| − | | | + | | style="text-align: center;" |0.045% |
| − | |10,000 | + | | style="text-align: center;" |10,000 |
|- | |- | ||
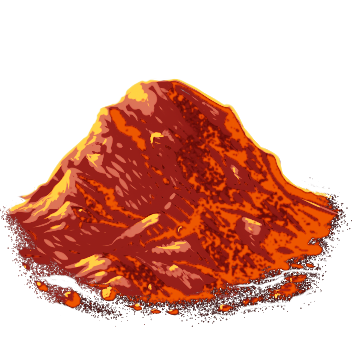
| − | | | + | |{{img|Molten Ashes|45|45}} |
|[[Molten Ashes]] | |[[Molten Ashes]] | ||
| − | |1 | + | | style="text-align: center;" |1 |
| − | | | + | | style="text-align: center;" |0.033% |
| − | |150,000 | + | | style="text-align: center;" |150,000 |
|- | |- | ||
| − | | | + | |{{img|Black Opal|45|45|}} |
|[[Black Opal]] | |[[Black Opal]] | ||
| − | |1 | + | | style="text-align: center;" |1 |
| − | | | + | | style="text-align: center;" |0.023% |
| − | |50,000 | + | | style="text-align: center;" |50,000 |
|- | |- | ||
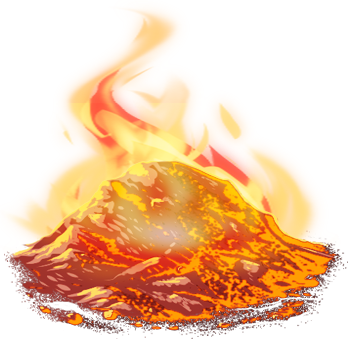
| − | | | + | |{{img|Infernal Flame|45|45}} |
|[[Infernal Flame]] | |[[Infernal Flame]] | ||
| − | |1 | + | | style="text-align: center;" |1 |
| − | | | + | | style="text-align: center;" |0.022% |
| − | |250,000 | + | | style="text-align: center;" |250,000 |
|- | |- | ||
| − | | | + | |{{img|Satchel|45|45}} |
|[[Satchel]] | |[[Satchel]] | ||
| − | |1 | + | | style="text-align: center;" |1 |
| − | | | + | | style="text-align: center;" |0.01% |
| − | |1,000 | + | | style="text-align: center;" |1,000 |
|- | |- | ||
| − | | | + | |{{img|Mysterious Seed|45|45}} |
|[[Mysterious Seed]] | |[[Mysterious Seed]] | ||
| − | |1-32 | + | | style="text-align: center;" |1-32 |
| − | | | + | | style="text-align: center;" |0.01% |
| − | |7 | + | | style="text-align: center;" |7 |
|- | |- | ||
| − | | | + | |{{img|Armor and its Weaknesses|45|45}} |
|[[Armor and its Weaknesses]] | |[[Armor and its Weaknesses]] | ||
| − | |1 | + | | style="text-align: center;" |1 |
| − | | | + | | style="text-align: center;" |0.01% |
| − | |500,000 | + | | style="text-align: center;" |500,000 |
|- | |- | ||
| − | | | + | |{{img|Cursed Spade Head|45|45}} |
|[[Cursed Spade Head]] | |[[Cursed Spade Head]] | ||
| − | |||
| − | |||
| − | |||
| − | |||
| − | |||
| − | |||
| − | |||
| − | |||
| − | |||
| − | |||
| − | |||
| − | |||
| − | |||
| − | |||
| − | |||
| − | |||
| style="text-align: center;" |1 | | style="text-align: center;" |1 | ||
| − | + | | style="text-align: center;" |0.005% | |
| − | | style="text-align: | + | | style="text-align: center;" |500,000 |
| − | |||
| − | |||
| − | |||
| − | | style="text-align: center;" | | ||
| − | |||
| − | |||
|} | |} | ||
Revision as of 12:34, 6 June 2024
 | |||||||||
| Zones | Fallen Academy, Lava Maze, Dwarven Research Station, Deep Pit | ||||||||
|---|---|---|---|---|---|---|---|---|---|
| Species | Demon | ||||||||
| Ability Rotation | |||||||||
| Offensive Stats | |||||||||
| |||||||||
| Offensive Affinities | |||||||||
| |||||||||
| |||||||||
| |||||||||
| |||||||||
| Defensive Stats | |||||||||
| |||||||||
| Defensive Affinities | |||||||||
| |||||||||
| |||||||||
| |||||||||
| |||||||||
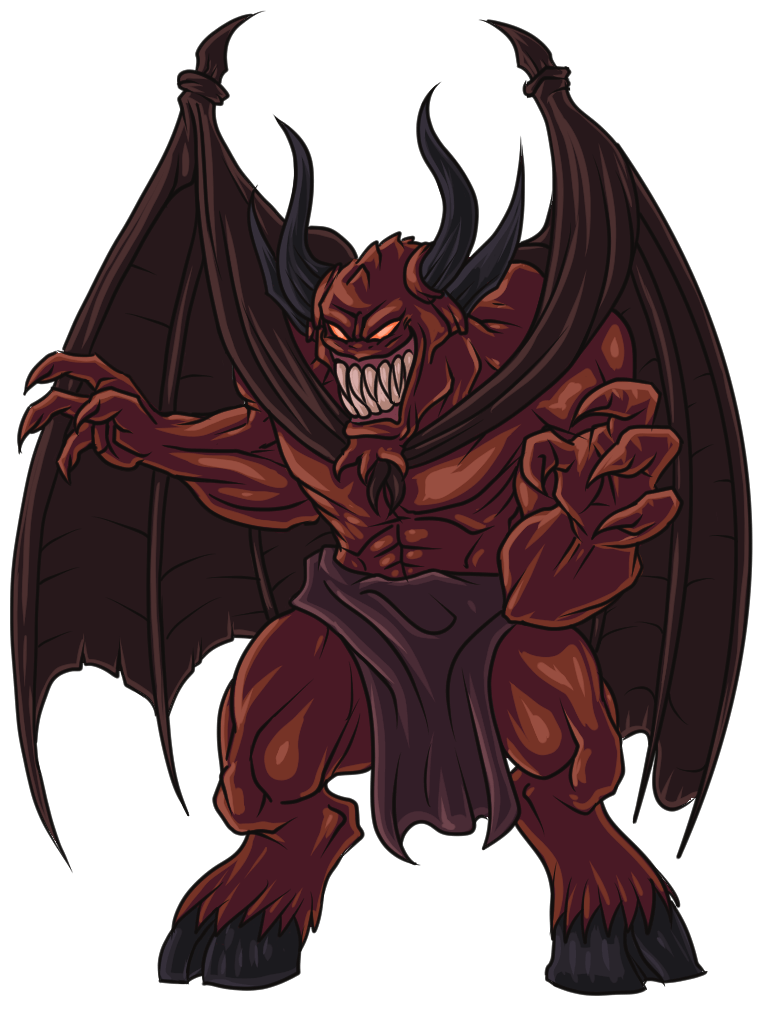
Greater Demons are monsters that can be found in Fallen Academy, Lava Maze and Dwarven Research Station. Occasionally while mining in Deep Pit a fight with a Greater Demon will be simulated, this delays Players by 15 seconds. This "fight" cannot be escaped from, and losing will lock the player out of the location for 15 minutes. The Camo Cloak can be used to reduce this delay by 20% and the chance of one occurring by 50%.
Drops
| Image | Item | Quantity | Rarity | Price |
|---|---|---|---|---|

|
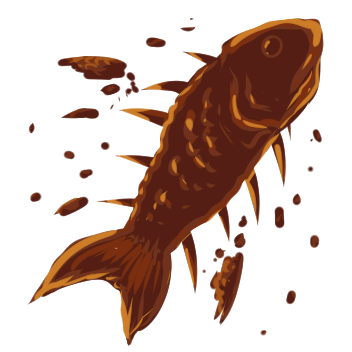
Ichor | 1-2 | 100% | 10 |
|
Burnt Fish | 1-20 | 40% | 1 |

|
Ashes | 1-2 | 33% | 5 |

|
Violet Ribbons | 1 | 7.5% | 120 |

|
Monster Tooth | 1 | 4% | 150 |

|
Bone Shards | 1 | 4% | 350 |
|
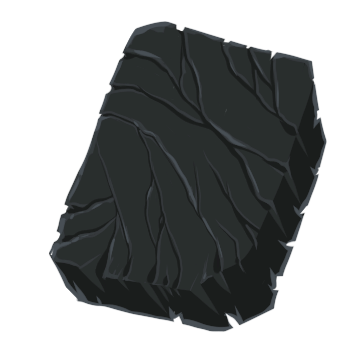
Rune Slate | 1 | 2% | 15 |
|
Air Rune | 1-3 | 2% | 10 |

|
Earth Rune | 1-3 | 2% | 10 |
|
Fire Rune | 1-3 | 2% | 10 |
|
Water Rune | 1-3 | 2% | 10 |
|
Blood Rune | 1-3 | 3.03% | 10 |
|
Death Rune | 1-3 | 3.03% | 10 |
|
Chaos Rune | 1-3 | 2% | 10 |
|
Nature Rune | 1-3 | 2% | 10 |
|
Mind Rune | 1-3 | 2% | 10 |
|
Cosmic Rune | 1-3 | 2% | 10 |

|
Monster Horn | 1 | 2% | 250 |

|
Book | 1 | 1% | 500 |

|
Sturdy Horn | 1 | 1% | 500 |

|
River Vines | 1 | 1% | 90 |

|
Singular Runic Dust | 1 | 1% | 2,00 |

|
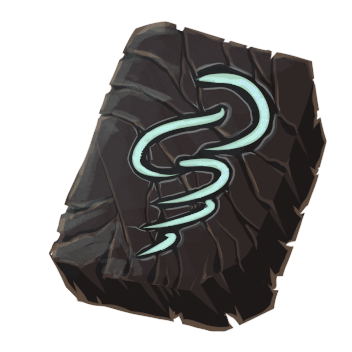
Unknown Rune | 1 | 0.667% | 12,500 |

|
Intact Wing | 1 | 0.4% | 5,000 |

|
sapphire | 1 | 0.2% | 1,000 |

|
Demonic Statue | 1 | 0.2% | 35,000 |

|
Dwarven Coins | 1 | 0.2% | 7,500 |
|
Emerald | 1 | 0.1% | 2,000 |
|
Ruby | 1 | 0.062% | 5,000 |

|
Demonic Trial | 1 | 0.05% | 500 |

|
Diamond | 1 | 0.045% | 10,000 |
|
Molten Ashes | 1 | 0.033% | 150,000 |

|
Black Opal | 1 | 0.023% | 50,000 |
|
Infernal Flame | 1 | 0.022% | 250,000 |

|
Satchel | 1 | 0.01% | 1,000 |
|
Mysterious Seed | 1-32 | 0.01% | 7 |

|
Armor and its Weaknesses | 1 | 0.01% | 500,000 |

|
Cursed Spade Head | 1 | 0.005% | 500,000 |
Changes
11 December 2020 (Update v0.8):
- Added rune slate to the greater demon drop table.
| Monsters | |
|---|---|
| Regular |
Small Rat •
|
| Gathering | |
| Elite |
Elite Chicken •
Elite Goblin •
Elite Black Knight •
|
| Dungeon |
|
| Event |
|
 Chicken
 Cow
Cow Goblin
 Greater Imp
 Guard
Guard Black Knight
 Deadly Red Spider
 Deadly Spider
 Lesser Demon
 Corrupted Tree
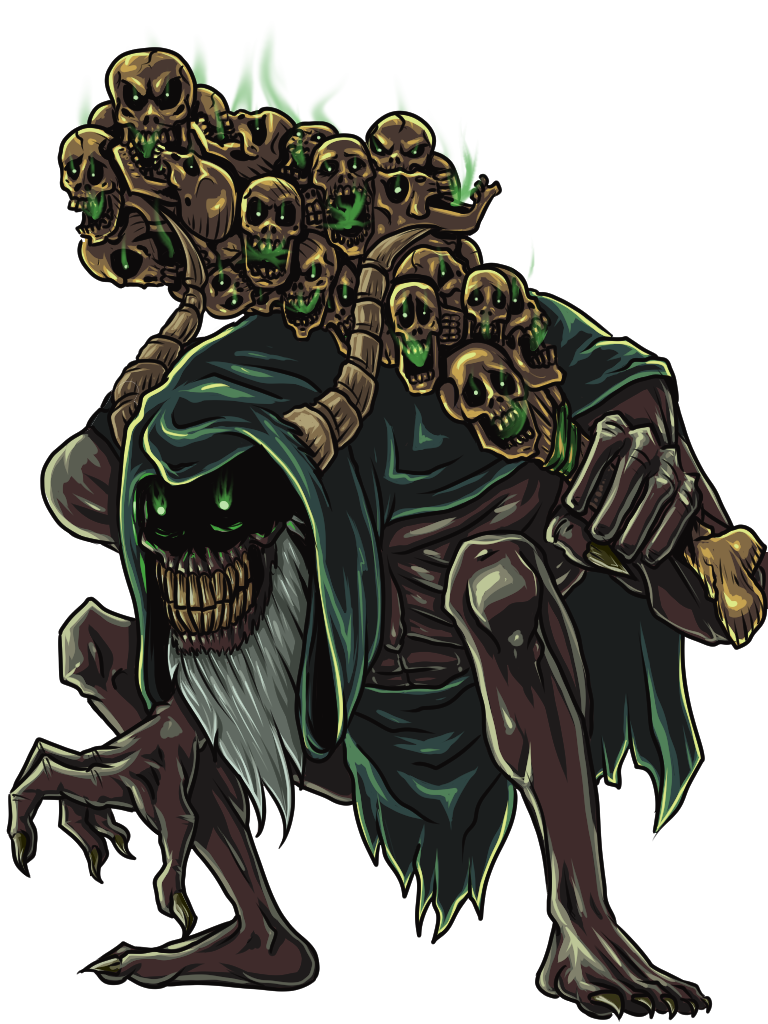 Bone Giant
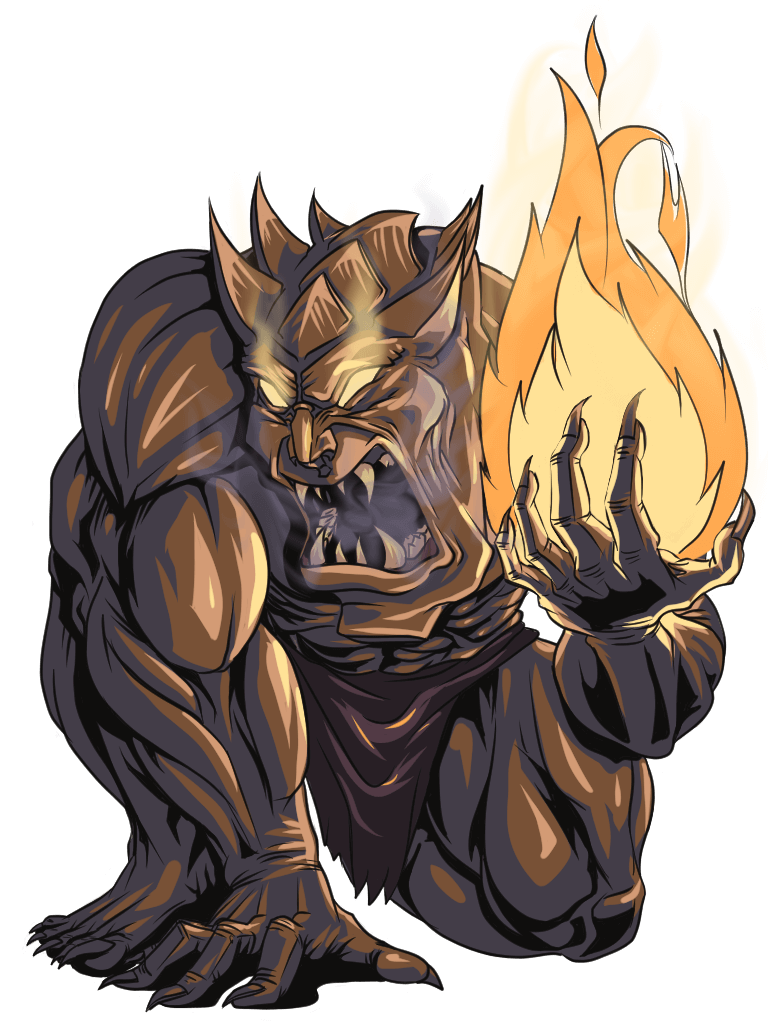 Fire Giant
 Moss Giant
 Ice Giant
 Chaos Giant
 Chaotic Abomination
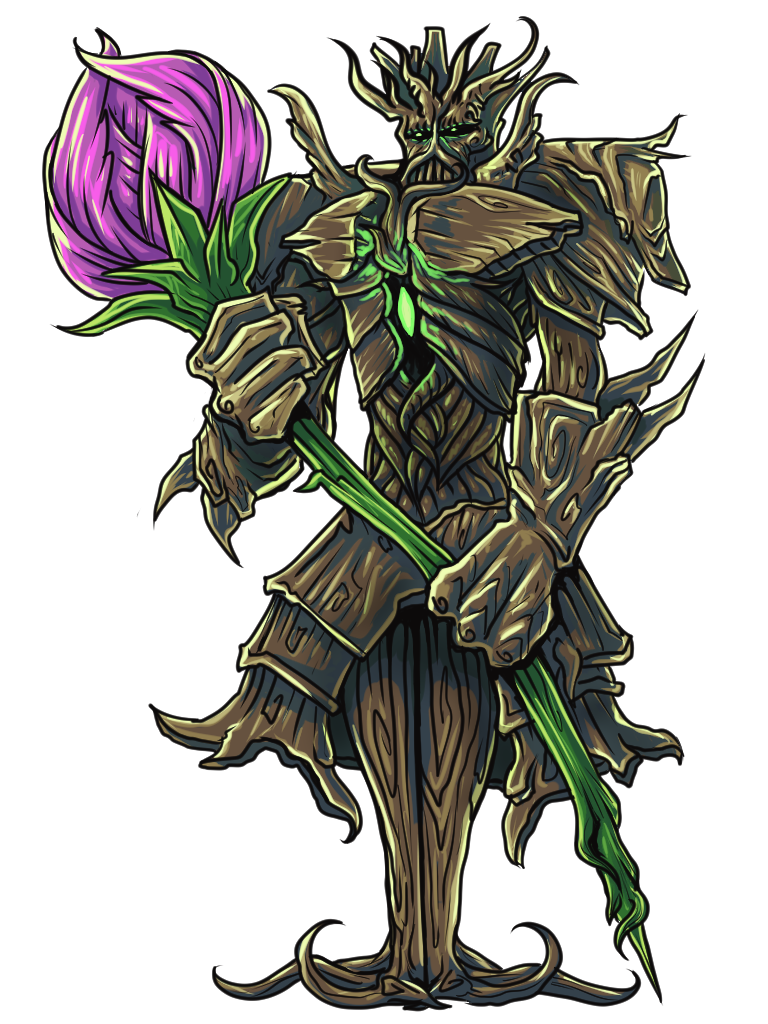 Spriggan
 Swordfish
 Ascended
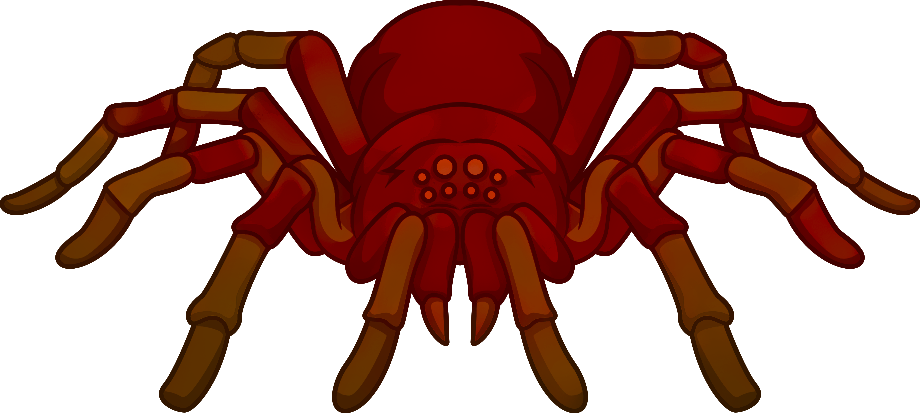 Blood Spider
 Vassal Demon
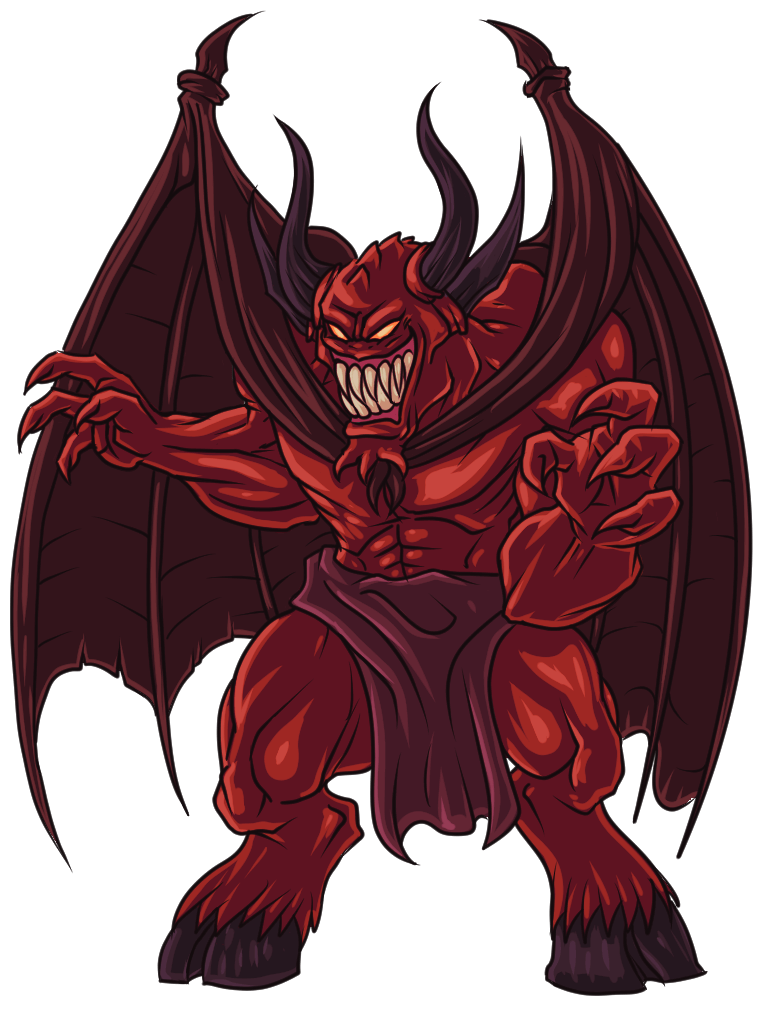 Overseer Demon
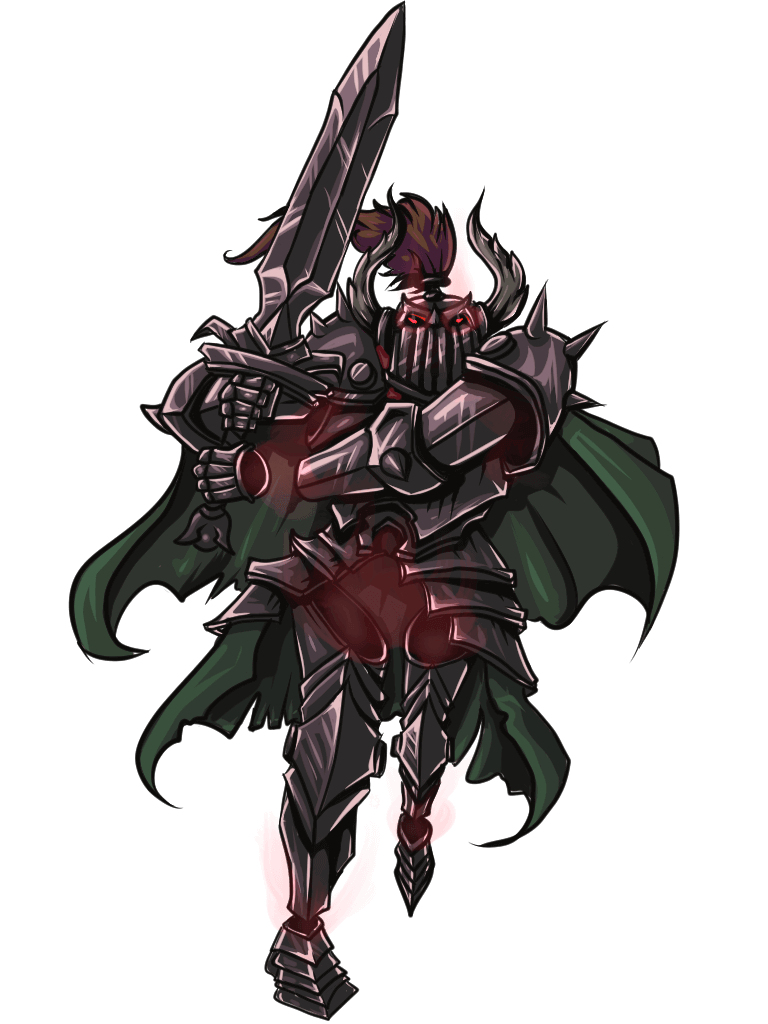 Black Knight Titan
 Giant King
 Aberrant Shrimp
 Gummy Shark